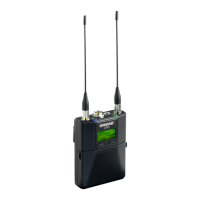
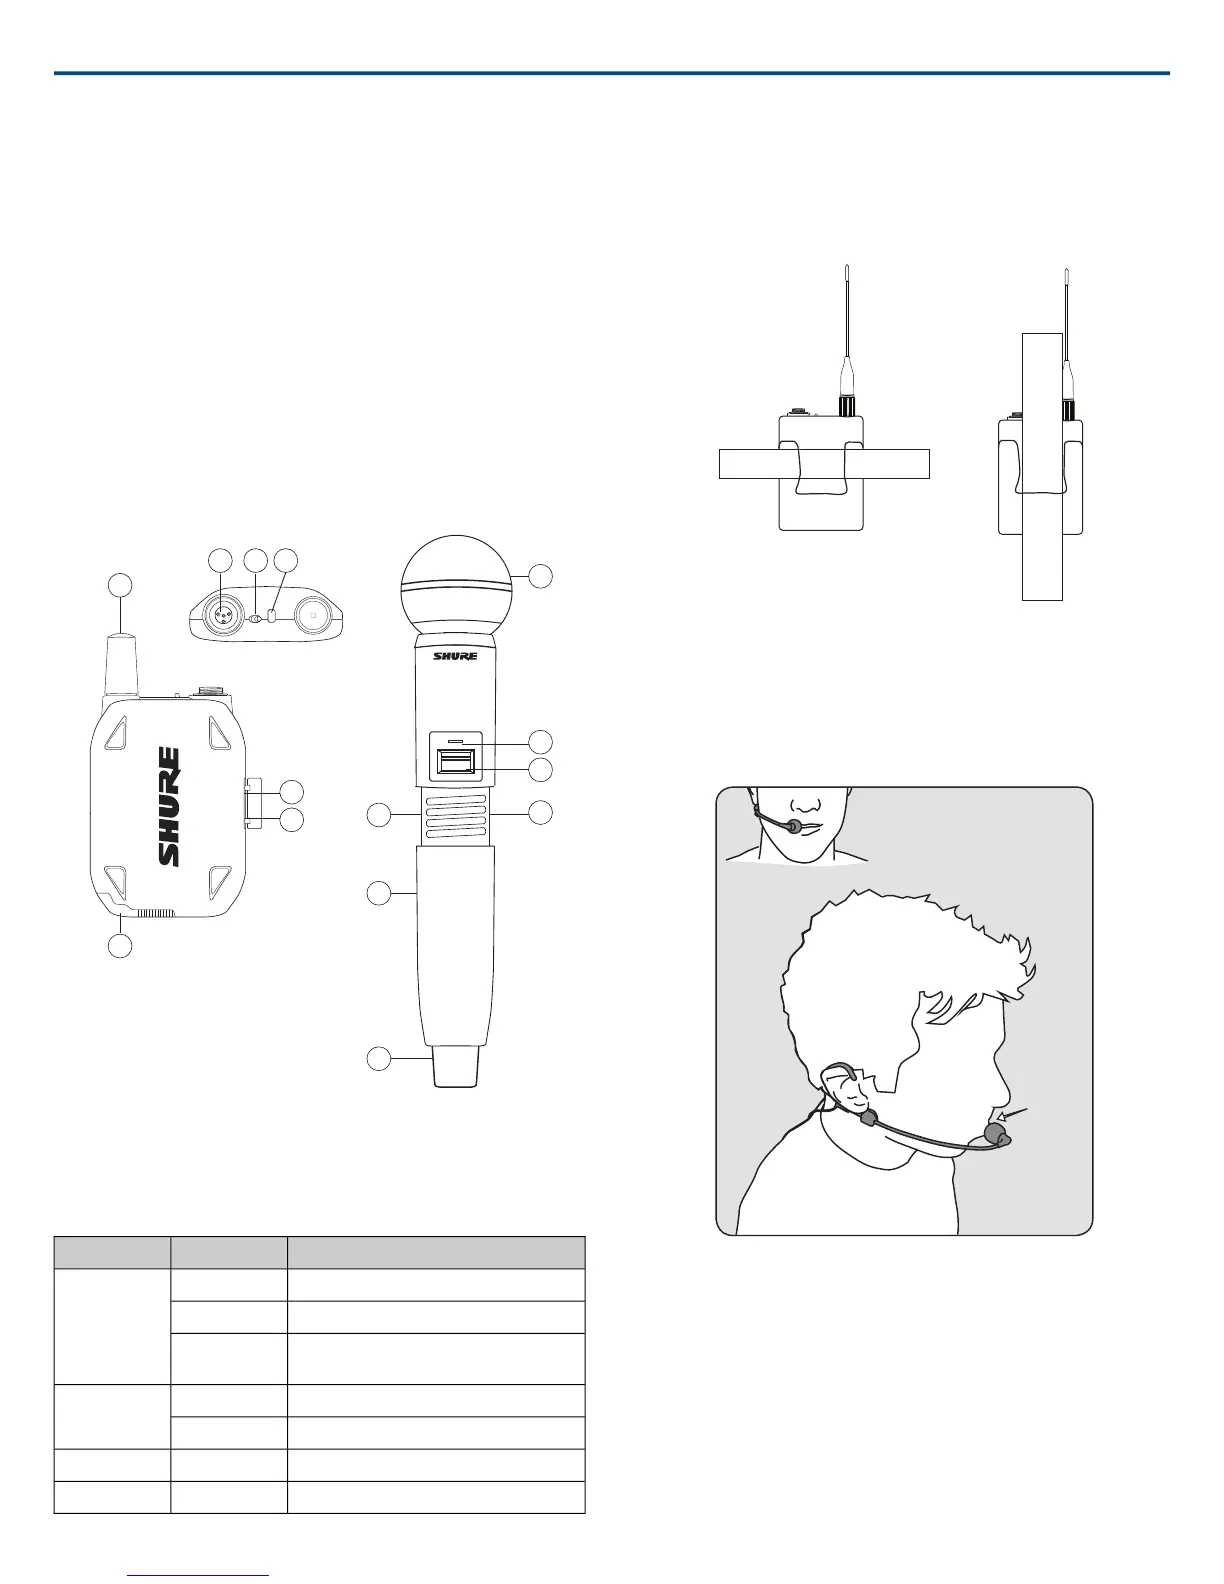
③ Power Switch
Turns the transmitter on/off.
④ TA4M Input Jack
Connects to a 4-Pin mini connector (TA4F) microphone or instrument cable.
⑤ Micro USB Charging Port
Connect to USB battery charger.
⑥ Link Button
• Press and hold within 5 seconds of power-on to manually link with receiver
• Press momentarily to activate Remote ID function
⑦ Battery Compartment
Holds 1 Shure rechargeable battery.
⑧ Microphone Cartridge
GLXD-2 transmitter models are available with the following cartridge types:
SM58, Beta 58, SM86, Beta 87A.
1
1
23
2
3
4
5
6
5
6
7
7
8
off on
GLXD2
on
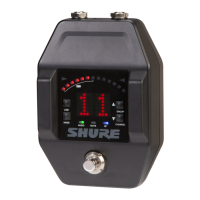
Transmitter Status LED
LED is green during normal operation.
LED color or flashing indicates a change in transmitter status as shown in
the following table:
StatusStateColor
transmitter attempting relink with receiverFlashing (slow)
Green
unlinked transmitter searching for receiverFlashing (fast)
indicates locked transmitter when power
switch is pressed
Flashes 3
times
battery life < 1 hourOn
Red
battery life < 30 minutesFlashing
remote ID activeFlashingRed/Green
battery error, replace batteryFlashingAmber
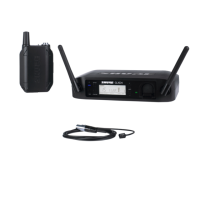
Wearing the Bodypack Transmitter
Clip the transmitter to a belt or slide a guitar strap through the transmitter clip
as shown.
For best results, the belt should be pressed against the base of the clip.
Wearing the Headworn Microphone
• Position the headworn microphone 13 mm (1/2 in.) from the corner of
your mouth.
• Position lavalier and headworn microphones so that clothing, jewelry, or
other items do not bump or rub against the microphone.
Correct Microphone Placement
• Hold the microphone within 12 inches from the sound source.
• For a warmer sound with increased bass presence, move the microphone
closer to the sound source.
• Do not cover grille with hand.
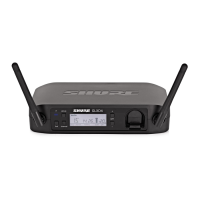
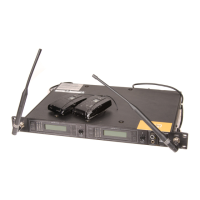
Shure IncorporatedGLXD4R Half-Rack Wireless Receiver
7/202017/05/18
 Loading...