10 Mechanical installation and wiring
ARCADIS Varic/Orbic SPR2-310.812.03.01.02 Siemens AG
09.06 CS PS SP
Page 10 of 20
Medical Solutions
• Remove the wire. To do so, cut open the appropriate cable ties.
¹ The wire will be replaced with the Y cable included in the accessory kit.
Wiring the Y cable
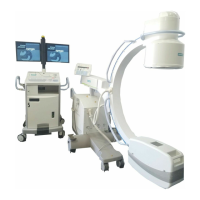
Fig. 5: X21 plug location
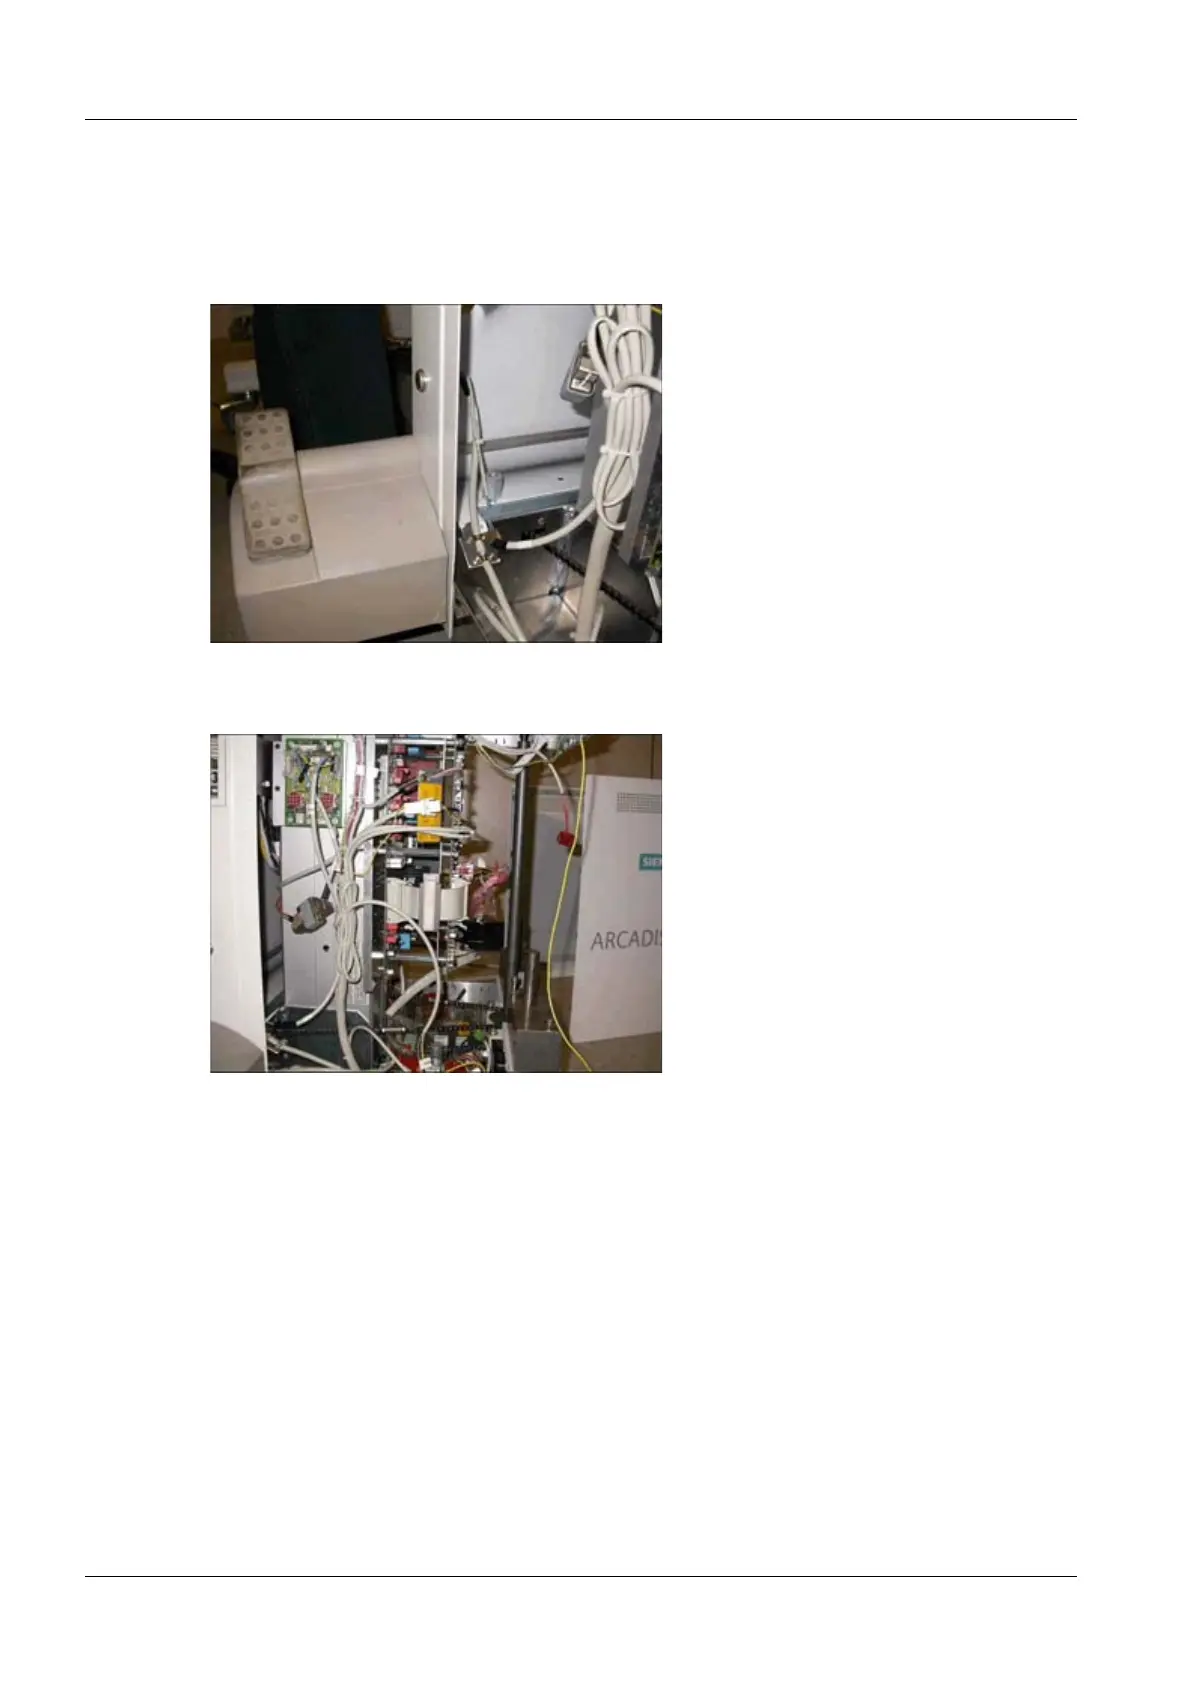
Fig. 6: Y cable, bound
• Wire the Y cable from the accessory kit as follows:
¹ Plug the Y cable's RNH.3 plug into the RNH.3 relay.
¹ Plug the Y cable's RNH.4 plug into the RNH.4 relay.
¹ Plug the Y cable's D1.X14 plug into the D1.X14 board.
¹ Plug the Y cable's D31.X2 plug into the new D31.X2 board.
¹ Plug the Y cable's D31.X5 plug into the new D31.X5 board.
¹ Plug the Y cable's X21 plug into the open X21 socket on the footswitch mounting
jack. See (Fig.5/p.10).
• Coil up any excess length of the Y cable. See (Fig.6/p.10). Attach the ends of the Y
cable along the existing cable assemblies using the cable ties included in the acces-
sory kit.

 Loading...