Configuration
7
Configuring IP settings via NW8202
58
Building Technologies A6V10062437_a_en
Fire Safety & Security Products 30.06.2013
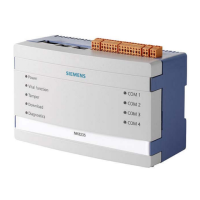
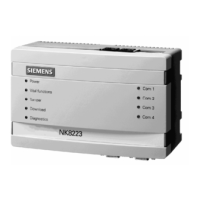
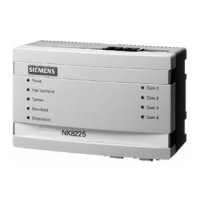
7.2 Configuring IP settings via NW8202
This configuration must be performed before the NK8000 can be configured at the
client’s site. This procedure details how to send the IP configuration information; that
is, the IP address, Subnet mask, and Default address to the NK8000 via the NW8202
Tool.
Note: This configuration procedure can be performed prior to shipping the NK8000 to
the client, or at a later time at the client’s site.
1. Set the Service PC IP address to 192.168.9.1 and the subnet mask to
255.255.255.0.
a) Select Start > Settings Control Panel > Network and Dial up Connections
(Windows XP) or Control Panel > All Control Panel Items > Network and Sharing
Center (Windows 7).
b) Double-click Local Area Connection.
c) Click the Properties button.
d) Select Internet Protocol (TCP/IP).
e) Click the Properties button.
f) Make note of the current IP address before replacing it with the new one.
2. Click OK to restart PC when prompted.
3. Remove the cover of the NK82xx to be configured (press the 4 white tabs to the
rear of the left and right sides of the unit and lift gently).
4. Open the NW8202 application by selecting NW8202.exe located in
<InstallationDir>\Utilities\NW8202 folder.
Note: On Windows 7 it might be needed to launch NW8202 with "Run as
administrator" (depending on your system security settings).
5. Select the Firmware Version NK823x.
Note: If NK823x is not indicated with a specific option, use latest NK822x.
6. Select the Download Mode: FTP (default) or Secure Download (encrypted data
transmission that makes use of TCP port 20500).
7. Enter IP address, Subnet mask, and Default gateway in the corresponding fields.
 Loading...