13 of 26
V 04.21_EN
STRAPEX STB 77
4.2 Setting the operating mode
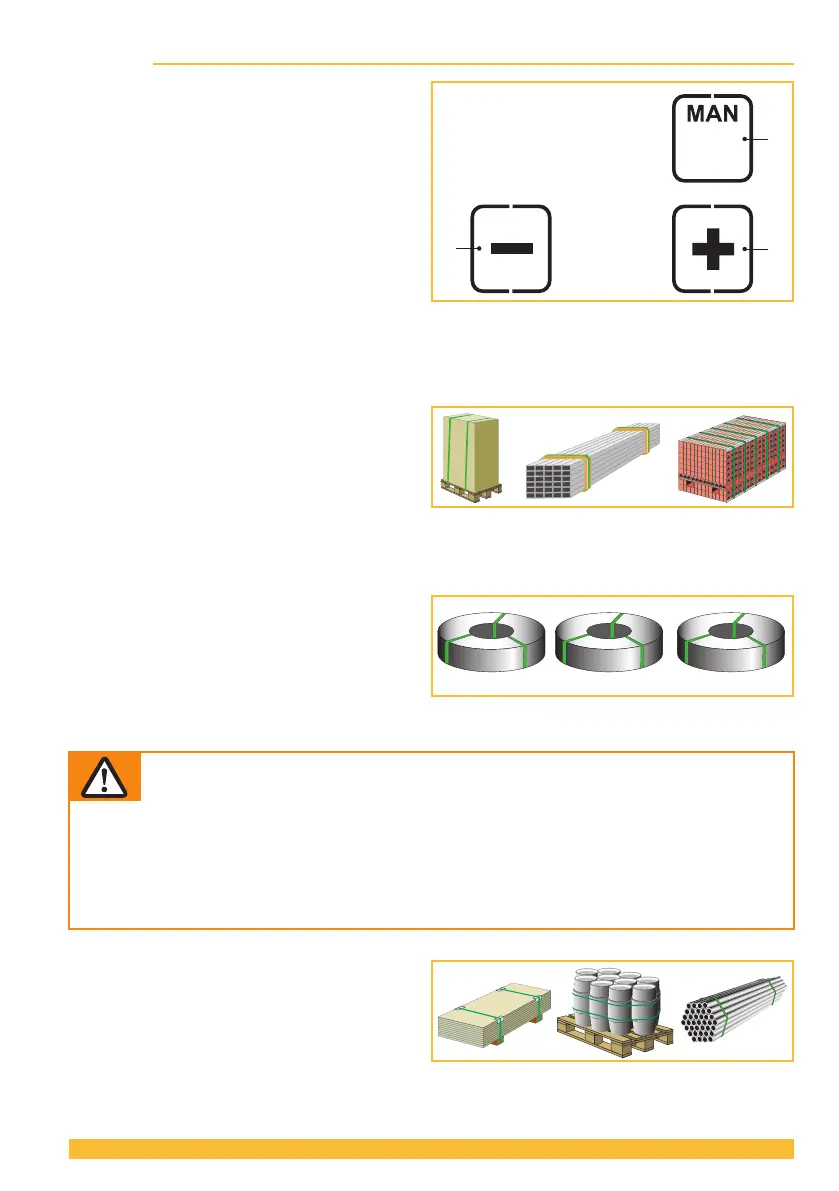
► Press the "Operating mode" button (1).
– Unused displays disappear.
– Thecurrentlysetoperatingmodeashes
for 5 seconds.
– + and – appear.
► Press the + (2) or – (3) button until the desired
operating mode is displayed.
– MAN / SEMI / AUTO
► By pressing the "Operating mode" button (1)
again, or after waiting for a period of 5 sec-
onds, the set mode is saved.
Every operating mode can also be selected
for the "Soft tension" tension range (Section 4.4).
Select an operating mode for your application in accordance with the descriptions below:
(The illustrations are symbolic. Actual use may deviate from these).
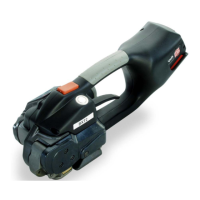
● SEMI–Semi-automatic strapping
(standard/factory setting)
The tensioning button (Section 3.1) must be
pressed and held down until the set tension force
has been reached. The straps are then automat-
icallyweldedandtheupperstrapiscuto.Itcan
be welded manually at any time by pressing the
welding button.
Recommended for similar packaged goods.
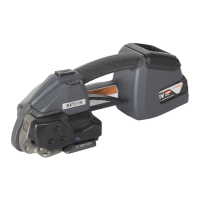
● AUTO–Fully automatic strapping
Press and hold the tensioning button, additionally
brieypress(tap)ontheoperatingpanel(section
3.1). This triggers the tensioning process. Once
the set tension force has been reached, the straps
are automatically welded and the upper strap is
cuto.
Recommended for large quantities of identical packaged goods.
WARNING
Strap tensioning or strapping, danger of jamming and crushing
Do not place hands or other body parts between the strap and the packaged goods
during the strapping process. Ensure that there are no other persons in the hazard zone
(Section 2.4).
For an emergency stop in the case of danger (trapped person):
To release the strap tension (before welding), actuate the rocker lever. In operating mode
AUTO, also the tensioning or welding button can be pressed again to stop strap tension-
ing. After welding, cut the strap using a tool (strap cutter).
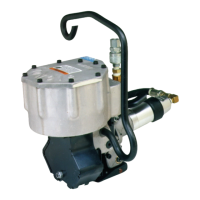
● MAN–Manual
The tensioning button (Section 3.1) must be
pressed and held down until the desired strap
tension has been reached. The welding button
(Section3.1)mustthenbebrieypressedsothat
the straps are welded and the upper strap is cut
o.
Recommended for varying (soft, hard) packaged goods.