Getting Started with Silhouette Portrait
15
Cg Y Dg
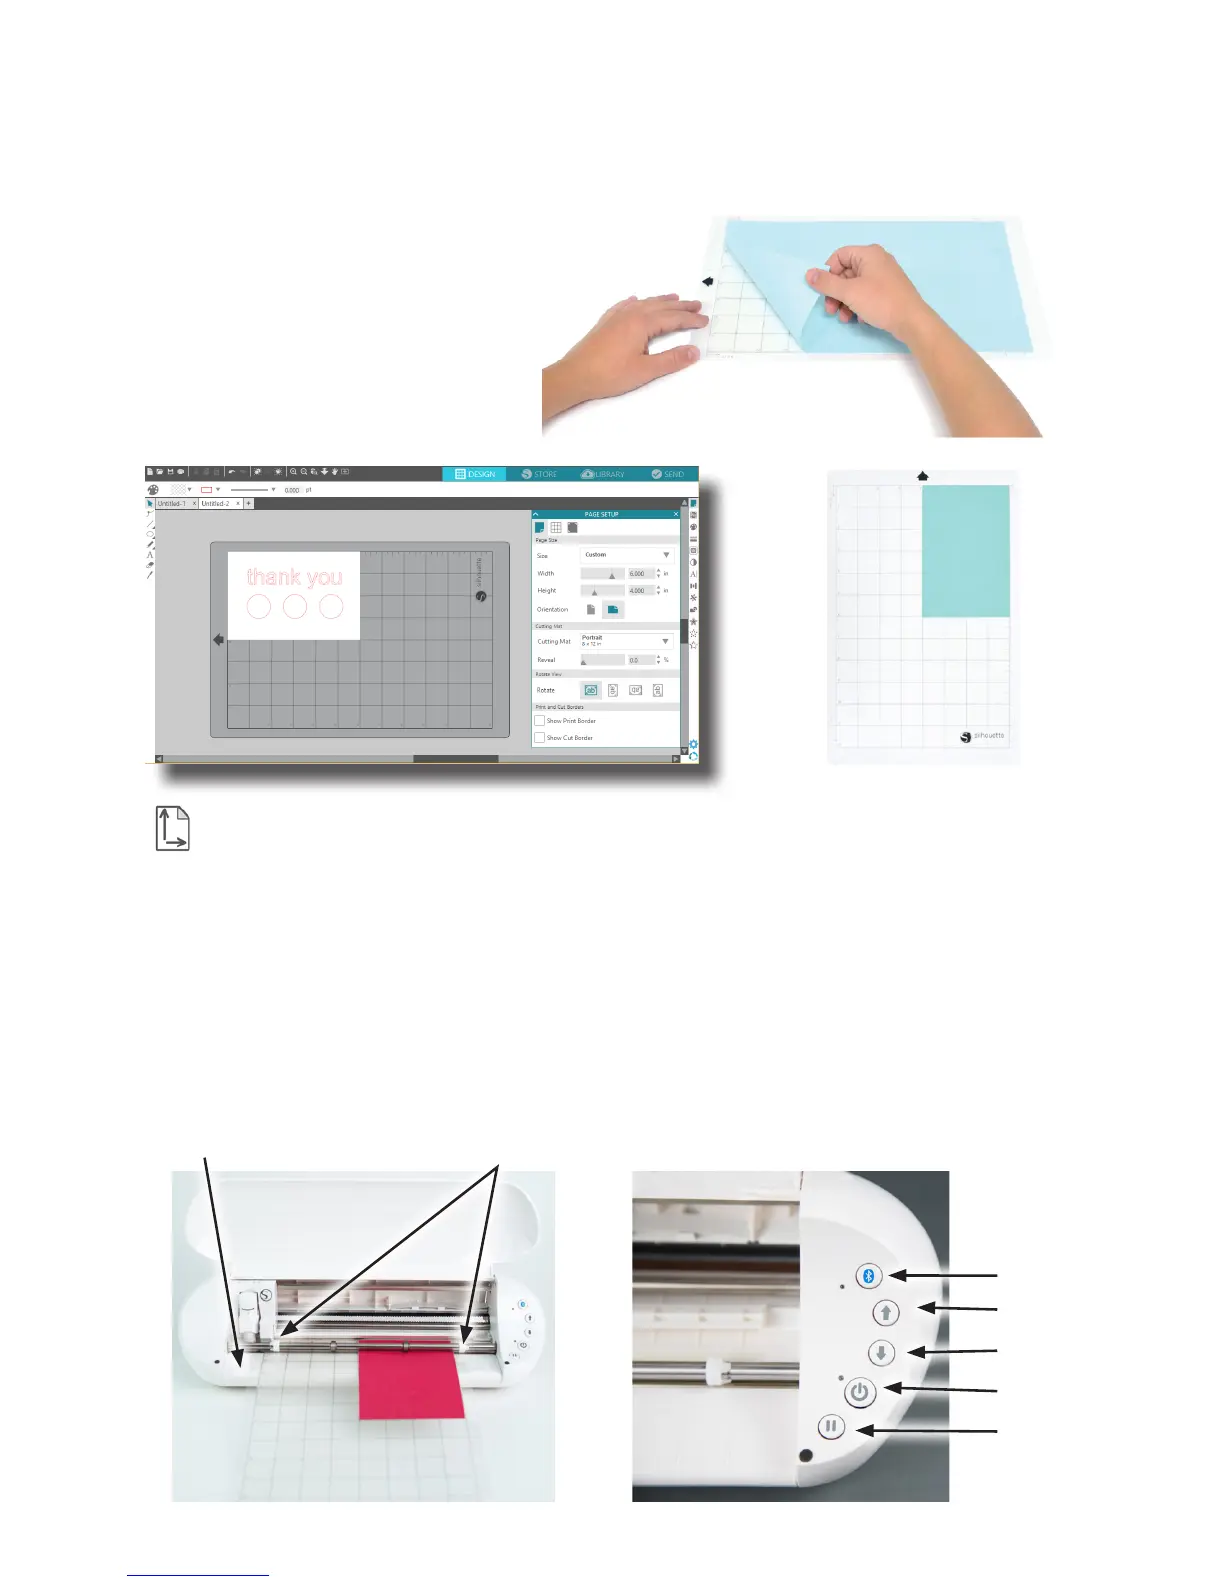
Preparing the Cutting Mat
Remove the nonstick liner from the cutting
mat.
Position your paper or other media on the
cutting mat according to the diagram shown
in Silhouette Studio®.
If you don’t see an image of the cutting mat under your document on the screen, click the
Page Setup button in the options toolbar in the upper right-hand corner of the window.
Position your image on the screen where you want it to cut on the mat. Be sure to keep your design
within the red margins on your page.
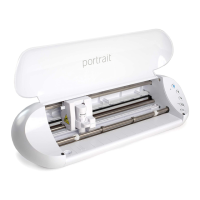
Preparing the Silhouette to Cut
Turn the Silhouette Portrait® on by pressing the Power button under the lid and waiting for the machine to
start up. To feed a cutting mat into the Silhouette, center the mat between the white rollers and press the
Load button.
blade adjustment socket white rollers
Bluetooth®
Load
Unload
Power
Pause
 Loading...