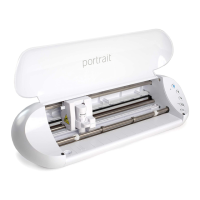
Getting Started with Silhouette Portrait
16
Blades
Different styles of blades are adjusted by different methods. Instructions for adjusting alternate blade
types will be included on the blade packaging. In all cases, higher blade settings expose more of the blade
and are for cutting thicker materials. Refer to Silhouette Studio® for recommended blade settings for
different materials.
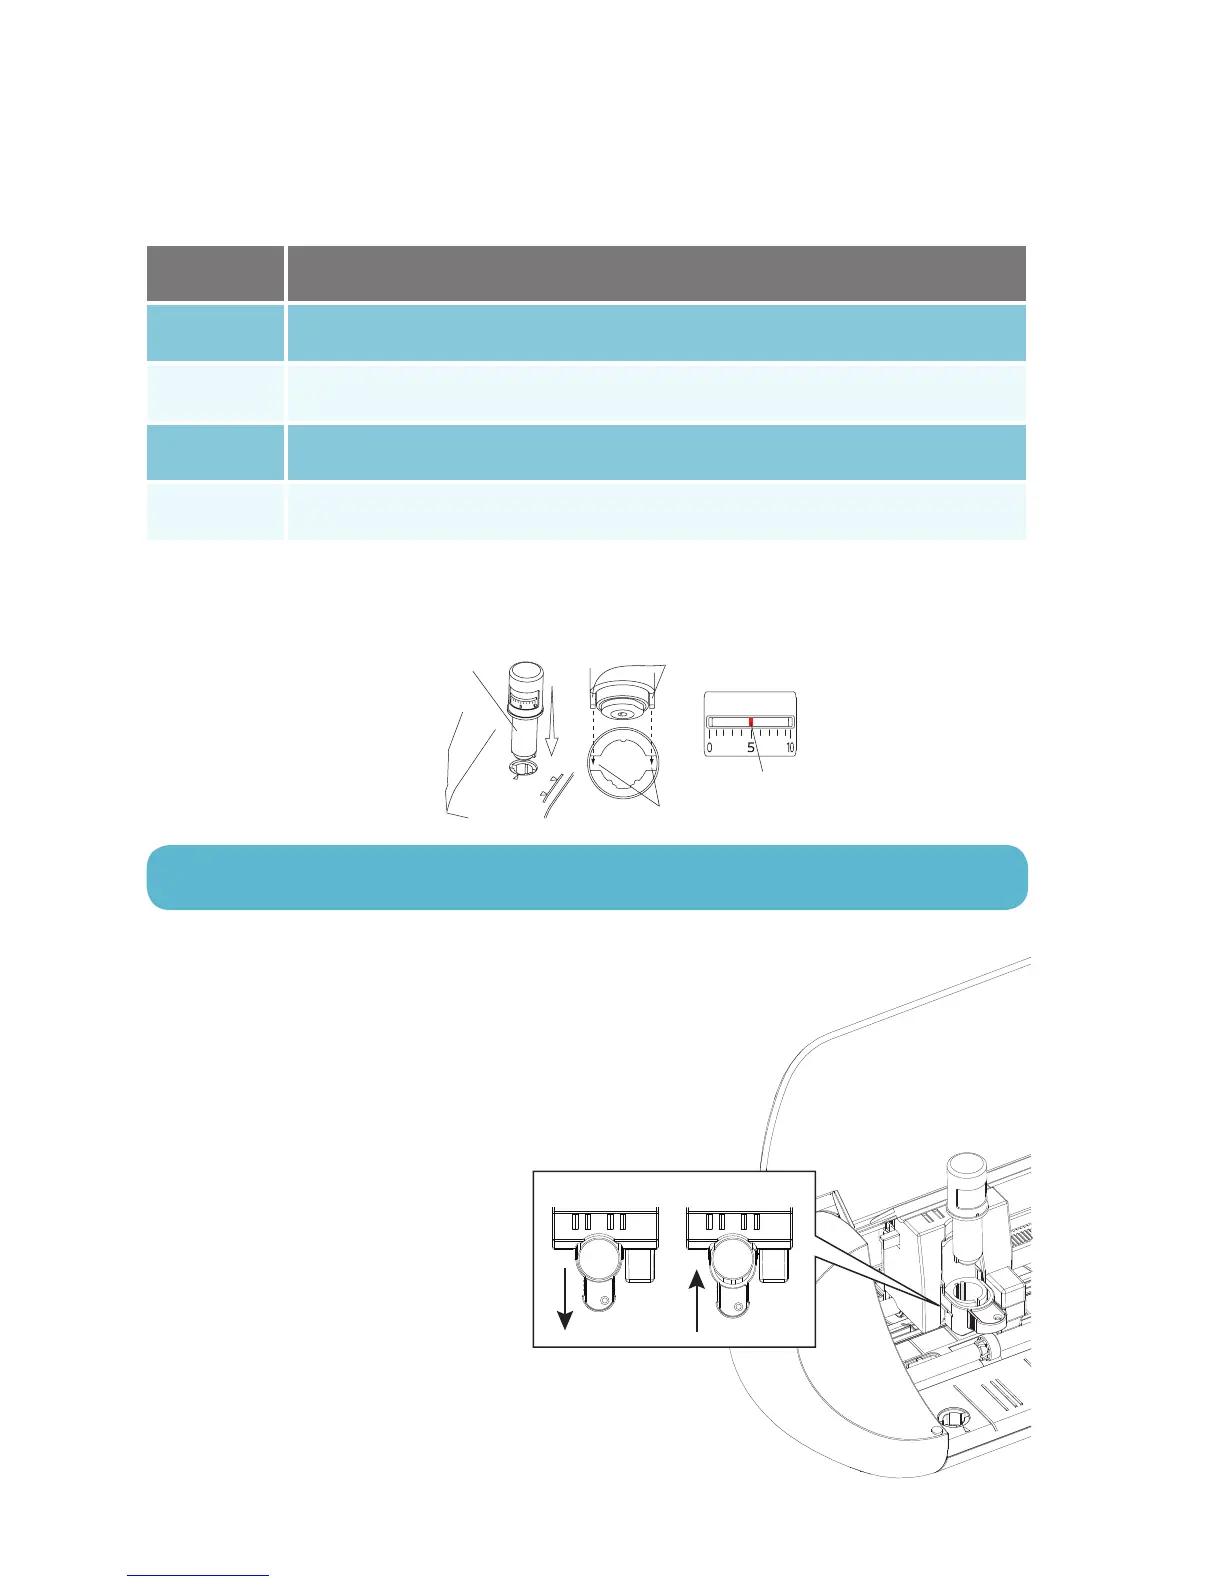
The AutoBlade can adjust automatically according to your software cut settings. To adjust the AutoBlade
manually, insert the tip of the blade into the blade adjustment socket as shown. Gently press the
AutoBlade up and down into the adjustment socket until the red indicator line points to the desired setting.
To load a tool into the carriage, unlock
the tool holder by gently pulling on the
tool holder. Place the tool into the tool
holder and push the extended part back to
secure the tool. Be sure the tool is pressed
completely into the holder.
Blade setting
1
4–6
7–10
2–3
Material
Thin materials, such as vinyl and smooth heat transfer material
Thicker materials, such as textured cardstock and pattern papers
Thick materials, such as canvas
Medium-weight materials, such as paper, cardstock, and flocked heat-transfer material
INDICATOR LINE
ADJUSTMENT SOCKET
AUTOBLADE
WARNING: The Silhouette blade is sharp. Handle the blade housing with care and do not
touch the blade itself.
unlock
Tool Holder
lock
 Loading...