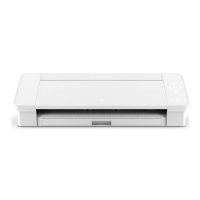
Getting Started with Silhouette Portrait
4
1
7
8
2
3
9
4
5
6
10
Work Area Overview
1. Document Tools
2. Quick-access Toolbar
3. Drawing Tools
4. Document Tabs
5. Holding Area (Gray)
6. Active Cut Area
7. Navigation Tabs
8. Silhouette Studio® Tools
9. Panels
10. Preferences and Themes
Cutting/Drawing Area
There are two different sections in your workspace: the white design page or cutting area and the gray
holding area. Images and designs can be placed on both the gray holding area and the cutting space, but
only designs or images within the active cut area (bound inside the red box on the white page) will be sent
to your Silhouette. The gray area can be used to place your extra work.
Document Tabs
Your document tabs are located at the top of your workspace. When you open a new document while you
already have a document open, a new tab will open. The document tab highlighted in white shows which
document is open in your workspace. The other open documents are shown with grayed-out tabs.
Your document tabs allow you to move easily back and forth between multiple documents and let
you know at a glance what projects you currently have open. When you save a file, the document tab
automatically updates to the file name.
Dg Tb
 Loading...