46
GB / IE
Monogramming and embroidering with embroidery hoop*
Stitch Stitch width Stitch length
B1~50
Stitch Stitch width Stitch length
B 3~5 0.5~1
Applique
* The embroidery hoop is not supplied with
the machine.
Sewing basics
1. Cut out the applique design and tack it to
the fabric.
2. Sew slowly around the edge of the
design.
3. Trim excess material outside the
stitching. Make sure not to cut any
stitches.
4. Remove the tacking thread.
5. Tie top and bottom thread under the
applique to avoid unravelling.
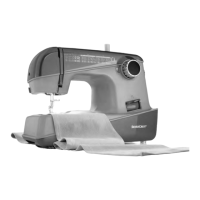
Attach the embroidery and darning plate
Preparation for monogramming and
embroidering*
1. Remove the presser foot and the presser
foot holder.
2. Attach the embroidery and darning plate
(o).
3. Lower the two-step presser foot lifter (17)
before starting to sew.
4. Adjust the stitch width according to the
size of lettering or design.
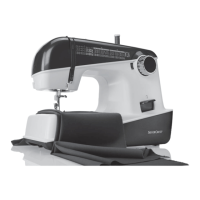
1. Draw the desired lettering or design on
the rear side of the fabric.
2. Stretch the fabric between the
embroidery hoop as firmly as possible.
3. Place the fabric under the needle. Lower
the two-step presser foot lifter (17).
4. Turn the hand wheel (20) towards you to
bring up the lower thread through the
fabric. Sew a few securing stitches at the
starting point.
5. Hold the hoop with thumb and
forefingers of both hands.
6. Coordinate the sewing speed and the
movement of hoop.

 Loading...