31 GB/IE
CAUTION! Keep the charging dock
9
out of
direct sunlight.
CAUTION! Change the position of the charging
dock
9
as seldom as possible.
Attaching the side brushes
Note: When attaching the side brushes
30
, make
sure that the markings “L” and “R” on the bottom of
the robot vacuum cleaner and on the side brushes
30
match.
Install the side brushes
30
by unscrewing the
screws counter-clockwise with a cross-tip screw-
driver.
Install the side brushes
30
in the designated
opening, and tighten the screws clockwise.
Verify the side brushes
30
are secure.
Inserting the batteries
(remote control) (Fig. D)
Remove the battery compartment cover
48
on
the back of the remote control
16
by sliding it
downwards in the direction of the arrow.
Insert two type AAA batteries (not included)
into the battery compartment
47
or replace the
old batteries with new ones. Only use batteries
of the specified type (see “Technical data”).
Ensure correct polarity. This is indicated in the
battery compartment
47
.
Close the battery compartment
47
by replacing
the battery cover in the opposite direction of
the arrow.
The display
36
will light up and the time indi-
cator
45
and schedule indicator
46
will appear
in the display
36
.
Note: Remove the batteries from the remote
control
16
if it will not be used for an extended
period.
Switching the product on / off
Press the power switch
5
on the side of the
product. “I” indicates switched on, “O” indicates
switched off. If the “Start / Pause” button
2
lights up green, the product was successfully
switched on.
Note: Do not switch off the product after it has fin-
ished cleaning. Leave it in the charging dock
9
so
that it is ready for the next cleaning session.
Note: Pressing the power switch
5
will erase the
time setting and vacuuming schedule.
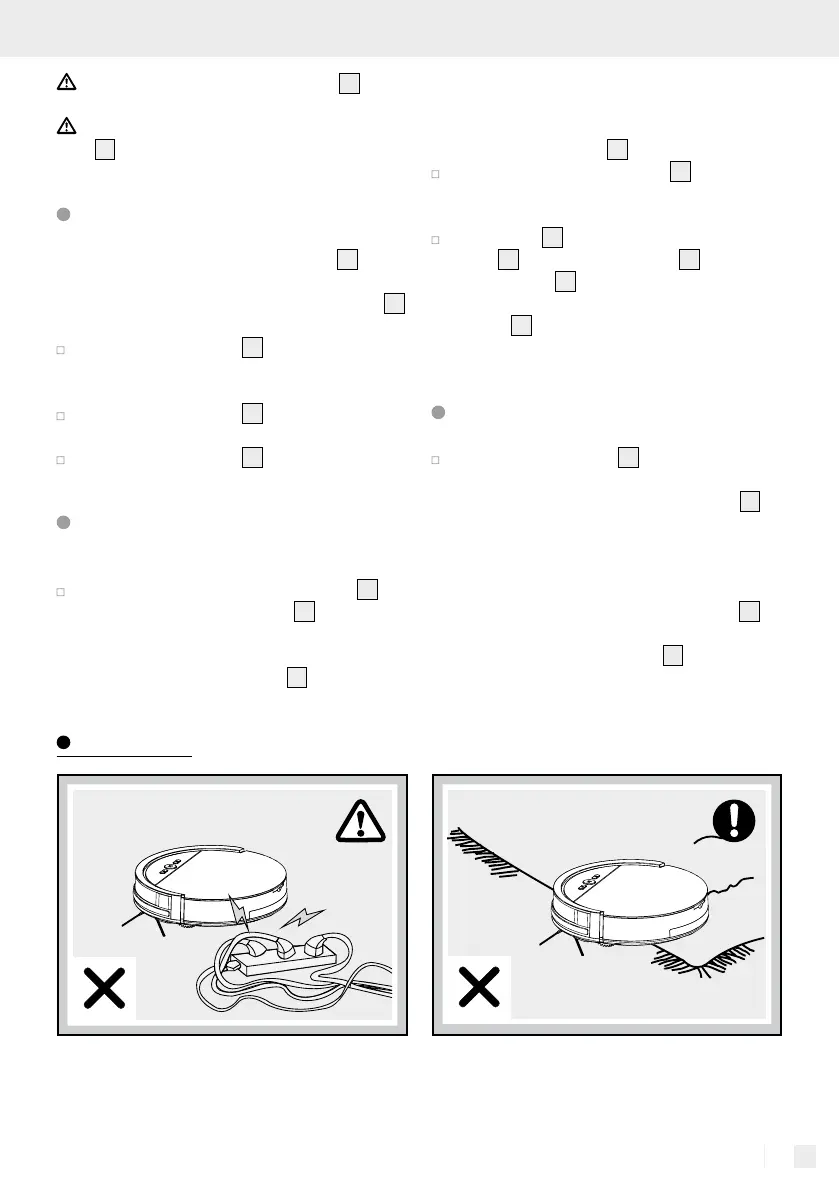
Operation
 Loading...