GB
6
Additional Safety Instructions for
Pneumatic Power Tools
Air under pressure can cause severe injury:
• Alwaysshutoffairsupply,drainhoseofairpressureanddisconnecttoolfromairsupplywhen
notinuse,beforechangingaccessoriesorwhenmakingrepairs
• Never direct air at yourself or anyone else
• Whippinghosescancausesevereinjury.Alwayscheckfordamagedorloosehosesandttings
• Wheneveruniversaltwistcouplings(clawcouplings)areused,lockpinsshouldbeinstalledand
whipchecksafetycablesshouldbeusedtosafeguardagainstpossiblehose-to-toolorhose-to-
hose connection failure
• Do not exceed the maximum air pressure stated on the tool
• Never carry an air tool by the hose
Grinding Tool Safety
• Alwayswearappropriatepersonalprotectiveequipment.Whenusingagrinder,adequateeye
protection,eardefendersandbreathingprotectionmustbeworn
• DONOToperateagrinderwithouttheappropriateguardsinplace
• Grindingtoolaccessoriesmustbemounted,usedandstoredincompliancewiththe
manufacturer’s recommendations
• Only use cutting discs in the size stated in this instruction manual. Attempting to use any other
accessory or attachment is extremely dangerous and could lead to serious injury
• Usethecorrecttypeofcuttingorgrindingdiscforthetaskandmaterialbeingworkedon.Check
thelabelonthediscoraccessorytondoutifitisappropriatetouseontheworkpiece
• Themaximumspeedofthecutting/grindingdiscorotheraccessorymustalwaysbehigherthan
themaximumspeedofthemachineonwhichtheyaremounted
• Donotuseanyformofspacersoradaptersinanattempttomakeanincorrectlysizeddisct
your machine
• Ensurethatthecutting/grindingdiscoraccessoryisttedcorrectlyandsecurelybeforeuse.Run
themachinewiththediscoraccessorytted,butwithoutload,forareasonabletimebefore
attempting to cut/grind. If excessive vibration occurs, stop the machine, investigate and correct
thecausebeforeuse.Seekprofessionalguidanceifyouareindoubtabouthowtooperatethe
machine safely
• Alldiscsandaccessoriesmustbecheckedbeforeinstallation.Ifadiscisdamagedinanyway,
suchasbybeingchipped,fractured,warpedormisshapen,DONOTUSEANDDISCARD.Ifyouare
unsureaboutwhetheradiscissafetooperate,DONOTUSEANDDISCARD
• Alwaysensurethataccessoriesaresuitabletouse.Checktheexpirydateonthelabel.Resin-
based and other grinding and cutting discs CANNOT SAFELY BE USED beyond their expiry date
• Donotallowdiscstobecomewetorcontaminatedwithoil.Ifyoususpectthatadischas
degradedinstorage,orifyouareunsureaboutwhetheritsexpirydatehaspassed,DONOTUSE
AND DISCARD
• Do not attempt to cut or grind magnesium or any alloy that has high magnesium content
• Do not attempt to make cuts that exceed the maximum cutting depth of the disc
• Hold the machine appropriately to ensure that debris produced does not land on skin or clothing
• Discswillcontinuetorotateforsometimeafterthemachinehasbeenswitchedoff.Allowthe
movingpartstostopcompletelywithoutinterference.Donottrytostopthemachinebyholding
anobjectagainstthedisc.NEVERplacethegrinderdownuntilthedischascompletelystopped
moving
• Agrindingdiscwillgraduallyweardownduringuse,reducingitssize.Ifadiscbecomestoo
smalltoworkwitheasily,stopusingitandreplaceitwithanewdisc
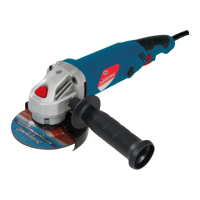
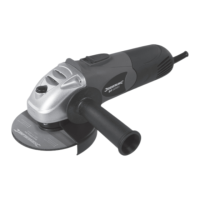
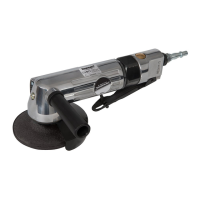
Intended Use
Anglegrinderusing100mm(4”)diameterdiscs,poweredbycompressedairfromacompressor,for
grinding and cutting of metal and other materials.
Unpacking Your Tool
• Carefullyunpackandinspectyourtool.Fullyfamiliariseyourselfwithallitsfeaturesand
functions
• Ensure that all parts of the tool are present and in good condition. If any parts are missing or
damaged, have such parts replaced before attempting to use this tool
Before Use
WARNING:Alwaysdisconnecttheanglegrinderfromtheairsupplybeforeattemptingtotor
replaceanyattachment.Nevertanyattachmentwithamaximumspeedlowerthanthenoload
speed of the machine.
• All discs and accessories must be subjected to a visual inspection prior to installation to ensure
theyareingoodconditionandwithintheirexpirydate.Ifindoubt,DONOTUSEandDISCARD
• Alwayscheckallpartsandattachmentsaresecure,andthatrotatingpartswillnotfoulonguards
or machine case
• Alwaysholdthemachine,usingbothhands,bythehandlesprovided
• Beawarethatthetoolhousingmaygethotduringuse
• Alwayswearappropriatepersonalprotectiveequipmentforthetask.Useofthismachine
requires ear defenders, eye protection, gloves, breathing protection, and, if appropriate, a
hard hat
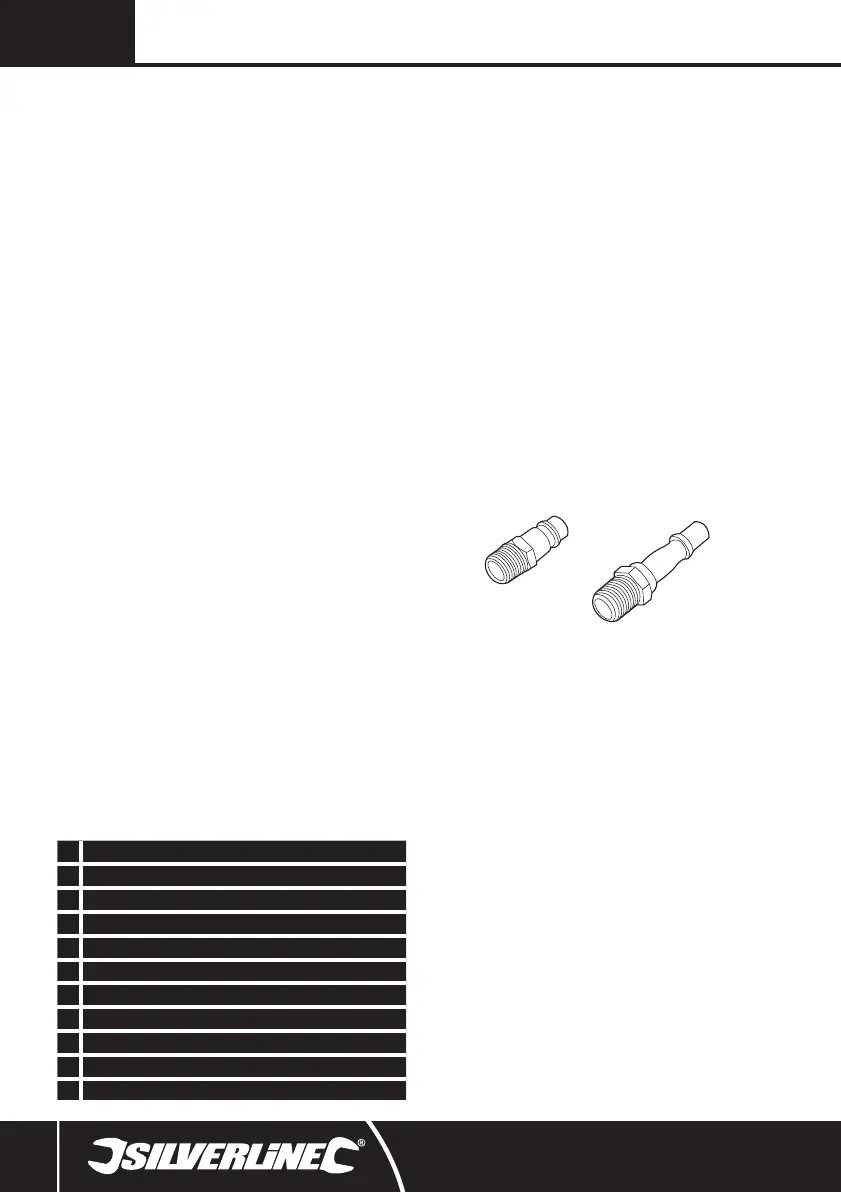
Fitting the quick connector
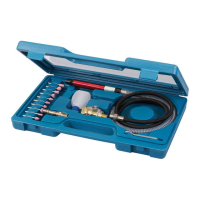
Note:Thistoolissuppliedwithtwodifferentmaleairlinequickconnectors:
EQ-4 – commonly used in Europe
EN-6 – mainly used in the UK
• Pleasechoosetheconnectorthatiscompatiblewiththeairlinesystemyouareusing,andinstall
asoutlinedbelow:
1. ApplysomePTFEtape(notincluded)tothescrewthreadsoftheQuickConnector(11).Thiswillhelp
to maintain an air tight seal
Note: ApplyPTFEtapetightlyandinaclockwisedirection,soitdoesnotcomeoffwhenthethread
isscrewedintothetool.
2. Remove the protective plug from the air inlet
3. Usingaspanner(notincluded)screwthequickconnectorintotheairinletlocatedatthebaseof
the handle
4. Connect to airline, pressurise carefully and carry out a leak check (e.g. by spraying small amounts of
soapywaterontotheoutsideoftheconnectors)
• Airlinesttedwithmatchingfemalequickconnectorswillnowbeapushttothetool
Fitting the auxiliary handle
WARNING: To ensure operator safety, ALWAYS use the Auxiliary Handle (8).
1. Screwtheauxiliaryhandleclockwiseintothemountingpointontheleftsideofthetool
housing. Tighten by hand
2. Toremovetheauxiliaryhandle,unscrewanti-clockwise
Fitting a disc
WARNING:Disconnectthetoolfromtheairsupplybeforettingorchangingdiscs.
• FindtheatfacesontheSpindle(3)andengagethemwiththeSpanner(7),sothatthespindle
is held securely and not able to rotate
• Use the Pin Spanner (6) to loosen the Threaded Flange (4)
• Removethethreadedangeanddiscardtheolddisciftted
• Fitanewdiscofcorrectsize(see‘Specications’),followingthemanufacturer’sguidancefor
direction of rotation
Note:Unlessotherwisestated,themetalringatthecentreofthediscshouldfacethespindle.
• Re-tthethreadedange,ensuringitisnotdeformed,burredornotched,andtightenusingthe
spanner and pin spanner
WARNING:Adamagedangemaycauseirregularpressureonthedisc,andmaycauseittobreak.
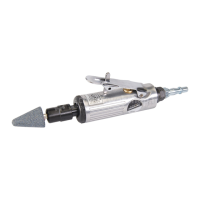
1 Handle
2 Guard
3 Spindle
4 Threaded Flange
5 Grinding Disc
6 Pin Spanner
7 Spanner
8 Auxiliary Handle
9 Safety Catch
10 Speed Control Trigger
11 Quick Connector
Product Familiarisation
EQ-4
Europe
EN-6
UK
196512_Manual.indd 6 30/08/2017 17:20
 Loading...