www.silverstonetek.com
User manual
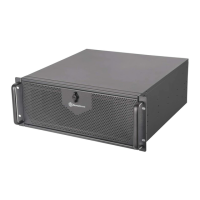
1.Press down on the front panel switch to remove the front panel 2. Remove both top and bottom panels 3. Remove the 2.5" SSD tray, and gently flex the tray to facilitate the
installation of the 2.5" SSD
4. Install the 3.5" HDD in a similar manner. The 3.5" HDD can be
inserted into the hard drive cage in either direction
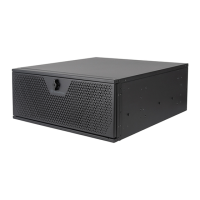
1. Pull the tray out of the chassis
2. Install the drive into the drive tray, secure it with screws, and then
re-insert the assembled drive tray module back into the chassis
6. To facilitate a simple connection of the hard drive backplane
cables, remove the fan bracket by loosening the screws that
secure the backplane to the chassis
Installation Steps
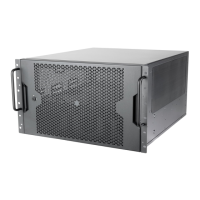
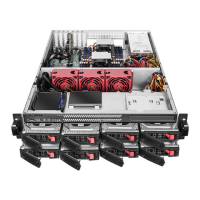
RM600
RM61-312
RM61-312
5.External 2.5"/3.5" drive installation
Motherboard
Standoff
Accessories Content
Motherboard /
5.25" Device Screw
5.25" Guide Rail
Screws
PSU Screw
5.25" Ventilation
Bezel
5.25" Bezel
5.25" Guide Rail x9 Key
Case Feet
Vertical position
accessories
2U Redundant
accessories
Fan Extension
Cable
3.5" HDD 2.5" SSD
RM61-312 RM61-312
RM600 & RM61-312
1