Do you have a question about the SilverStone MS12 and is the answer not in the manual?
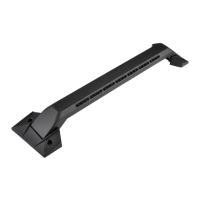
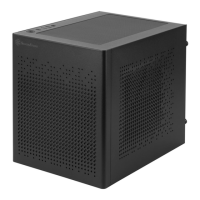
Instructions to remove the top cover with the SilverStone logo from the MS12.
Instructions to remove the PCB from its housing or packaging.
Attach thermal pads of specified thickness and color to the PCB based on SSD type.
Install the M.2 NVMe SSD onto the PCB and secure it with screws.
Remove the plastic release film from the thermal pads on the covers.
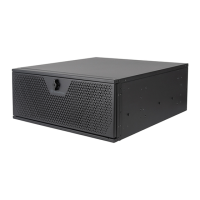
Reinsert the assembled MS12 PCB back into the main enclosure.
Attach and secure the top cover to the enclosure with screws to complete assembly.
Warning about heat absorption by the aluminum exterior and cooling down period.
Details the 1-year limited warranty and general terms for product defects and usage.
Provides contact information for warranty service in different regions and additional support.
| Storage drive size | M.2 \ |
|---|---|
| Number of storage drives supported | 1 |
| Supported storage drive interfaces | PCI Express 3.0, Serial Attached SCSI |
| USB version | USB 3.2 Gen 2x2 |
| USB connectivity | Yes |
| USB connector type | USB Type-C |
| USB connector gender | Female |
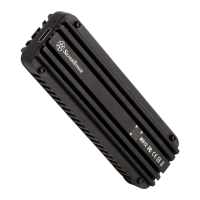
| Material | Aluminum |
| Product type | SSD enclosure |
| Product color | Black |
| LED indicators | Data, Power |
| Chipset | ASMedia ASM2364 |
| Data transfer rate | 20 Gbit/s |
| Harmonized System (HS) code | 84733080 |
| Depth | 33.3 mm |
|---|---|
| Width | 106.15 mm |
| Height | 15.3 mm |
| Weight | 53 g |
| Cable length | 0.3 m |