See 7.8.1 for more detail on linearization.
1. Press
to enter the programming mode.
2. S
croll or until “
6&W/
” (Scale / Linearization control) displays
.
Press .
When “
&RUG
” and a number and “
3W
” flashes, press .
5. A number and “
3W
” is now a fixed display. Use or to increase or decrease
the number of coordinate points as necessary. Press .
6. The display will flash “
(/(
”, a point number and the setting. Press
7. Enter the electrical value using
, or . Press .
8. The display will flash “
G63
”, a point number and the setting. Press .
9. Enter the display value using
, or . Press .
10. Continue these steps until all coordinates have been entered.
11. Exit the programming menu by pressing
until “
X3G7)/6+
” flashes. If “
X3G7
)/6+
”does not display, system changes must be re-entered and saved.
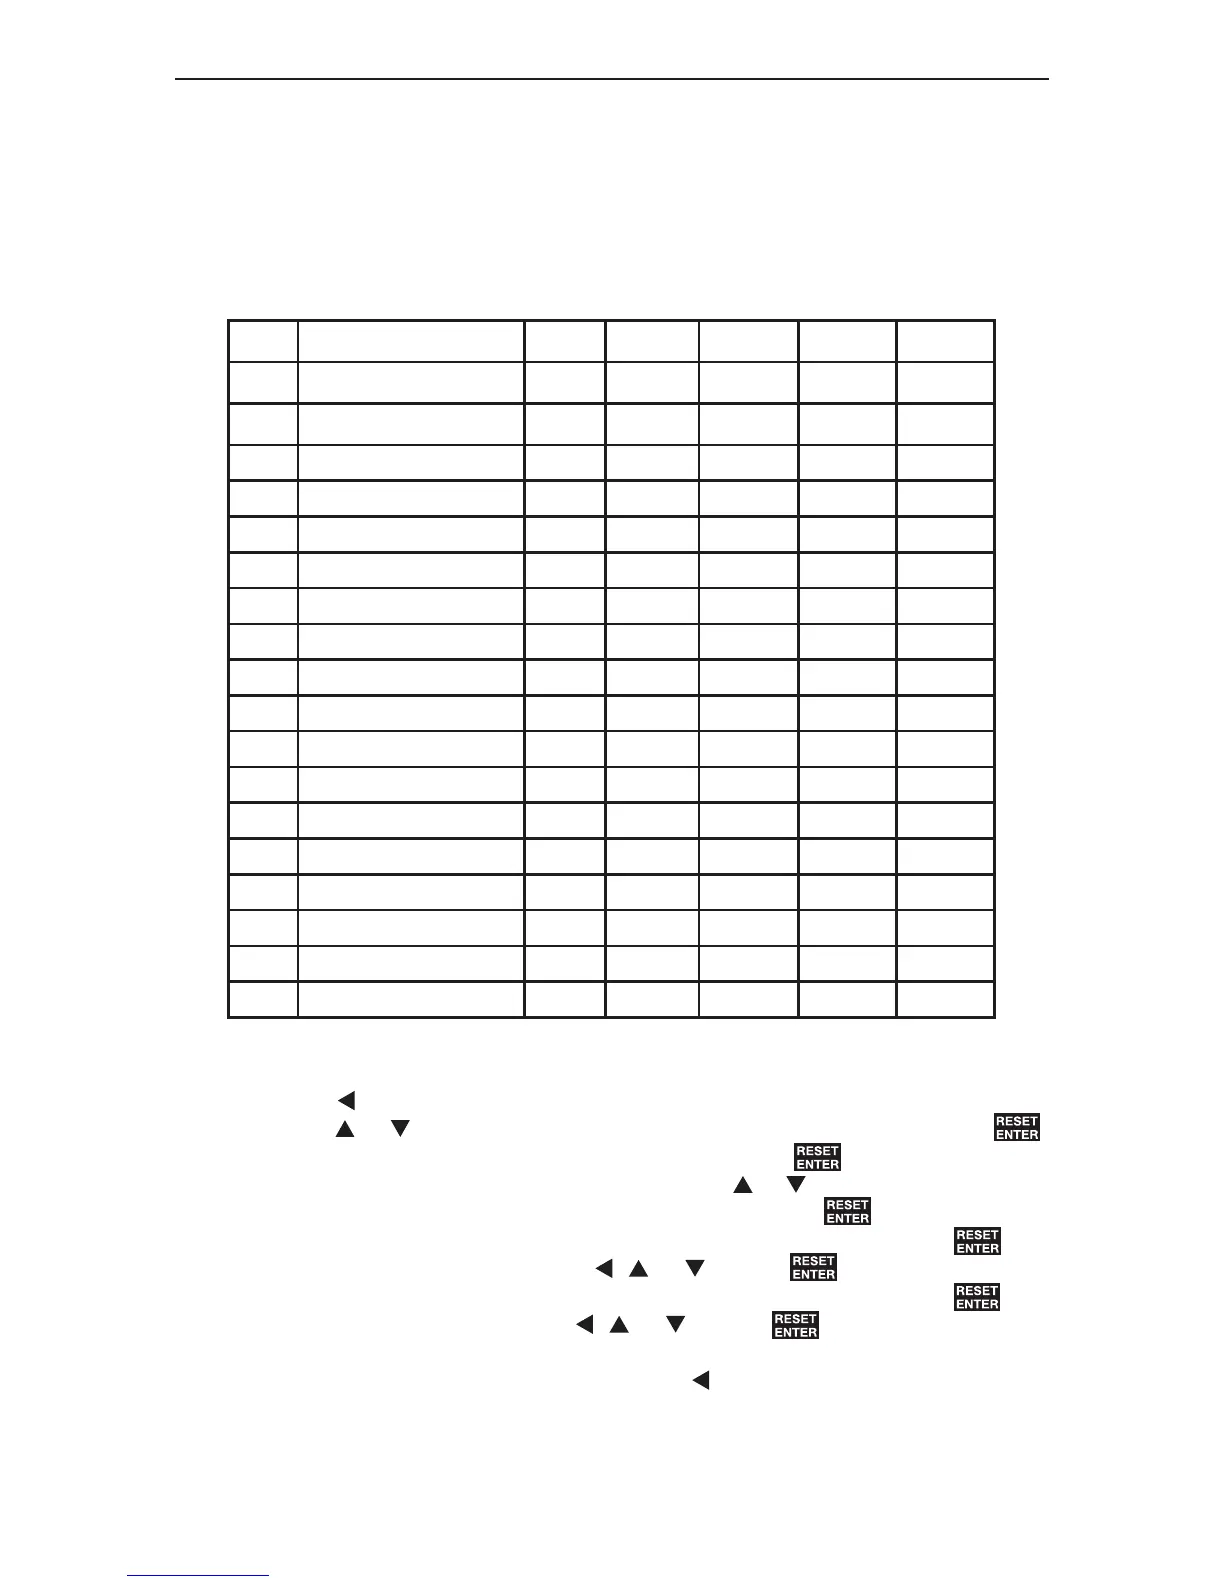
Table 6-6
6.8 Scaling / Linearization Control
Improved linearization on the Hawk 3 allows use of all digits; -9999 to 9999 with
the 3.5 digit version and -99999 to 99999 with the 4.5 digit version. The 4.5 ver-
sion can also be linearized up to 16 points in order to accommodate non-linear
processes. The 3.5 version only has 2 point linearization.
NOTE: Linearization must be done with a positive slope. Linearization cannot be
done with a negative slope or parabola.
6&W/
/LQ (Linearization)
&RUG (Coordinates)
oFF
1 Pt ELE1 = value DSP1 = value
2 Pt ELE2 = value DSP2 = value
3 Pt ELE3 = value DSP3 = value
4 Pt ELE4 = value DSP4 = value
5 Pt ELE5 = value DSP5 = value
6 Pt ELE6 = value DSP6 = value
7 Pt ELE7 = value DSP7 = value
8 Pt ELE8 = value DSP8 = value
9 Pt ELE9 = value DSP9 = value
10 Pt ELE10 = value DSP10 = value
11 Pt ELE11 = value DSP11 = value
12 Pt ELE12 = value DSP12 = value
13 Pt ELE13 = value DSP13 = value
14 Pt ELE14 = value DSP14 = value
15 Pt ELE15 = value DSP15 = value
16 Pt ELE16 = value DSP16 = value
25
.