6.4 Setpoint and Relay Control
The followng relates to setting the setpoints 1 thru 4 (if available).
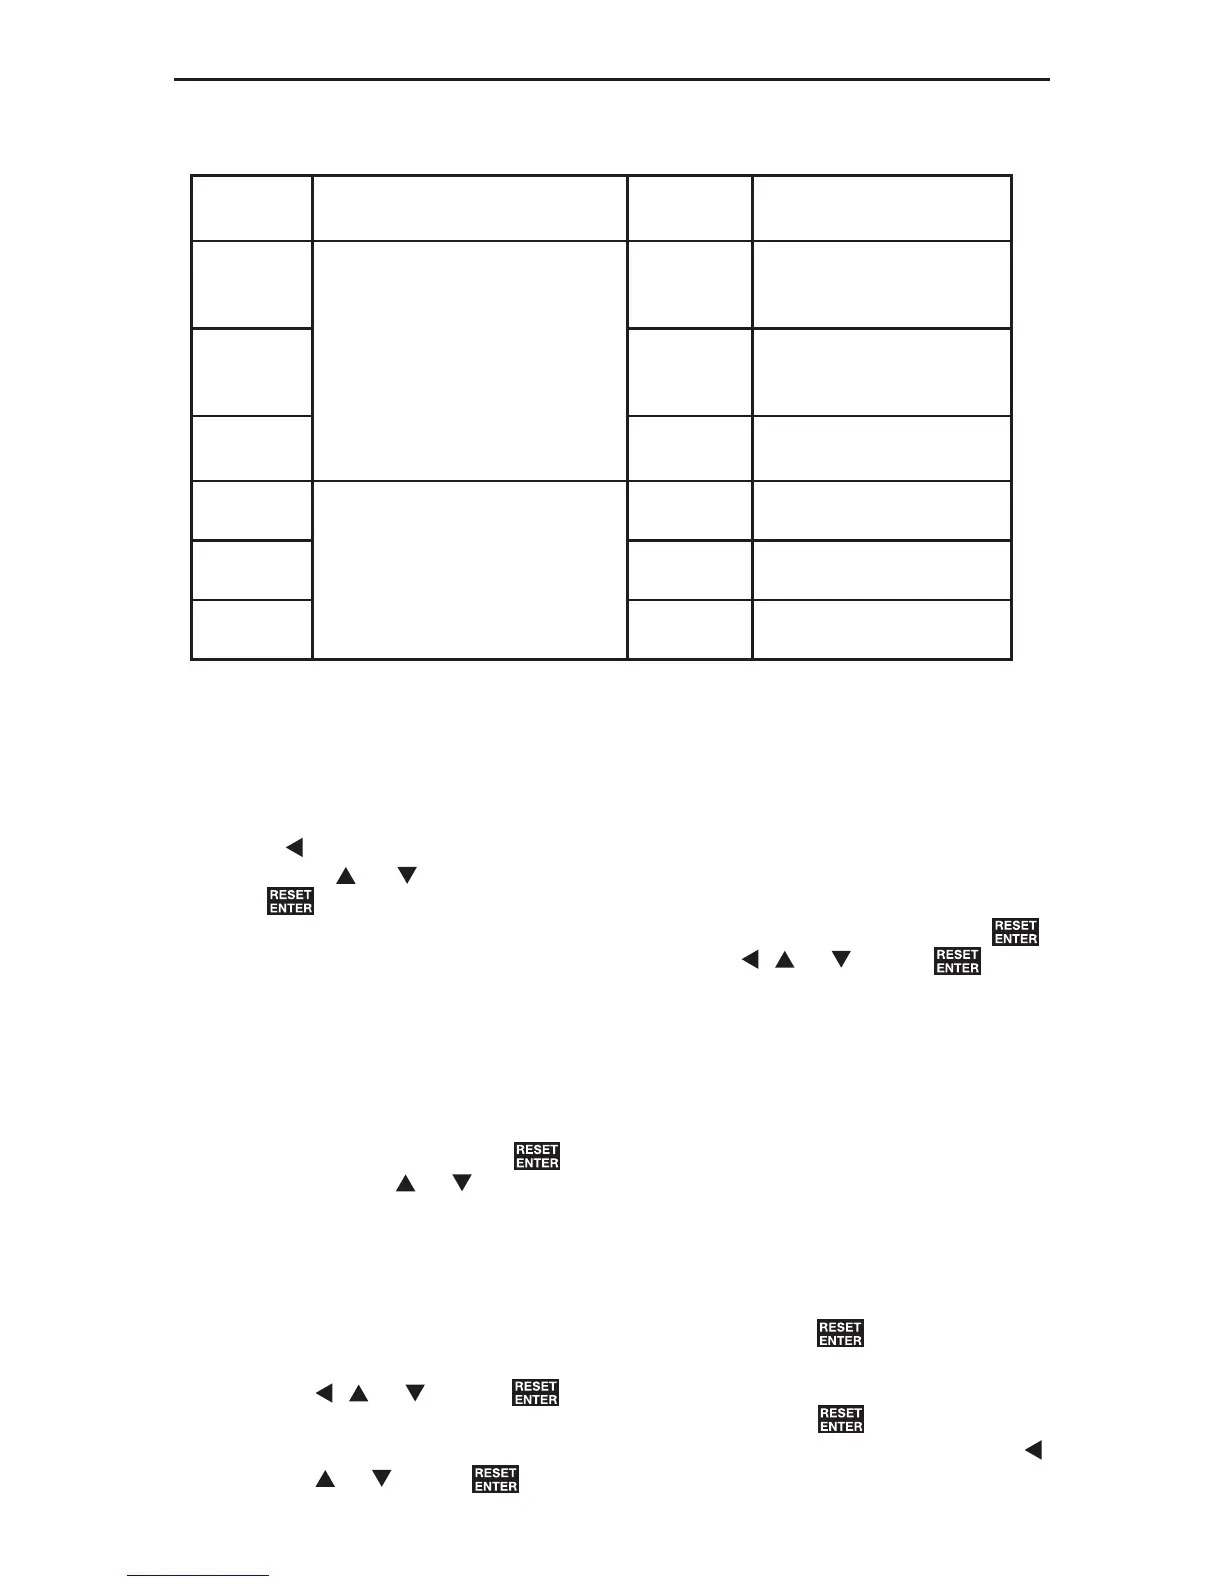
63>@ 9$O>@
Value
UVS
(Response)
+\VW+L
+\VW/R
0* to 29.9
percent
GO$\+L
GO$\/R
0* to 60.00 seconds
/W&+
0* to 60.00 seconds
$OU (Alarm) +LB*
/RB
RII
* Factory Reset Default Values
Table 6-1
6.4.1 Setpoint Values
The Hawk 3 can be purchased with up to 4 separate relay control setpoints (SP1
– SP4). Each setpoint needs to be individually programmed and can be set to a
value that corresponds to a programmed display range. To set control setpoints
press
to enter programming mode.
1. Scroll
or until the appropriate menu item “
63 – 63
” displays. Press
REs .
2. The display should flash between “
9$/
” (Value) and a number. Press .
3. Set this number to the desired value by using
, or . Press .
NOTE: While in programming menu, all other operations are suspended.
6.4.2 Relay Settings
Once the relay control setpoints are programmed, the display will flash alternately
from “
G/$<
” to “
U63
”. Press
REs to stop display flashing. Relay responses can
now be set. Use
or to select choice: Delay, Hysteresis or Latch.
NOTE: Only one response type can be set.
1. Delay: This is the amount of time the process has to be out of spec before
the relay actuates.
a. The display will show “
GB/R
” and a number. Press REs .
b. Enter the amount of delay Lo (Falling edge) time (0-60 Sec) value by using
, or . Press RES .
c. The display will show “
GB+L
” and a number. Press RES .
d. Enter the amount of delay Hi (Rising edge) time (0-60 Sec) by using
,
or . Press REs .
19