3
(6) The wired controller should only be installed indoors, and its working tempera-
ture range is 0℃~50℃.
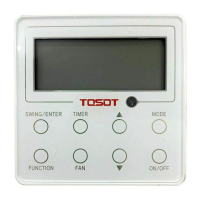
1.3
Installation of Wired Controller
First to select the right signal wire of wired controller: 2–core signal wire (wire di-
ameter>=0.75mm, length<30m, recommendable length is 8m).
For installation steps of wired controller please refer to the following sketch map,
brief instructions are as below:
(1) Before installation, please cut off the power supply of indoor unit, live working
during installation is not allowed;
(2) Pull out the 2–core STP inside the wall from the installing hole, thread the wire
through the connecting hole in the back of soleplate of wired controller;
(3) Stick the soleplate of wired controller on the wall, use screw M4×25 to fix the
soleplate onto the installing hole of wall;
(4) Connect the 2–core STP with the two wiring terminals in the back of wired con-
troller respectively, and screw up the screw; no polarity for these two wiring ter-
minals, but note that it should not be connected to strong current;