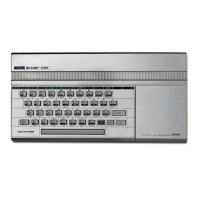
Sinclair ZX Spectrum Service Manual
Spectrum For Everyone https://spectrumforeveryone.com/
16
2 DISASSEMBLY/ASSEMBLY
Disassembly
Assembly
2.1 DISASSEMBLY
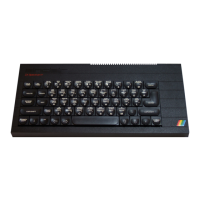
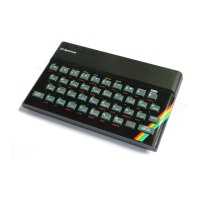
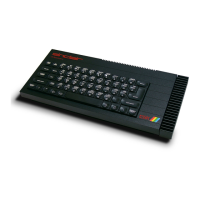
Unplug all input/output leads and turn the computer upside-down to reveal five self-tapping screws.
Remove the screws. Hold the two halves of the case together and return the computer to the keys
uppermost position. The top half of the case can now be separated from the bottom half, although it
remains connected to it by two flexible keyboard ribbon connectors. Care should be taken not to damage
the ribbon connectors. As an aid to reassembly, the lie of the connectors within the case should be noted.
To remove the board from the lower half of the case, remove one self-tapping screw (adjacent to IC22
socket) and lift out the board. It may be advantageous to make up two short pluggable extensions for the
keyboard connectors in order to improve accessibility to the board.
To change either the keyboard membrane or the rubber keyboard mat it is first necessary to remove the
escutcheon plate (template). This is attached to the case by double-sided adhesive tape around the edges.
The template is removed by inserting a screwdriver at one end and levering it away from the case. It is
not normally possible to remove the template without damage.
2.2 ASSEMBLY
Assembly is carried out using the reverse procedure to that of disassembly. Do not overtighten self-
tapping fixing screws.
When replacing a keyboard component, note that the membrane keys into projections on the case. Place
the keypad over the membrane and ensure that it is positioned and seated properly. Faulty installation
can result in depressed keys being trapped under the template during subsequent key operations. To
install the template, place double-sided adhesive tape around all four edges, locate it in position on the
case and apply firm pressure around the edges (12mm tape on sides and bottom, 6mm at top).
When aligning the top half of the case with the bottom half ensure that the two keyboard ribbons are not
trapped between projecting components within the case. In their correct positions, there is sufficient
room for the cables to take up a comfortably curved position inside the case. If a cable is trapped and bent
double, an open circuit will sooner or later result.