16
• The saw can now be turned the correct way up and completely removed from
it’s packaging.
ASSEMBLY INSTRUCTIONS….cont
• The above instructions should be followed until both the left and right hand ex-
tension tables (if required) are fitted (but not correctly set).
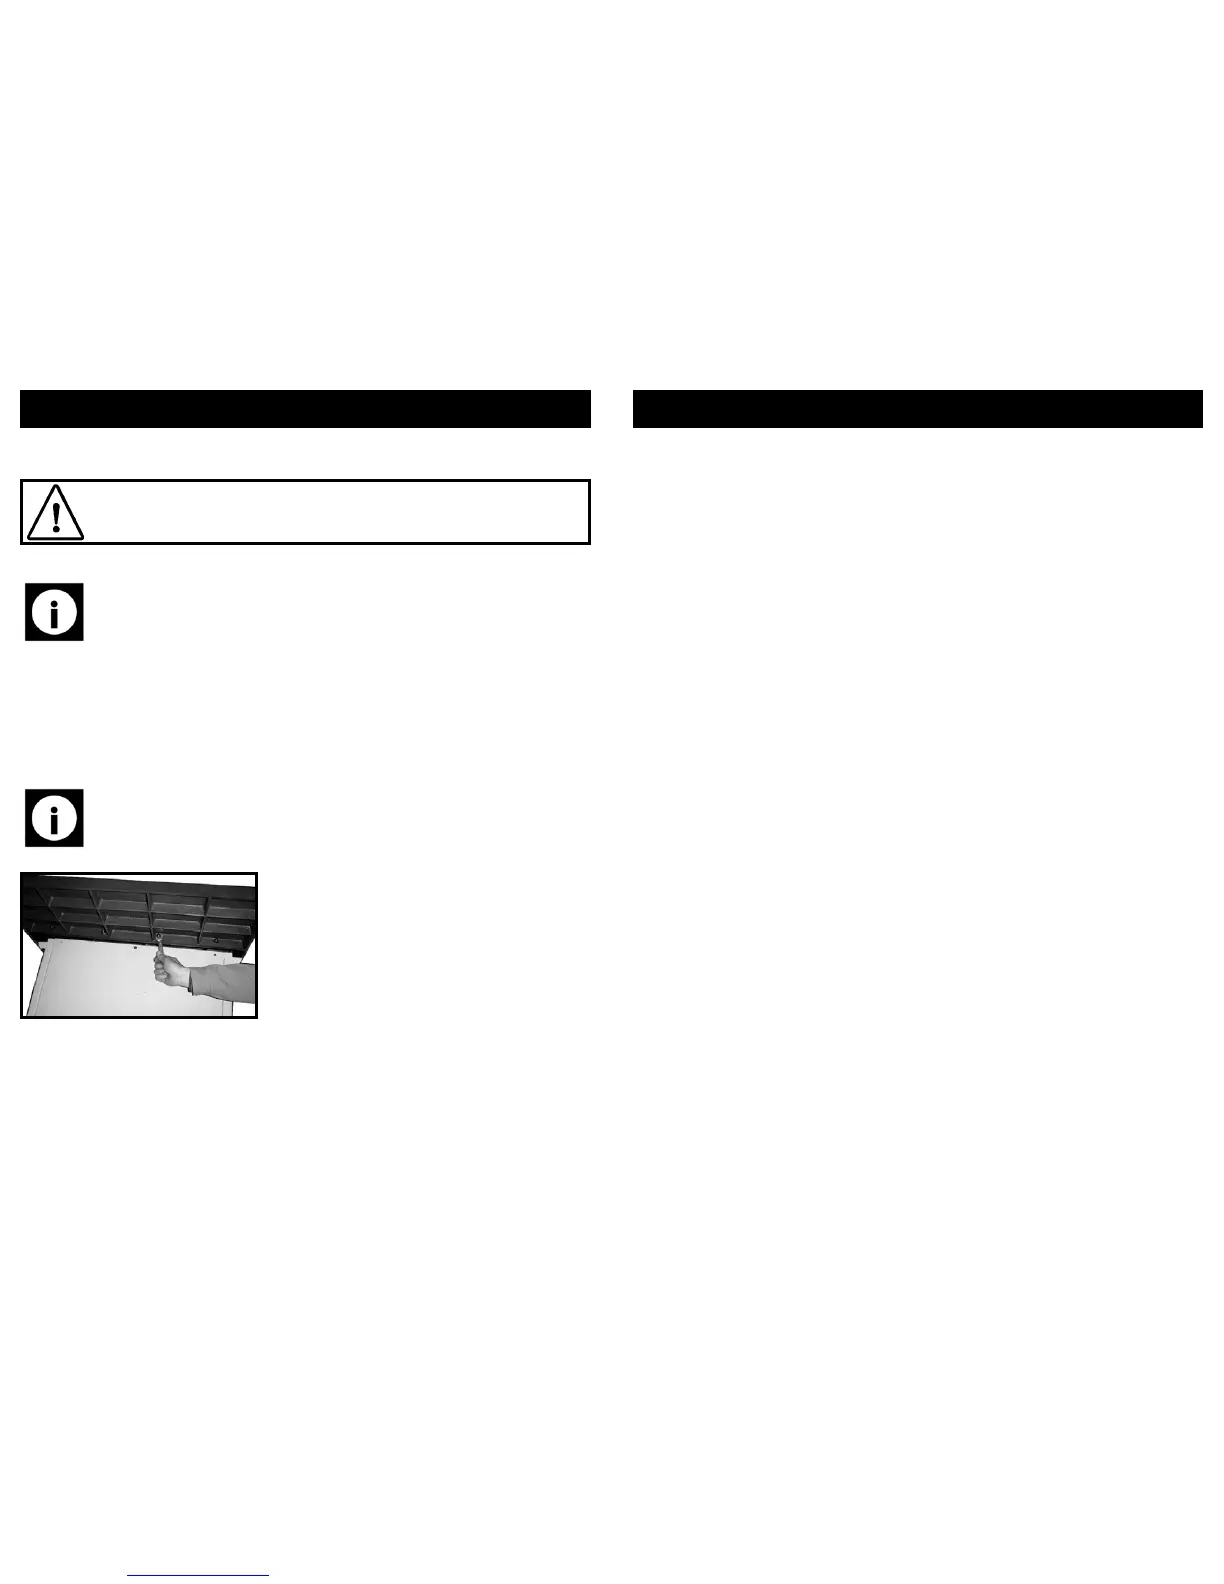
Setting the extension table / tables:
• A soft mallet is required (not supplied) to safely carry-out the operation of set-
ting the extension tables. If one is not available, a scrap piece of wood and a
hammer will suffice.
Note: Ensure the bolts are fairly tight but not fully tightened at this point as
some adjustments are still required to ensure the table is correctly located.
It will make setting the extension table easier if the top of the extension ta-
ble sits just higher than the main table after this operation is complete.
• Set the extension table to the side of the main saw bed of the saw.
• Ensure the 4 holes on the extension table line up with the 4 threaded holes on
the main bed of the saw.
• Secure the extension table by means of :-
⇒ 4 x M8 x 20 mm bolts.
⇒ 4 x 8 mm washers.
Caution: Due to the weight of the saw 2, or more persons will be required
to safely lift and turn the saw, and to fit the extension tables (see below).
Note: The saw can be used without the extension tables fitted, with one
fitted to the left of the main table, one fitted to the right of the main table
or with both tables fitted (left and right).
Fitting the extension tables:
29
TROUBLESHOOTING
Problem Possible cause Possible solution
Motor is slow or weak:
• Voltage from source is
low.
• Windings are burned
out or open.
• NVR Switch is defective.
• Circuit is overloaded
with appliances lights or
other electrically pow-
ered equipment
• Request a voltage check
from local power com-
pany.
• Have the Motor
checked, repaired or
replaced.
• Have the NVR checked,
repaired or replaced.
• Do not use other appli-
ances or electrically
powered equipment on
the same circuit when
using the Table Saw.
Motor regularly overheats:
• Voltage from source is
low.
• Dull saw blade.
• Sawdust inside table
saw is blocking airflow.
• Request a voltage check
from the local power
company.
• Replace the saw blade.
• Clean out the saw base.
When ripping, the cut
burns the work-piece, or
stalls the motor:
• blade teeth are dull.
• Work-piece is warped.
• Rip fence is not parallel
with the saw blade.
• Sharpen or replace the
blade.
• Replace the work-piece.
• Re-align the rip fence,
and lock it in position.
Miter-gauge does not move
freely:
• Miter gauge assembly is
dirty.
• Loosen the miter gauge
knob, clean and lubri-
cate the Miter Gauge
Rod.
Rip Fence does not move
smoothly:
• Rip Fence is mounted
incorrectly.
• Remove, and reposition
the Rip Fence and lock
it in position
Bevel & Height Handles are
hard to turn:
• Sawdust has collected
on the mechanisms in-
side the base.
• Clean and lubricate the
mechanisms inside the
base.
Saw blade does not lower
when turning the Height
Handle:
• Height Lock Handle is
not fully released.
• Fully release the height
Lock Handle.
 Loading...


