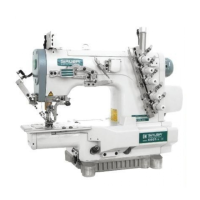
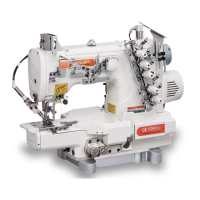
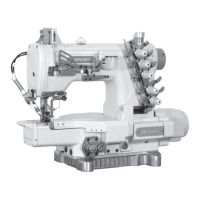
6
B. Belt Stopper Adjustment:
(5). Install the Belt Cover:
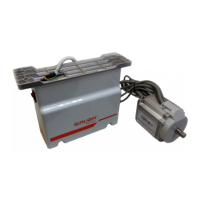
(6). Install and Adjust the Synchronizer (sensor):
a).
Synchronizer installation:Mounting the Synchronizer onto the flange of machine pulley and fasten the
rotor by setting screws.
b).
Synchronizer adjustment:Before adjustment, unscrew the synchronizer’s cover screw, and remove the
cover.
a. Factory default Belt stopper is mount at pulley scale about 100 mm’s position (Fig. A ), if pulley size change, follow the Fig. B.
b.
Adjustment tips: Move stopper pointer aligned with any position at pulley diameter scale that matches the pulley diameter size,
if didn’t know the pulley diameter size, please push the stopper until to touch the pulley then return back
5-10mm position.
Belt Stopper vs Pulley diameter
( As show at right )
Cover top view
Pulley size use 100 mm or above Pulley size use 90 mm or under
Securing point (Fig. A ) Securing point (Fig. B )
100
110
120
130
50
60
70
80
90
B
c).After install base, mount with the motor pulley and secure it. d).Finally put the belt cover and secure screw A, B
Belt cover base
Mount with motor pulley
c
d
B
Secure belt cove
Caution :
Turn OFF the power, before
making the adjustment.
Set screw
Bearing cover
Photo Plate (A)
Photo Plate (B)
b).Then secure base to the belt cover bracket, let the
opening face machine pulley.
Secure belt cover base Secure belt cover bracket
Secure belt cover base Secure belt cover bracket Motor
b
Screw hole
a
a).Install the belt cover bracket at motor
front cover.(screw hole face motor)
 Loading...