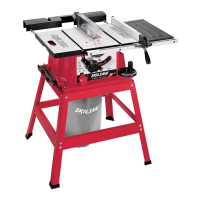
FIG. 19
16.
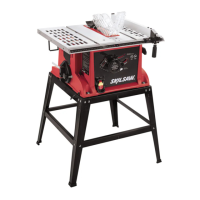
If table saw is to be used in a permanent location, it should be
fastened securely to a firm supporting surface such as a stand or
workbench, using the four mounting holes 6 (Fig. 19).
1. If mounting to a workbench, the base should be bolted
securely using 5/16" hex bolts (not included) through
mounting holes 6.
Hint: If workbench is 3/4" thick, bolts will have to be at least
3-1/2" long - if workbench is 1-1/2" thick, bolts should be at
least 4-1/2" long.
2. Locate and mark where the saw is to be mounted, relative to
holes in the base of the tool.
3. Drill four (4) 3/8" diameter holes through workbench.
4. Place table saw on workbench aligning holes in base with
holes drilled in workbench.
5. Insert four (4) 5/16" diameter bolts through holes in base
and supporting surface; then secure with (4) 5/16" flat
washers and (4) 5/16" hex nuts.
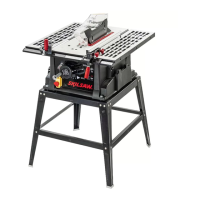
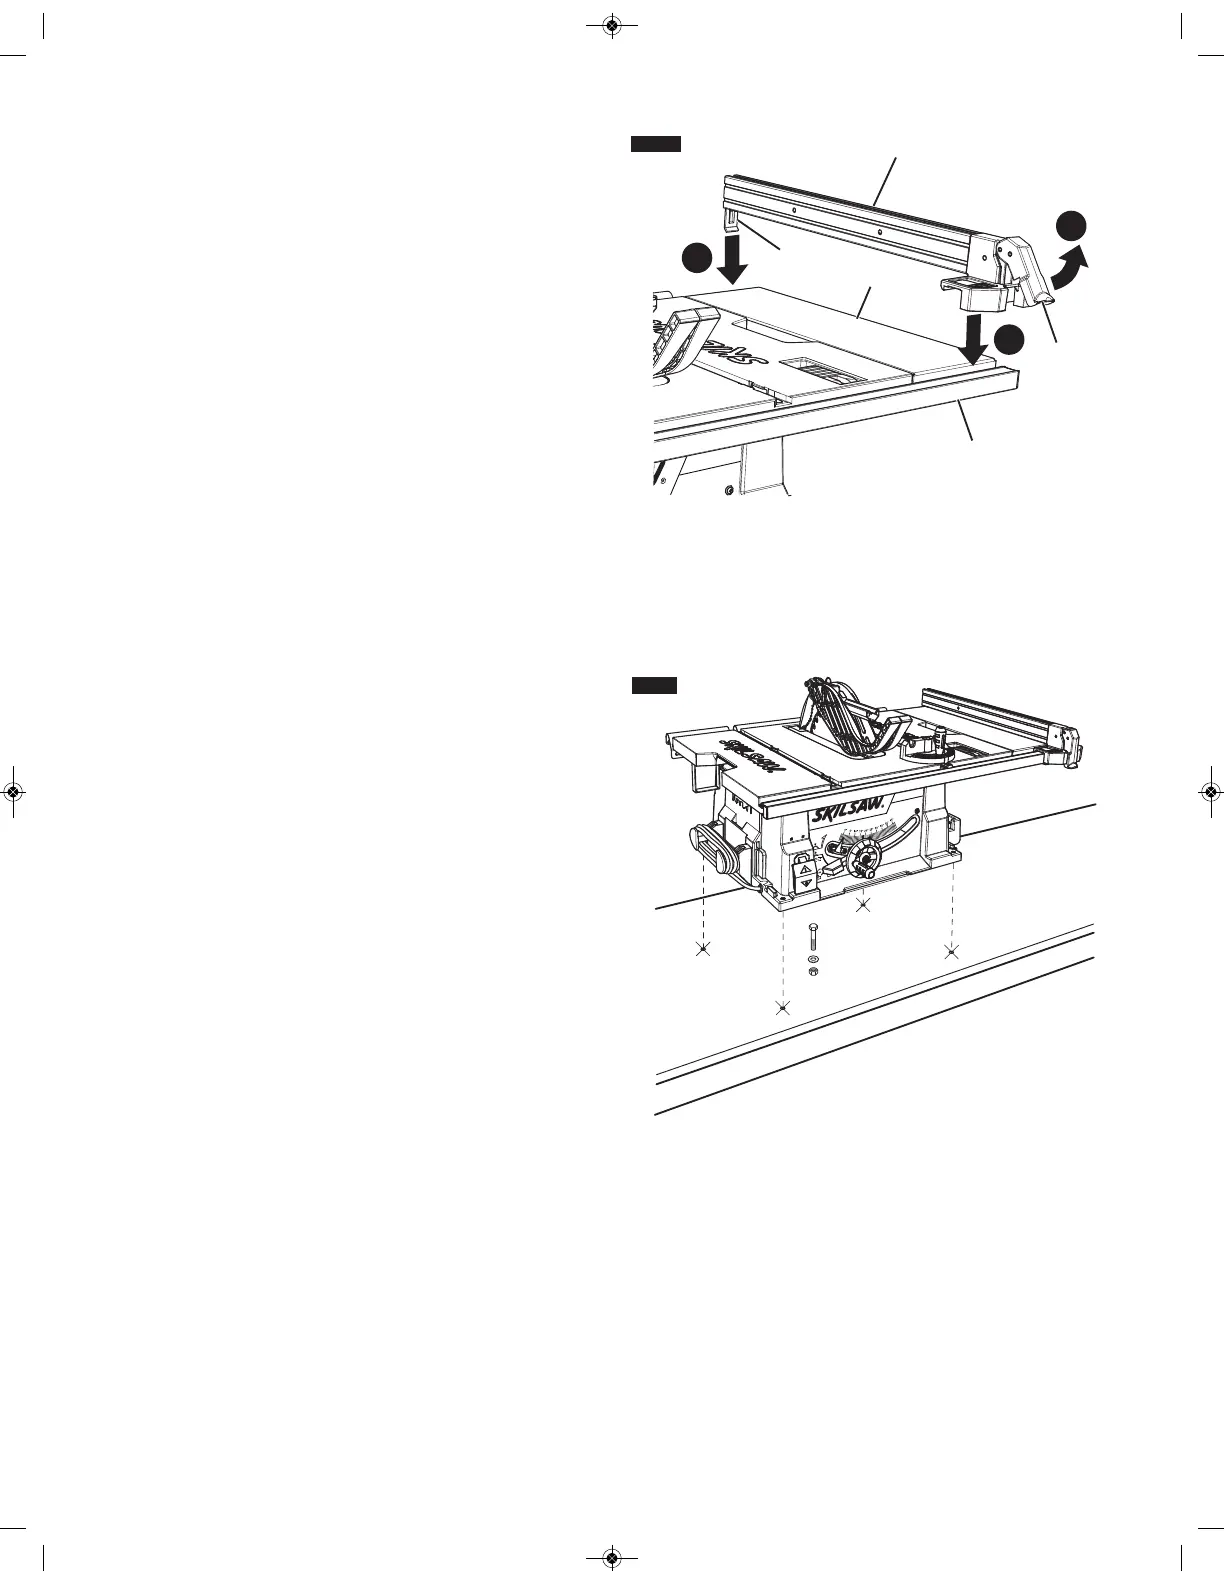
Attaching Rip Fence
1. Raise rip fence handle 1, so holding clamp 2 is out far enough
to fit on the table 3 (Fig. 18).
2. Position the rip fence 4 over table 3 holding up the front
end, first engage holding clamp 2 with rear rail.
3. Lower front end onto front rail 5.
Mounting the
Table Saw
FIG. 18
 Loading...