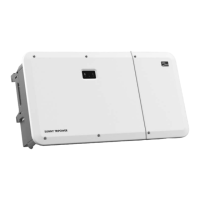
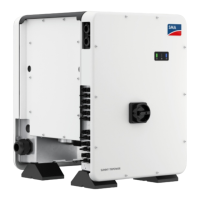
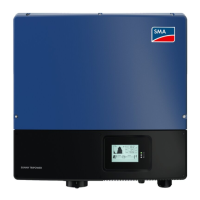
SMA Solar Technology AG 2 Installation
Installation Guide SHP75-10-STP60-10-IA-xx-18 27
2.7 Enclosure opening
The mounting brackets for the cable glands are already
pre-mounted.
Figure 2.19 AC cable gland
Figure 2.20 DC cable gland
Table 2.1 Suitable conductor sizes
1)
Always observe the ampacity of cables used.
2.8 Ethernet Connections
When used outdoors, make sure to use a suitable cable (see
Section 5.6 “Technical Data of the Communication
Interface”, page 47). If the cable is very stiff, an
intermediate terminal should be used to achieve greater
flexibility of the cable before it is connected to the inverter.
For some cables, it may be sufficient to remove the outer
hard sheath from the part of the cable that is inserted into
the inverter enclosure. In this way, the RJ45 Ethernet
connectors mounted on the printed circuit boards are
protected against excessive stress, which could lead to
damages or problems with the connection.
Procedure:
1. Do not remove the RJ45 connector on the Ethernet
cable.
2. Run the cables through the base of the inverter via
cable glands. See figure 2.20.
3. Cut slice in rubber grommet. Place the grommet in the
gland to ensure proper seal.
4. Plug into the Ethernet connector.
Figure 2.21 Run cables through cable glands
Terminal Range
1)
Line material Cable sheath diameter with
supplied cable gland
SHP 75-10 AC+PE 35 to 150 mm² Al/Cu 46 to 53 mm
PV 35 to 150 mm² Al/Cu 18 to 25 mm
STP 60-10 AC+PE 16 to 95 mm² Al/Cu 37 to 44 mm
PV 16 to 95 mm² Al/Cu 14 to 21 mm
 Loading...