SMA Solar Technology AG
Installation Guide SB50US-80US-IUS094030 51
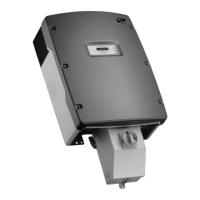
10. Connect the wires to the terminal blocks in the SMA DC-Disconnect and tighten to a torque of
15 in-lb (1.7 Nm).
8. For 208/240/277 V connect the L1 (AC line 1 or
UNGROUNDED) wire to the terminal labeled L1 in
the SMA DC-Disconnect.
The Sunny Boy 8000US may not be connected to a
208 V grid.
9. For 208/240 V connect the L2 (AC line 2) and N
(AC line N) wire to the terminal labeled L2 and N in
the SMA DC-Disconnect.
The Sunny Boy 8000US may not be connected to a
208 V grid.
For 277 V connect the N (AC line N) wire to the
terminal labeled N in the SMA DC-Disconnect.
Note: For 277 V the L2 terminal is not used.
11. Use a screwdriver in order to poke a hole in the
groove of the grommet inside the inverter.
12. Remove the membrane.
 Loading...