Identifying and labeling
Drag and drop
Drag and drop activities are an excellent way to determine if your class has achieved recognition about
specific learning objectives.
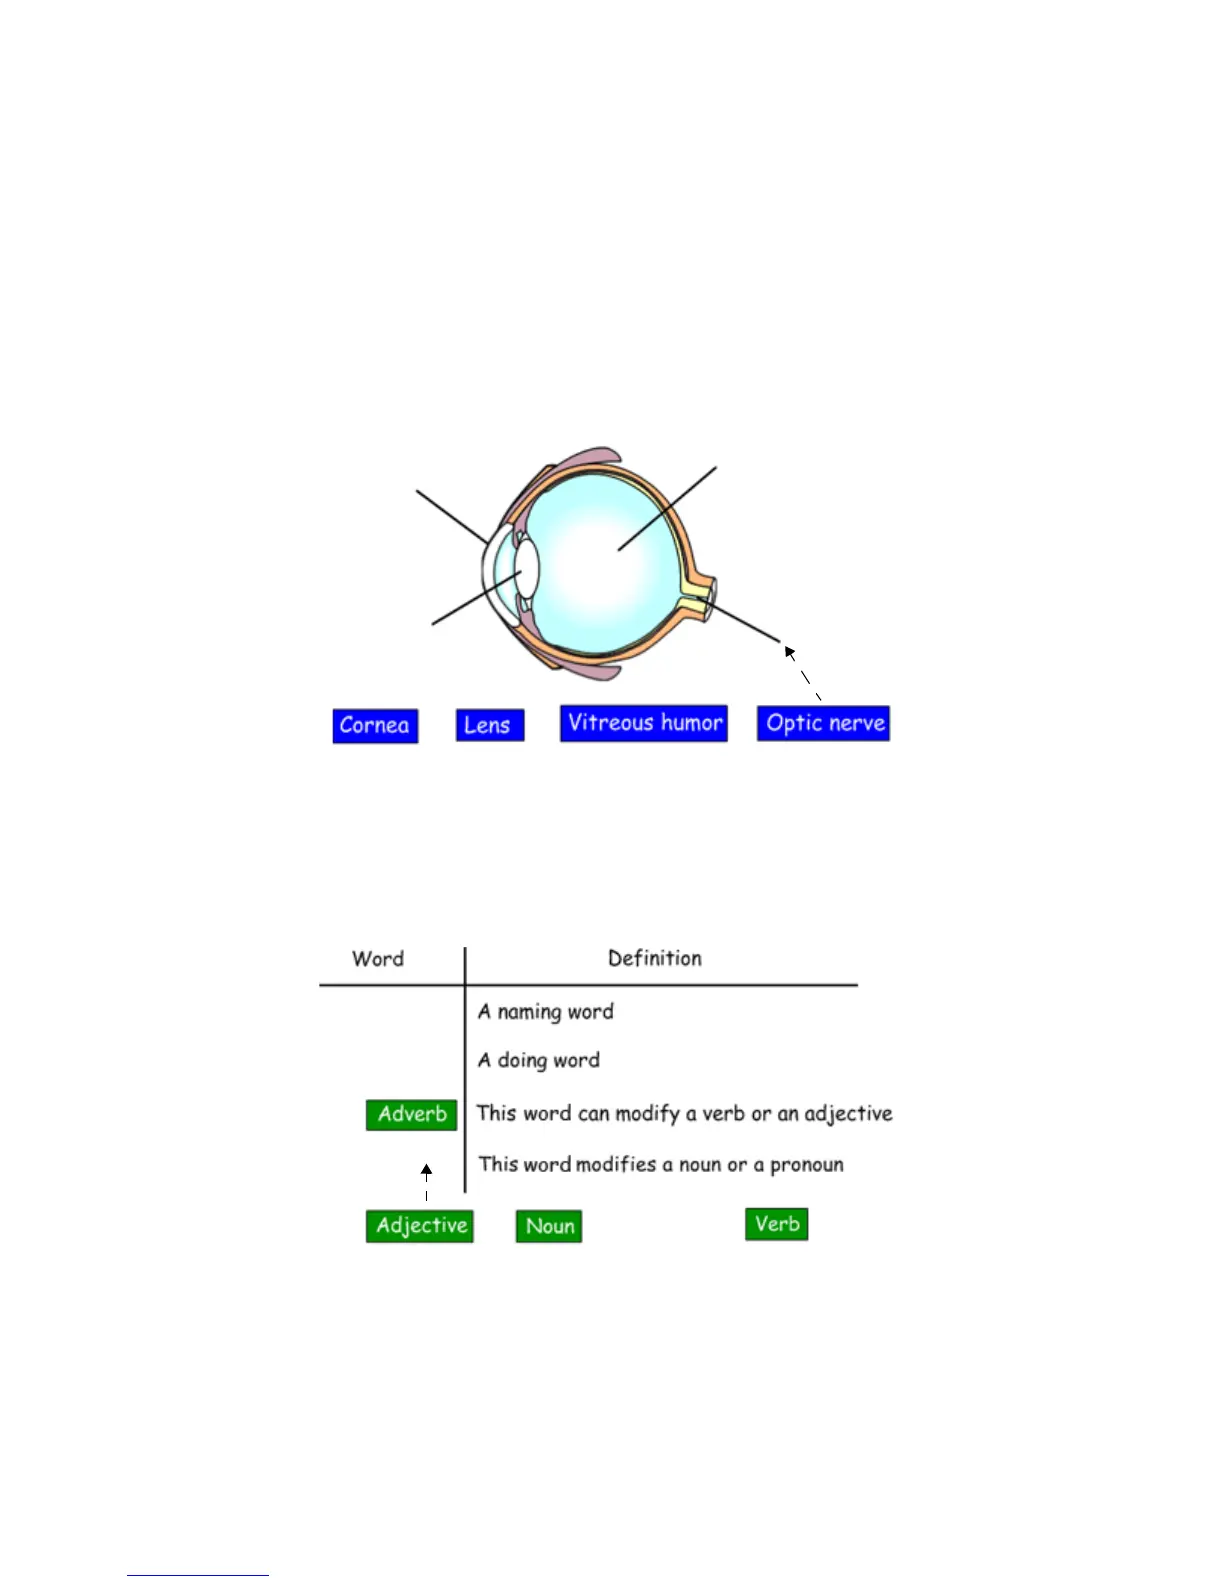
To create a drag and drop labeling activity, add the object you want labeled to the work area. The object can
come from the Notebook software Gallery, the My Content area or it might be a graphic you imported using
the Insert menu. Use the object drop-down menu to lock the object that will be labeled in place. This action
ensures the object won’t be accidentally moved during the lesson activity.
Next, make the labels for your diagram and line them up at the bottom of the Notebook page. Then you can
ask members of the class to drag the labels to the appropriate area of the graphic.
You may want to add a link to an object, such as the eyeball above, to another Notebook software page with
an answer key. This page will help anyone you share the file with find the correct answers.
Drag and drop activities can also be used for text-based lessons. For example, you might drag events to
specific dates on a timeline or define a series of words.
Drag the labels to the appropriate part of the diagram
Match the words with their definition


 To Next Page