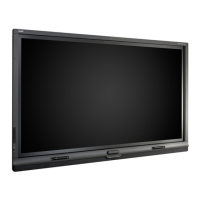
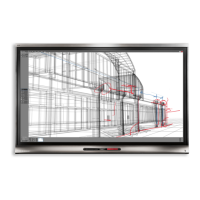
15 | CHAPTER 2 – INSTALLING AND SECURING YOUR SMART BOARD
INTERACTIVE WHITEBOARD
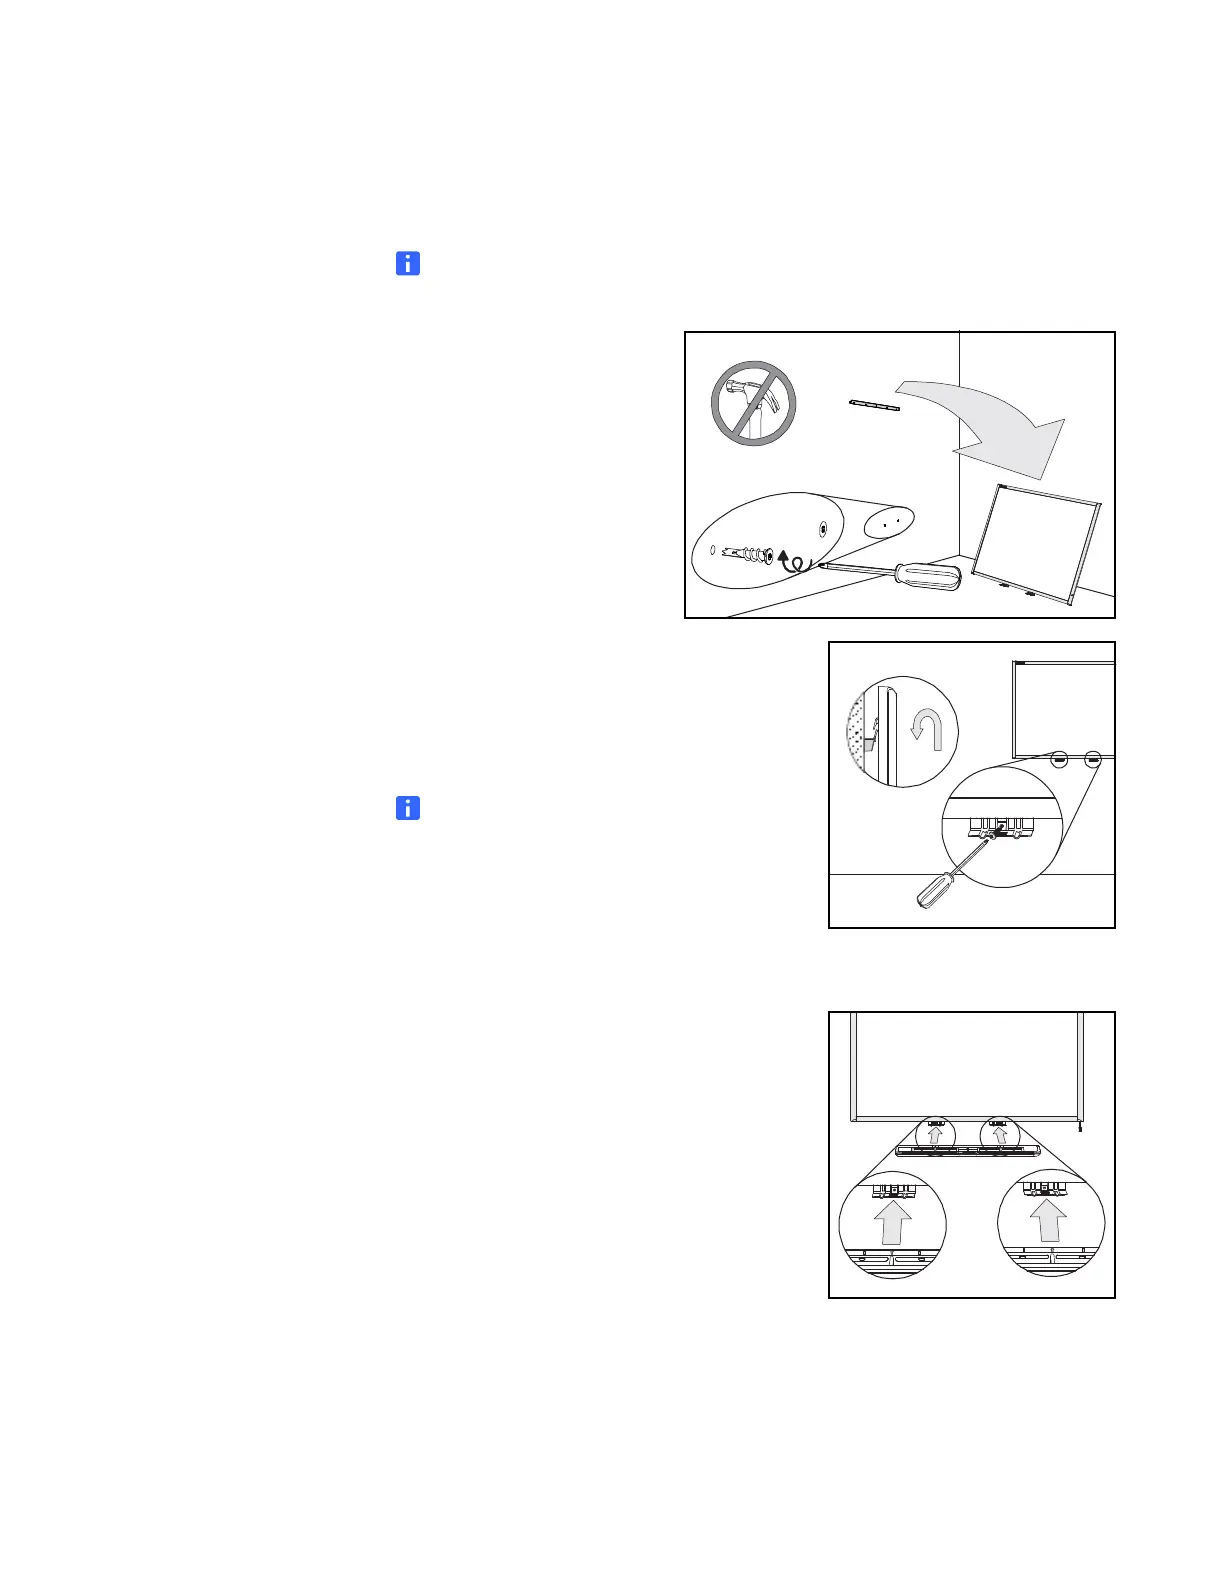
2. Remove your interactive whiteboard from the wall, and then use the screwdriver
to secure a self-tapping wall anchor at each mark.
NOTE
For a concrete wall, drill holes at the marks, and then insert concrete anchors
into the holes.
3. With the help of another person, hang your
interactive whiteboard back on the
wall-mounting bracket, and then secure the
L-shaped metal brackets to the wall anchors
with the included screws, as illustrated.
NOTE
If you want to lock your interactive
whiteboard with a security cable, see
Locking the Pen Tray to Your Interactive
Whiteboard on page 16 before securing
these brackets.
4. Position the pen tray in line with the two
L-shaped metal brackets, and then slide it
toward the wall until it rests snugly against the
bottom frame of your interactive whiteboard.
The pen tray clicks into place.
 Loading...