Applying the Arm Cuff
Remove any constrictive clothing or
jewelry that may interfere with cuff
placement. Wrap the cuff snugly
around your left arm. Position the
cuff’s bottom edge approximately
0.5” ABOVE the elbow joint.
Position the air tubing over the
brachial artery (on the inside of
your arm). You should be able to
insert one nger between your arm
and cuff.
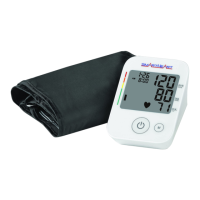
Automatic
Blood Pressure Monitor
Model # 01-539WR
IF YOU HAVE ANY QUESTIONS OR ARE EXPERIENCING DIFFICULTIES, PLEASE CALL THE TOLL-FREE
CUSTOMER CARE HELP LINE FOR FURTHER ASSISTANCE AT 1-866-326-1313.
QUICK START GUIDE • ENGLISH
#93-2151 06/18
©2018 Veridian Healthcare,LLC
THIS QUICK START GUIDE IS INTENDED
AS A SUPPLEMENT TO THE INSTRUCTION
MANUAL. PLEASE READ THE COMPLETE
MANUAL PRIOR TO FIRST USE.
Before applying your blood pressure cuff, be sure you
have selected the appropriate size cuff:
Wide-Range Adult Cuff ts arm circumference
8.6”—16.5” (22—42 cm)
Additional cuffs are available for order on the included
order form or by calling 866-326-1313.
A 15 minute resting period is needed to stabilize the
body prior to taking a reading. No eating, drinking or
smoking while resting.
Taking Your Measurement
Please read the preceding portions of this manual prior
to taking your rst reading.
Reminder, it is important to avoid smoking, eating,
taking medication, alcohol consumption or physical
activity 30 minutes prior
to taking a reading.
1. Position the monitor on
a at, stable surface
with the digital display
in view. Insert the cuff
tubing connector into
the port on the left
side of your monitor.
Rest your elbow on a solid surface
with your palm facing upward.
Elevate your arm so that the cuff is
at the same level as your heart, Fig
1. Relax your left hand.
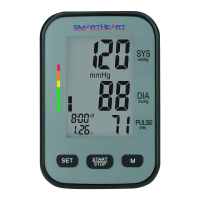
2. Press the START button to turn the
unit on; the unit will run a self-
test, Fig 2.
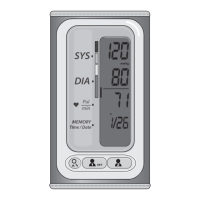
3. The display will show the
current memory bank in
use, U1 or U2, Fig 3. Press
the MEM button to select a
different memory bank if desired.
If no selection is made, the unit
will default to the memory bank
displayed. The display will briey
show a ashing arrow and ‘0’
before the measurement begins.
4. The cuff will automatically inate
to approximately 190mmHg or 40
mmHg higher than the last systolic
pressure reading stored in memory.
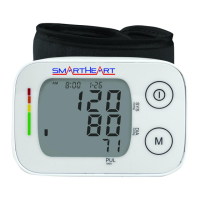
5. When the measurement is
complete, your blood pressure
measurement and pulse will
display separately on the screen
alternating repeatedly every 2-3 seconds, Fig 4.
The systolic and diastolic readings will display at the
same time.
6. Consult the included Instruction Manual for
information on interpreting your reading results.
7. The results will automatically be stored in the selected
memory up to 60 readings.
8. Select START to turn the unit off and conserve energy
and battery life. The unit will automatically shut-off
and revert to time/date mode after approximately 1
minute.
Please Note:
• You can stop the ination or deation process of the
cuff at any time by pressing the START button.
• Many factors such as genetics, age, sex, altitude,
physical activity, anxiety, muscular development,
certain medications or even the time of day can
inuence blood pressure.
• Blood pressure varies from moment to moment; even
readings taken after proper rest periods can vary.
Home blood pressure readings may vary as much as
10-20 points from ones taken at your doctor’s ofce.
• Variations in your individual readings should only be
interpreted by your physician or trained health care
professional.
• We encourage you to consult with your physician
to achieve the maximum benet from your blood
pressure monitor.
~ 0.5”
Fig. 2
Fig. 1
Fig. 3
Fig. 4