Do you have a question about the Smiths Medical Level 1 H-1200 and is the answer not in the manual?
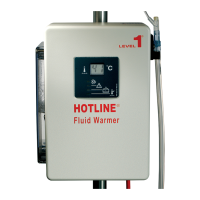
| Type | Fluid Warmer |
|---|---|
| Model | H-1200 |
| Manufacturer | Smiths Medical |
| Power Requirements | 100-240 VAC, 50/60 Hz |
| Weight | Approximately 4.5 kg (10 lbs) |
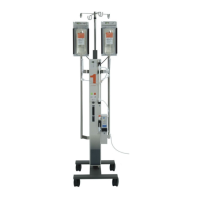
| Intended Use | Warming intravenous (IV) fluids and blood products |
| Flow Rate | Up to 1200 mL/min |
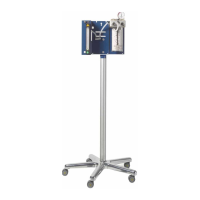
Steps 1-3: Securely attach the Heat Exchanger and blocks for proper setup of the fluid warmer system.
Steps 4-7: Properly insert the patient line into the clamp slot and secure the clamp slot door.
Steps 8-9: Install the Gas Vent/Filter Assembly and close relevant pinch clamps.
Steps 10-13: Remove air from IV fluid bags, hang them, and prime the administration lines.
Steps 14-17: Power on the unit, connect to the patient, and begin infusion.
Instructions for managing empty IV fluid bags and replacing them during operation.
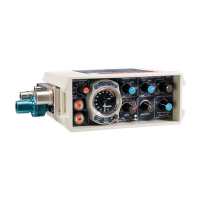
Check power cord and unit activation if no power or LEDs are lit.
Lubricate O-Rings if the Heat Exchanger is difficult to install.
Avoid leaving clamps closed for extended periods to prevent tubing kinking.
Ensure the unit is on and the Pressure Chamber lever is in the '+' position.
Troubleshoot slow flow by checking bag spiking, chamber activation, and filter status.
Addresses indicators for disposable set, recirculating solution, over temperature, and air detector alarms.