2.0-1
2.0-2
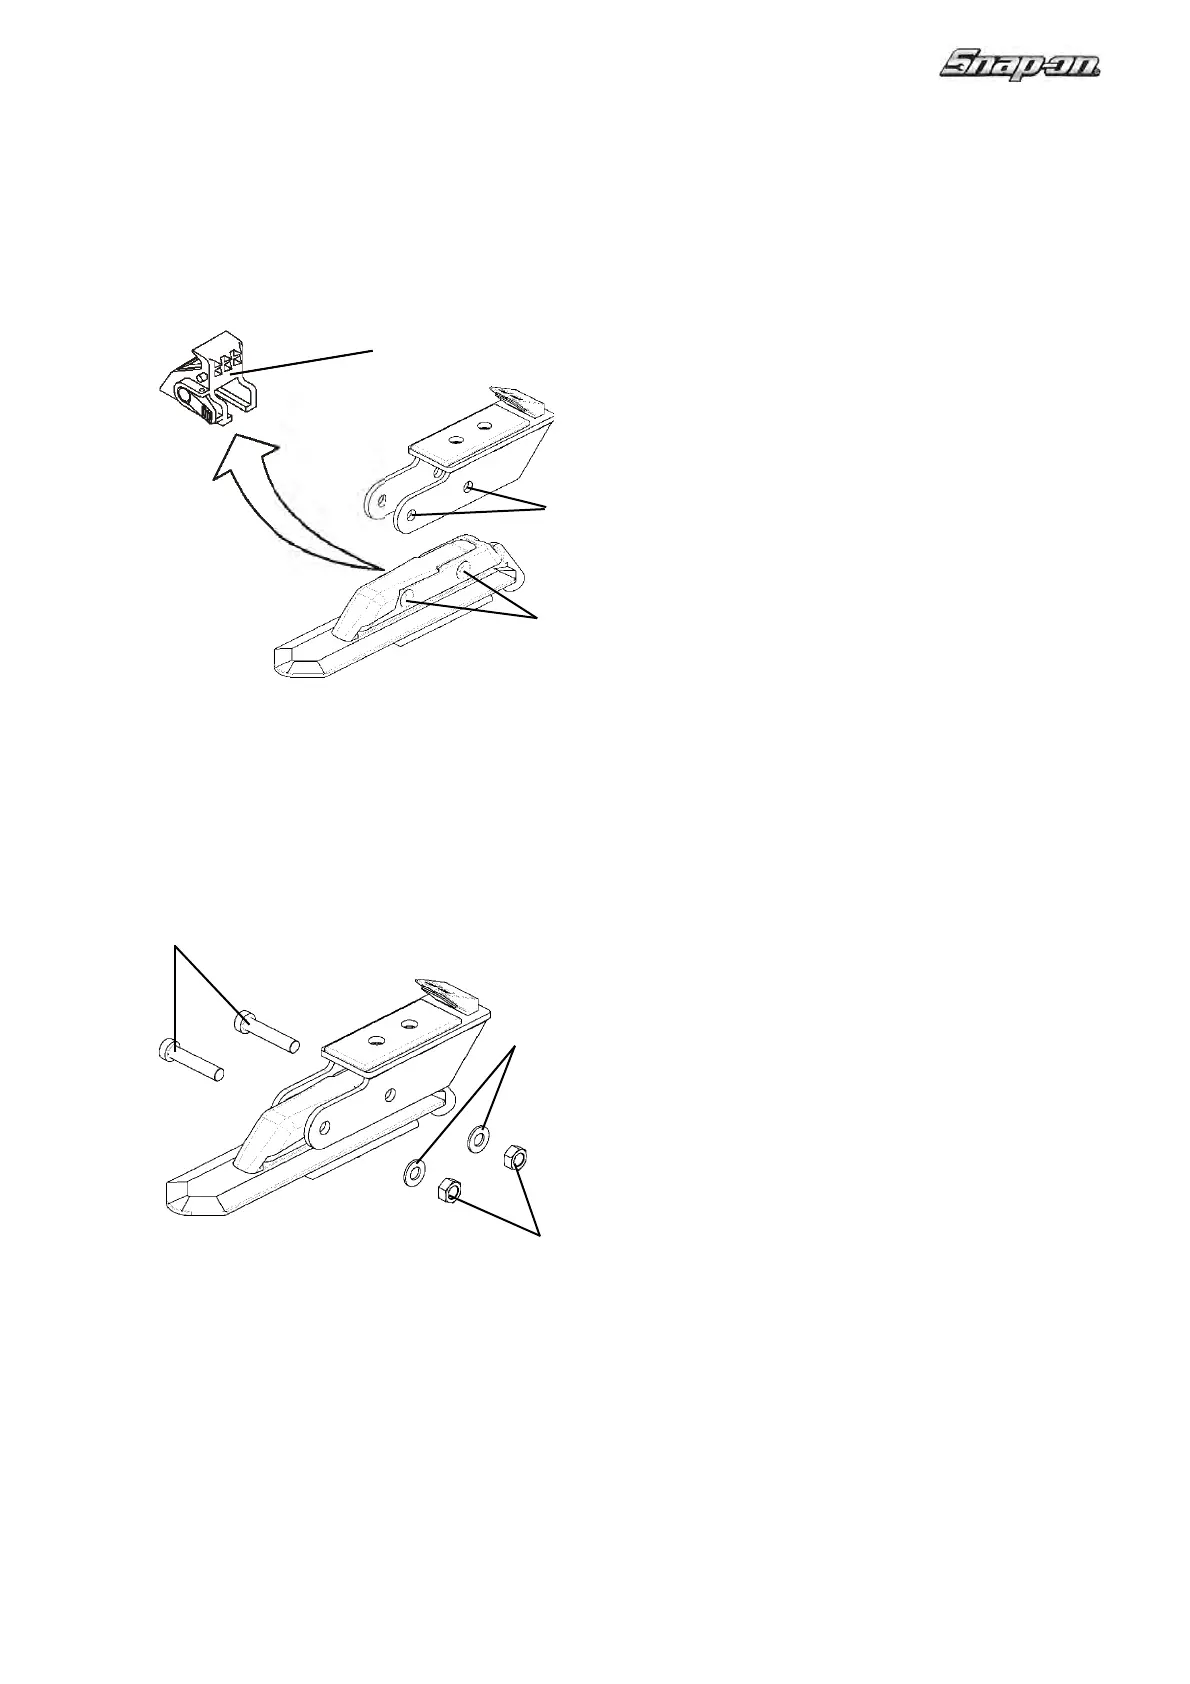
A
B
R
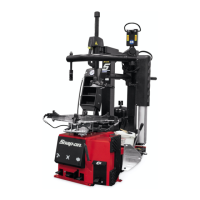
C
D
E
Snap-on EEWH331A
EN 9
2.0 Accessories Installation
2.
1 Installing the OPTIONAL KIT:
EAA0331G91A -
SLIDING JAW +4 INCH KIT
WARNING
BE
FORE INSTALLATIO N, DISCONNECT THE
ELECTRICAL AND AIR SUPPLY FROM THE TIRE
CHANGER.
See Figure 2.0-1
1) Remove the standard jaws (R), present on the tire
changer turntable.
2) Insert the +4” jaws supplied in the kit on the turntable
sliding parts and align the side holes (A) with the holes
(B) in the sliding parts.
CAUTION: SECURE THE SLIDING PARTS WITH BOTH
SCREWS IN THE HOLES PREPARED.
See Figure 2.0-2
3) Insert the screws (C) in the side holes in the jaws, put
the washers (D) on the opposite side and secure with
the nuts (E).
NOTE: If the holes (B) in the sliding parts are blocked by
dirt, clean them by MANUALLY inserting an 8 mm diameter
spiral bit in them several times.
CAUTION: AFTER INSTALLATION, THE JAWS MUST
BE EQUIDISTANT FROM THE CENTER OF THE
TURNTABLE.