Rev 07272020 Page 7 of 15
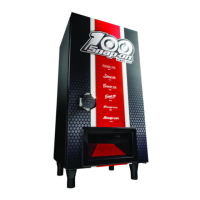
Placement of the Beverage Dispenser
• Remove all outside packaging from unit. Do Not use a knife to cut into the packaging as this may scratch the surface.
• Place feet onto the bottom of the unit. Adjust the feet until the unit is horizontal.
• The beverage dispenser must be installed on a floor that is level and strong enough to support a fully loaded beverage
dispenser.
• Please make sure there is no blockage around the beverage dispenser affecting heat emanation. The distance from
the backside of beverage dispenser to the wall or other blockage should not be less than 4 inches/10cm.
• Choose a place that is near a grounded electrical outlet. Do Not use an extension cord or an adapter plug.
• Avoid connecting beverage dispenser to a Ground Fault Interrupter (GFI) circuit.
• Don’t expose the beverage dispenser to direct sunlight or rain.
• Don’t place the beverage dispenser near oven, radiator and other heat sources.
• Keep the ambient temperature within 60°- 89° Fahrenheit.
Getting Started
• There are two accessory packages located in the Pick-up Area of the unit. 1 = 4 feet, 2 = button, spring, gasket and
washer.
• Install the Push Button to the beverage dispenser door per assembly drawing below.
• When installing the feet, DO NOT lay unit on its back.
• For the first time use, please leave the beverage dispenser standing for 48 hours before starting.
• After starting the beverage dispenser, the unit should run without anything inside of it for 1 hour.
• The beverage dispenser is cleaned before shipping. Please clean it with water and neutral detergent if necessary.
 Loading...