9
Final Assembly
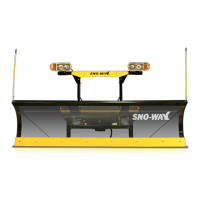
1. Insert bushings into the a-frame lugs. (See Figure 1-
19)
Figure 1-19
2. Slide the A-frame into the middle position of the
universal adaptor bracket. (See Figure 1-19)
3. Insert pin into the a-frame lugs. On one side add the
additional washers to prevent the a-frame from sliding
side to side. Push the pin all the way through the adaptor
plate and insert cotters to retain pins in position. (See
Figure 1-19)
4. Located the slider links and mount them to the
adaptor plate. Insert bushings into the slider link pivot
hole. Insert the bolts with washers (to retain the bushing
in position) and attach a nut on the inside of the adaptor
plate pivot point. Tighten the nuts down. (See Figure 1-
19)
NOTE: On the 32C and 29 Trip Edge series there are two
links per side and the slider links are retained by one bolt.
(See Figure 1-20)
Figure 1-20
5. Attach the cross over relief valve to the adaptor plate
using the two bolts. (See Figure 1-21)
Figure 1-21
6. Mount quick-release couplers to the hydraulic hoses
(not shown).
A-FRAME
MOUNTING
HARDWARE
2 LINKS
2 LINKS
VALVE
MOUNTING
HARDWARE
 Loading...