CHAPTER 3: SETUP FOR WINDOWS PC 27
To scan barcodes:
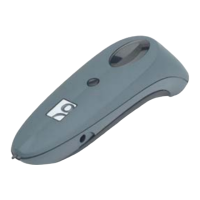
1. Make sure the CHS is connected to the computer, indicated by the CHS icon
in the
system tray.
2. Open your application. Place the cursor where you want to enter data.
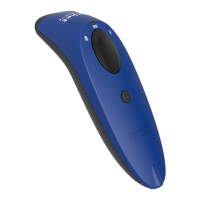
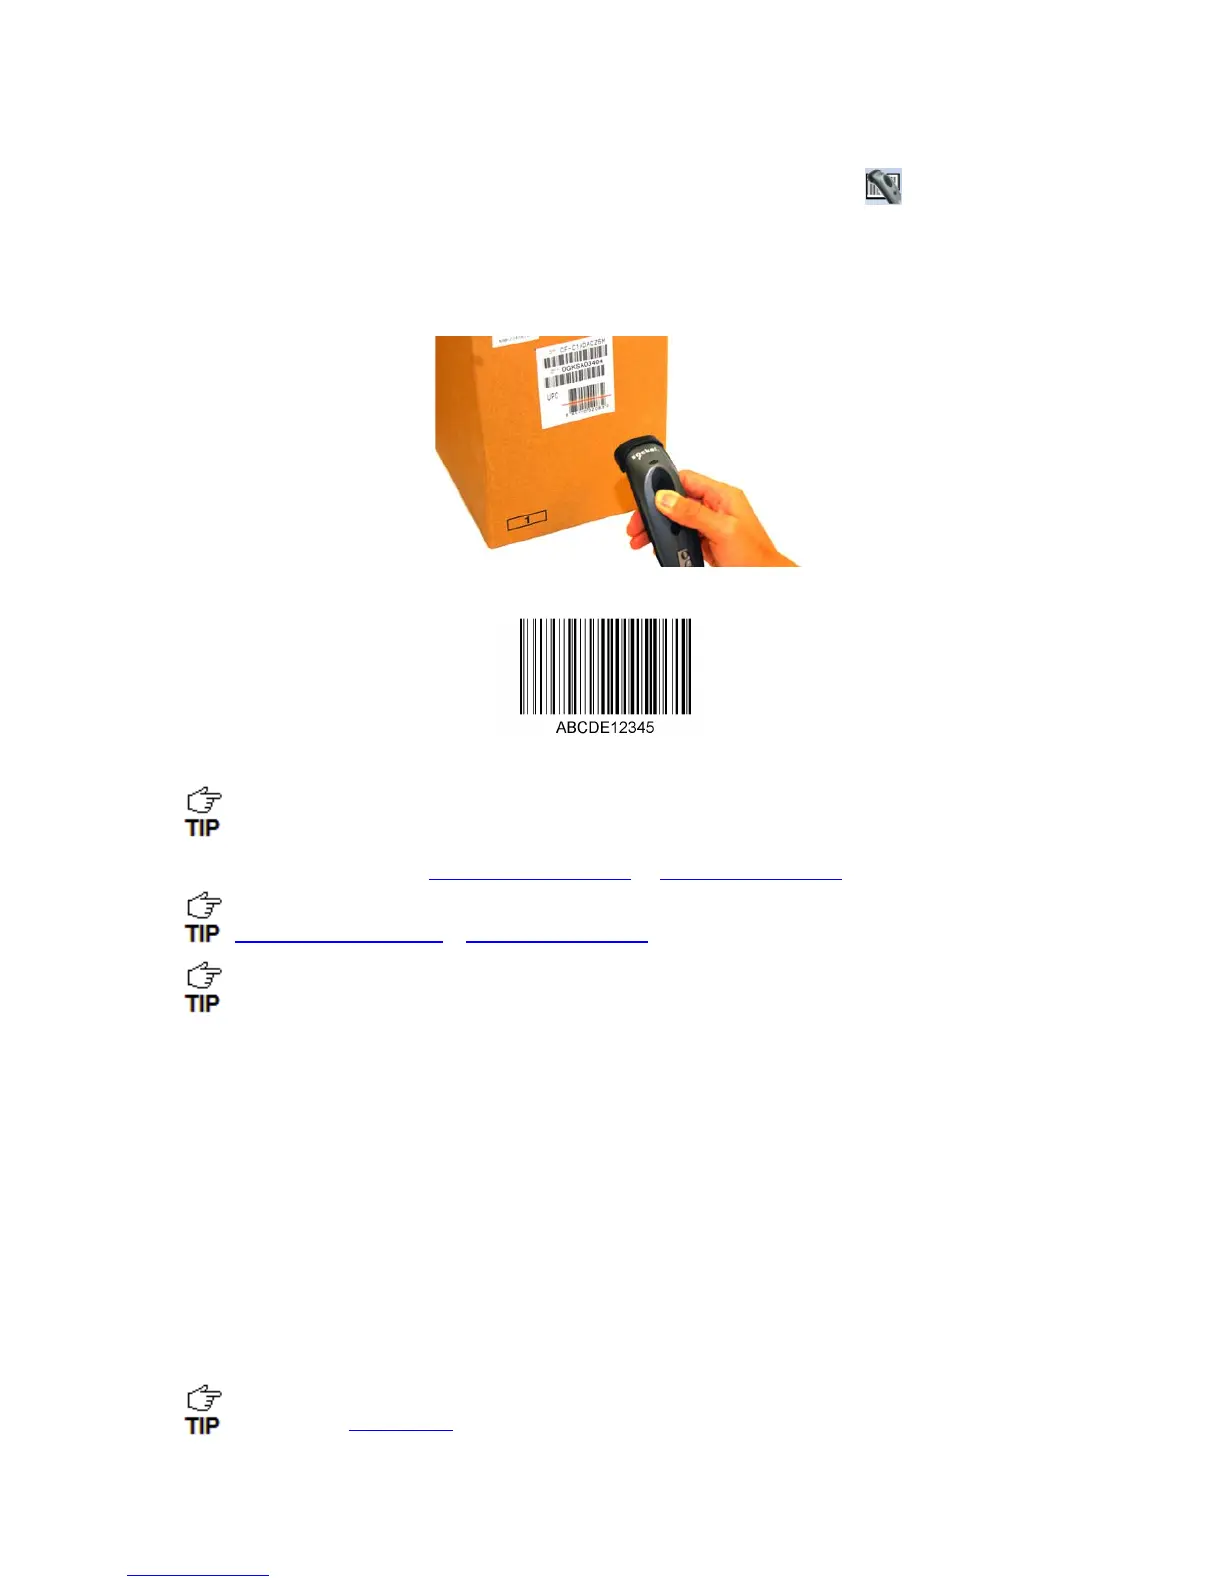
3. Press the trigger button to scan a barcode. Make sure the aiming beam extends across the
entire width of the barcode.
For example, try scanning the following barcode:
IMPORTANT! Print out this page to scan the barcode. Do not scan it onscreen.
After decoding the barcode and sending it to the computer, by default, the CHS will
beep once, the LED will flash green, and the laser will turn off. The CHS 7P will also
vibrate to indicate that the barcode is decoded. You can modify the beep / LED / vibrate
settings by using the Scanner Settings utility or Command Barcodes
.
To configure an automatic Carriage Return or Tab after each scan of data, use the
Scanner Settings utility or Command Barcodes
.
If no data is read in a few seconds, the aiming beam will turn off, and you must try again.
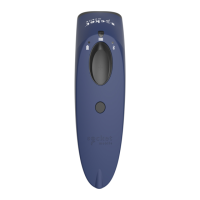
To Disconnect: Turn off the CHS. Press and hold the power button for at least 3 seconds,
until the CHS beeps twice (high-low) and the blue LED turns off.
Automatic Reconnection:
After you power on the CHS, it will automatically try to connect to the last computer it paired
and connected to. Make sure your computer is in range with Bluetooth enabled and
SocketScan 10 is running.
If the CHS is connected to your computer and gets disconnected, it will try to reconnect for a
few minutes. Make sure the computer is on and in range and SocketScan 10 is running. If the
CHS cannot reconnect, you will hear a long beep. Turn off the CHS and then turn it back on to
restart the reconnection process.
The CHS can only be paired with one device at a time. To use the CHS with a different
device, see Appendix G
for unpairing instructions.