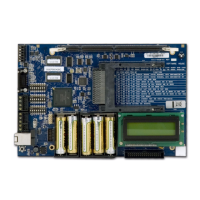
GCM General Control Module
8
Diagnostic Session
A diagnostic session can be run either through ICU or with a terminal session through
P5. Turn on the diagnostic information settings using either ICU or the HTML
connection to the iSTAR.
Note that the diagnostic information causes overhead and should not be left on during
normal operation.
1. Connect P5 to a COM port on a PC.
Use a straight through DB9F to DB9F cable.
2. Set the COM port to 115,200 baud, 8, None, 1, Hardware Flow Control
3. Start a terminal session using an emulator such as HyperTerminal.
LEDs
LED4 – indicates power and shines through an opening in the door.
LED2 – displays the Ethernet Link signal on P6.
LED1 – displays the Receive Data signal on P6.
Dip Switches
DIP Switch S2 is factory set for RS232 on P6. Do not change.
DIP Switch S1 is factory set for RS232 on P6. Do not change.
DIP Switch S4 is used to control diagnostics, clear memory and to display card reads in
hexadecimal. See the iSTAR Pro door map for more detailed information about running
diagnostics.
To display hexadecimal card reads on the LCD Panel set switch 4-8 on.
The Reset Switch, S5, will cause the GCM computer to reboot. Pressing S5 will also
clear memory, including configured readers, inputs and outputs. As long as there is a
connection to the host these objects will be immediately downloaded again to the
memory.
If switch S4-2 is on when S5 is pressed, the unit will be reset to factory default. This
means that all of the connection data, such as the IP address will be cleared in addition
to the memory. In this case the unit will have to be totally configured again using
ICU.exe.
To clear memory and reboot the unit:
1. Set switch 4-2 ON.
2. Press and release switch S5; wait 10 seconds.
3. Set switch 4-2 to OFF
4. Press switch S5 and observe the LCD panel. The unit will reboot, the memory will
be cleared and the unit will need to be completely re-configured.