F 2 0 0 0 O P E R A T I O N S & M A I N T E N A N C E
Version 1.5 (121506)
8
88
8
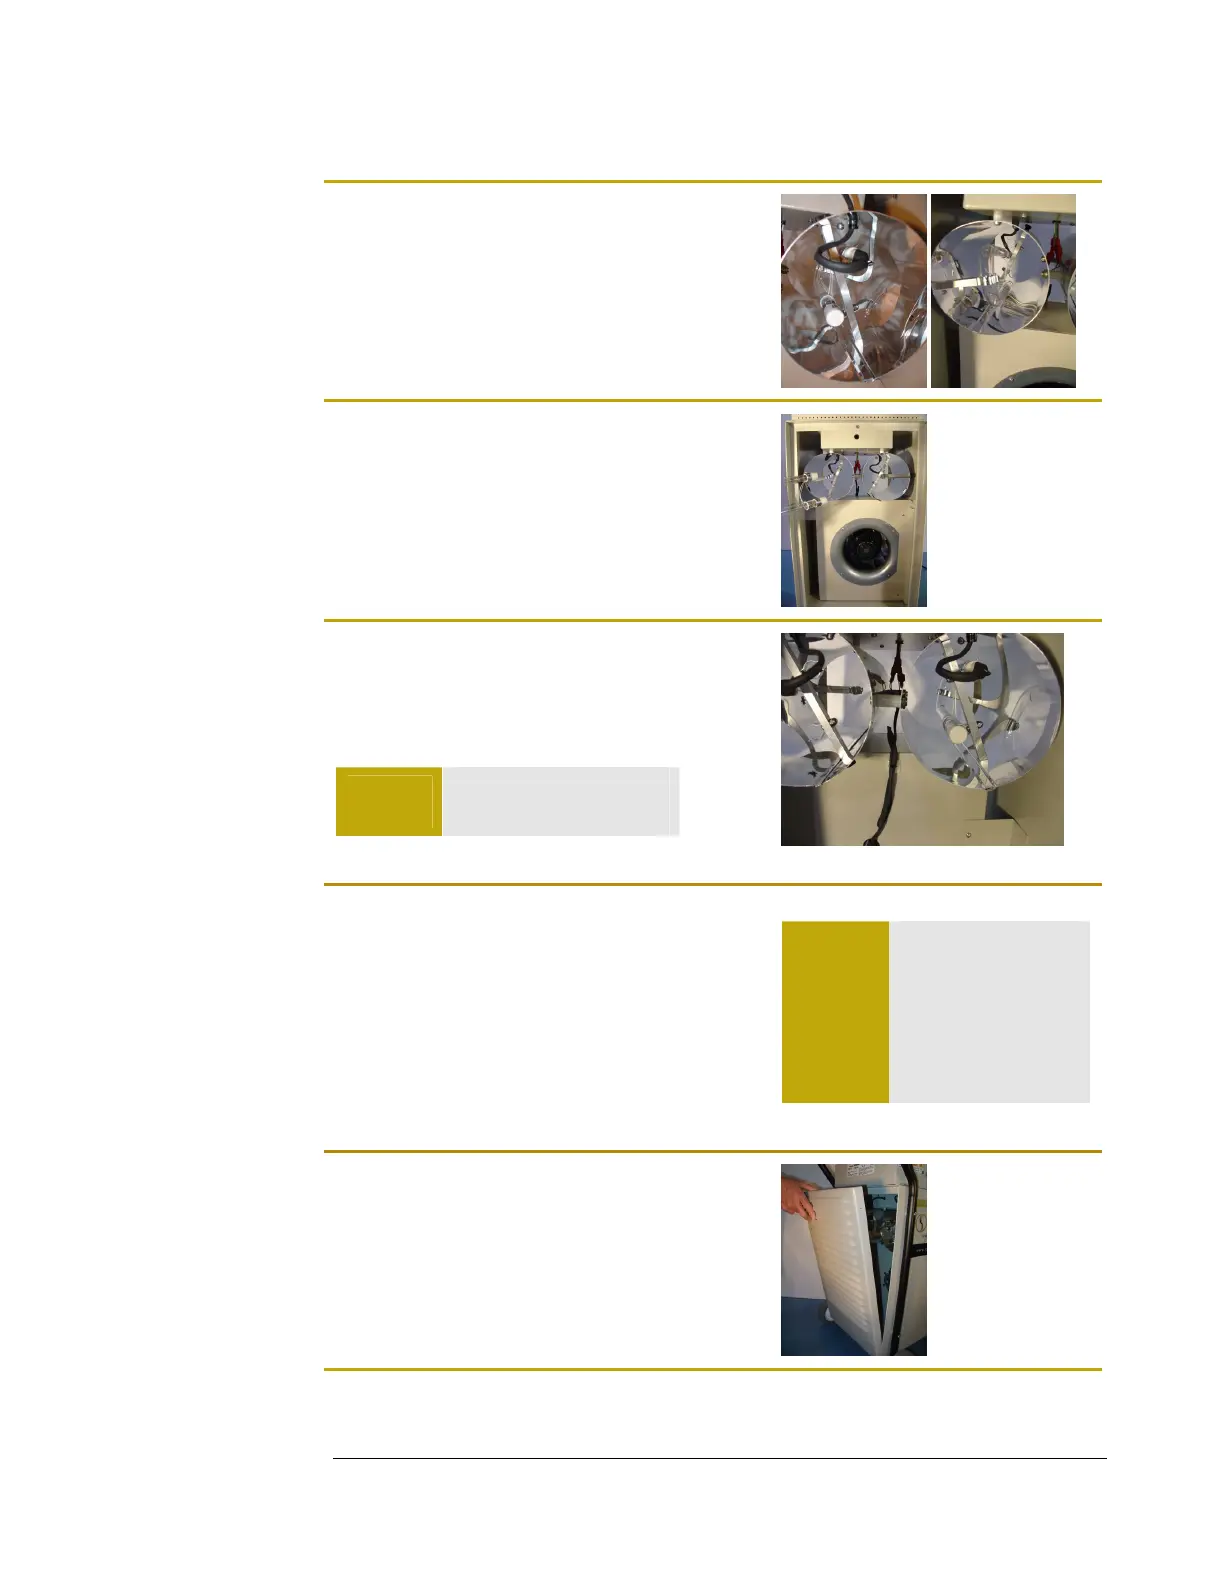
Step 3 – Lamp Removal
a) From the back of the system, hold the ceramic
base of the lamp and disconnect the plug from
the lamp.
b) Remove the lamp from the lower holding
clamp then the upper clamp. Remove the
lamp from the forward holding clamp.
Step 4 – Lamp Installation
Insert the new lamp from the front of the system.
Place the lamp into the forward clamp.
From the rear of the system, insert the lamp into
the upper clamp, then the lower.
Step 5
Connect the female plug to the 4-pin footing of the
lamp. The plug fits in only one direction. You may
have to rotate the plug 90 degrees.
Warning
DO NOT force the plug
into the pins.
Step 6
Test the system to ensure that both lamps are
operating. If a lamp is not lit, turn off the system
and disconnect the power and repeat steps 4 and
5, then test the lamp again.
Warning
Ensure that all users
in the vicinity of the
system are wearing
UV protective
eyewear. AVOID
prolonged direct
viewing of a lit lamp.
Step 7
Reinstall the rear (louvered) panel. Screw the two
(2) thumbscrews at the top and bottom of the
panel.