Installation
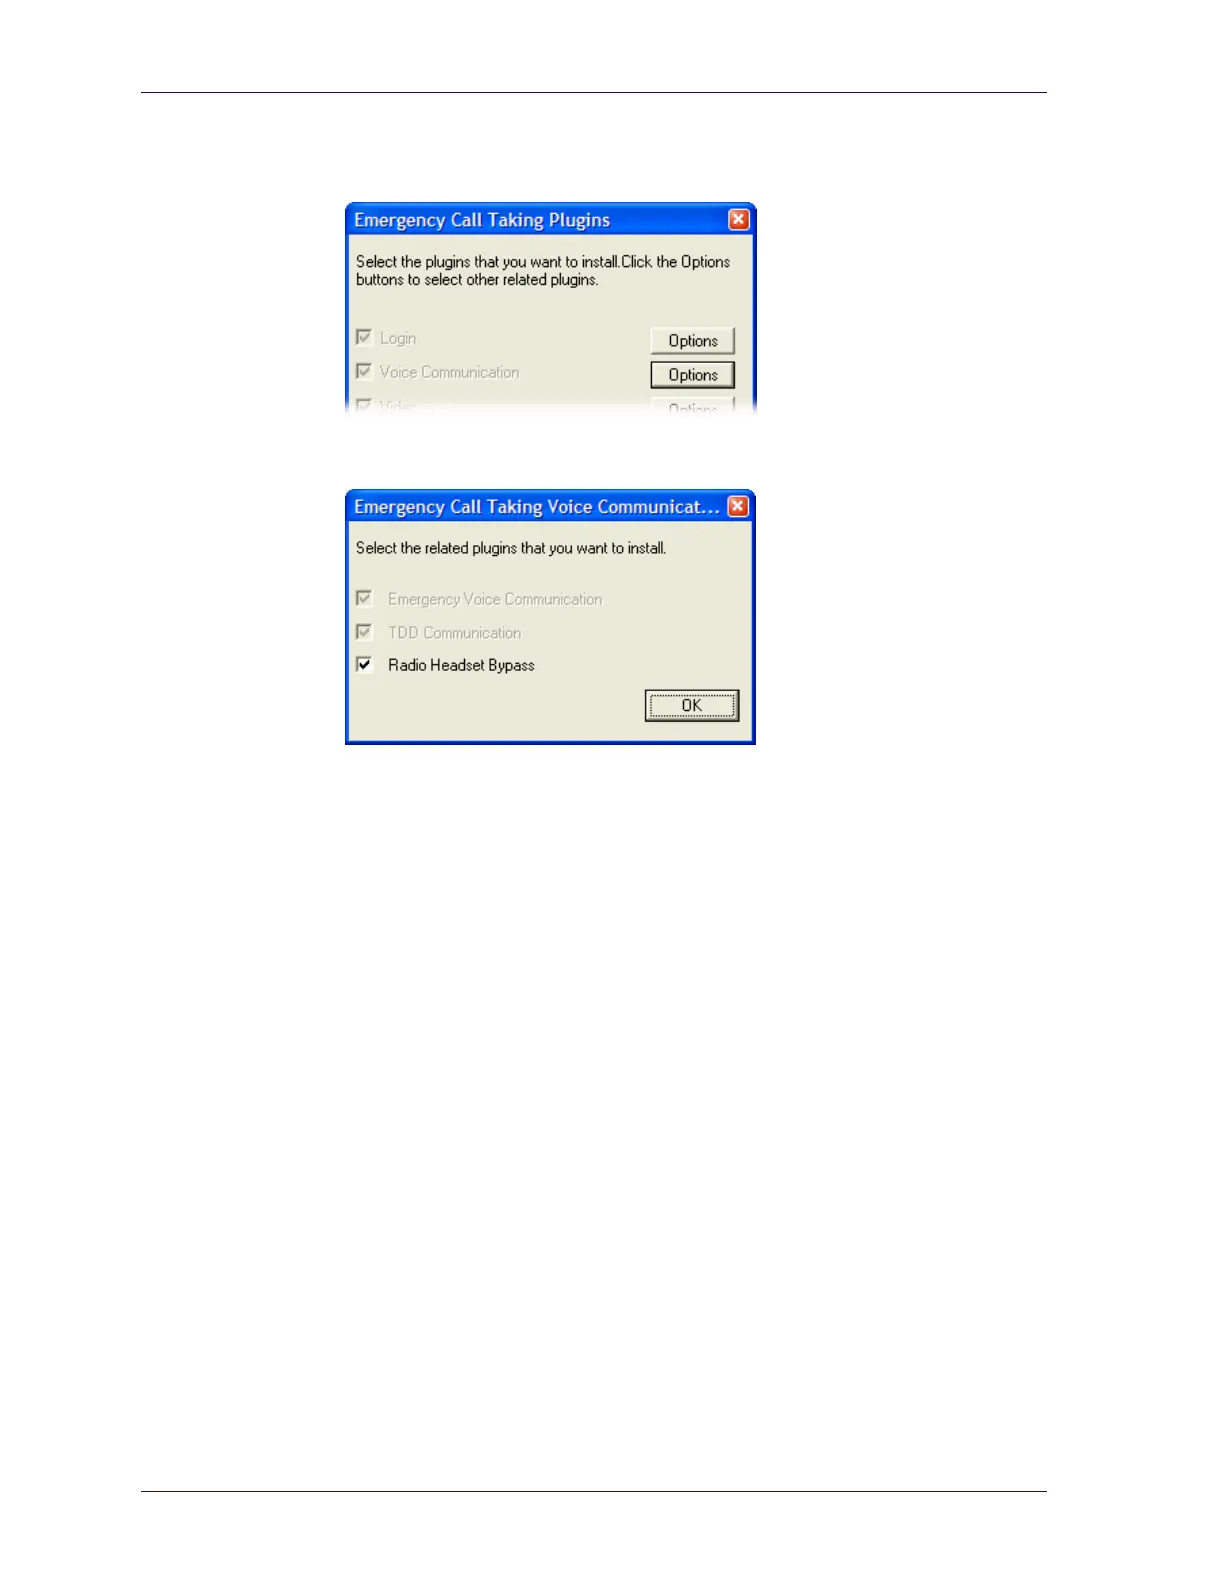
4 In the Emergency Call Taking Plugins dialog box, click the Options button to
the right of the Voice Communication check box.
5 In the Emergency Call Taking Voice Communication Options dialog box,
check Radio Headset Bypass.
6 Click OK in the dialog boxes until you return to the installation program.
7 Click Next and then continue with the installation until finished.
8 Launch LibertySHIELD Guardian on the operator position.
9 Log in, and then log out again.
This adds new options to the configuration file.
10 From the installed application folder, edit the file “LibertyShield.exe.config”
and make the following modifications:
a) Set the <Headset Device=""> and the <Microphone device="">
values to the name of the computer sound card device.
These are the computer audio out and audio in devices that the Radio
Headset Bypass device will use.
b) Set the <Speaker Device=""> value to the name of the device that
connects to the position speakers
This is typically the USB speakers.
c) Uncomment (remove the leading <!-- and --> characters) the following
line beginning with
<!--<RadioBypass. The line should look like this
(Underscores mean continue on the same line):
<RadioBypass port="COM1" baudrate="19200"_
databits="8" parity="None" stopbits="1"_
micLevel="-10"/>
11 From the Windows Control Panel, double click Sound and Audio Devices.
12 In the Audio and Voice tabs, ensure that the playback and recording devices
are set to the sound card.
14