Chapter 3: Installing the Inverter
Install the inverter either before or after the modules and power optimizers have been
installed.
NOTE
Use only copper conductors rated for a minimum of 75°C/ 167°F.
Inverter Package Contents
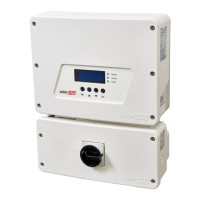
One inverter with Connection Unit with Safety Switch
Mounting bracket kit
Connection Unit with Safety Switch sealing cover (if applicable, for use in case of
inverter replacement)
Installation guide
Antenna and mounting bracket for wireless communication (in specific models)
Identifying the Inverter
Refer to the sticker on the inverter that specifies its Serial Number and its Electrical
Ratings. Provide the serial number when contacting SolarEdge support. The serial
number is also required when opening a new site in the monitoring platform.
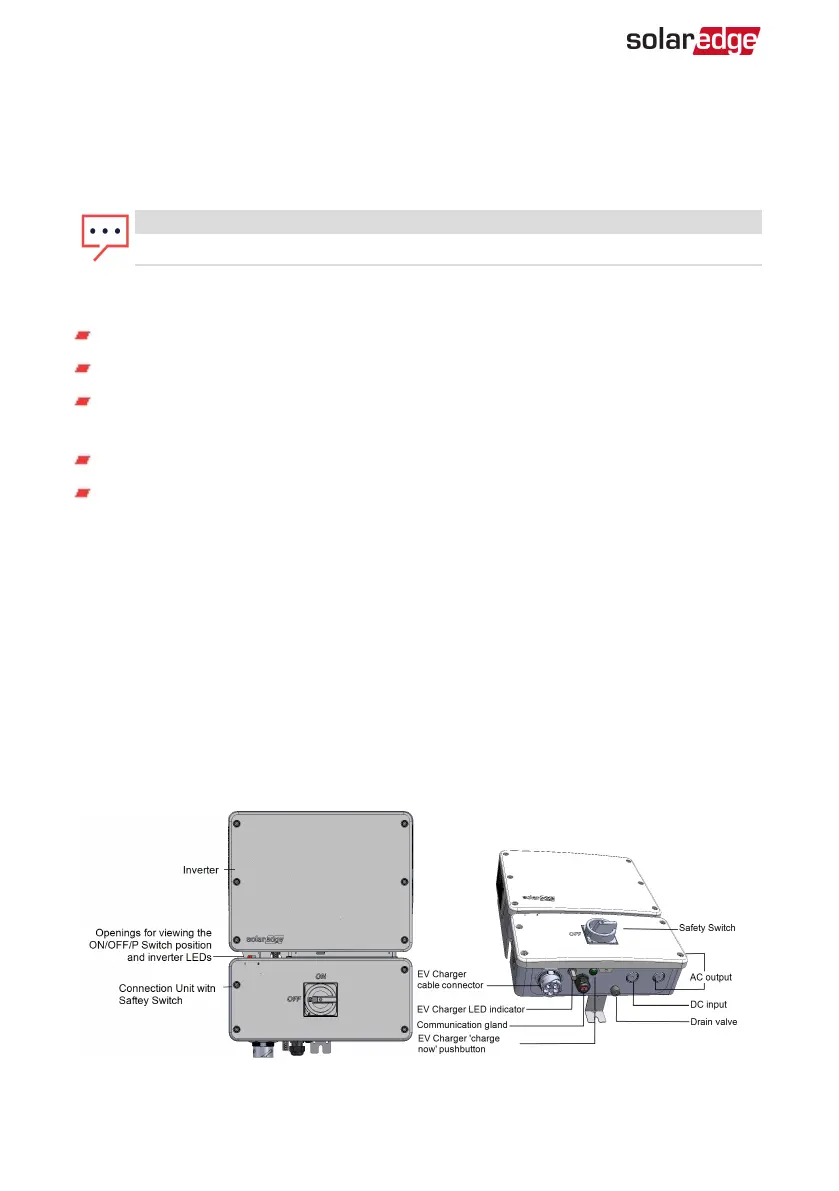
Inverter Interfaces
The following figures show the inverter and Connection Unit with Safety Switch
connectors and interfaces.
Figure 10: Inverter and Connection Unit with Safety Switch interfaces
EV Charging Single Phase Inverter Guide MAN-01-00588-1.1
30 Chapter 3: Installing the Inverter