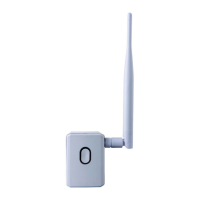
c. Wait for the message All Device(s) Scanned to appeaer
on the SetApp screen.
d.
Do one of the following:
To complete the installation now, select Continue
Now. The inverter attempts to establish a
connection with the Wi-Fi Gateway and the
monitoring platform. This may take up to 10
seconds, during which the push-button LED will
fast blink purple (gateway), or blue (repeater).
Upon completion, the LED will indicate the device
status as described in
LEDIndications
on page 15.
To continue later, select Continue Later. If this
option is chosen, the home owner should connect
the devices to the electrical outlets and the router
later on, at their own discretion.
e. After all devices are installed, verify that the blue LED
on the Wi-Fi Gateway is ON, which indicates the
communication between the inverter and the
monitoring platform has been established.
f. If connection failed, or after 2 minutes of attempts to
connect, SetApp displays a failure indication and
troubleshooting text. The LED will indicate the device
status as described in
LEDIndications
on page 15. For
Wi-Fi Gateway and Repeater Installation Guide MAN-01-00559-1.1
Chapter 3: Connection and Configuration 21

 Loading...