Please use PV cable to connect modules to inverter. From junction box to inverter,
voltage drop is about 1-2%. So we suggest the inverter install near PV module,
in order to save cable and reduce DC loss. (No longer than 30m)
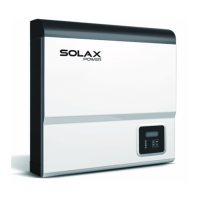
Please do not make PV positive or negative ground!
NOTE!
• Use multimeter to measure module
array voltage
• Check the PV+ and PV- from the PV
string combiner box correctly.Make
sure the PV+ and PV- connected
correctly.
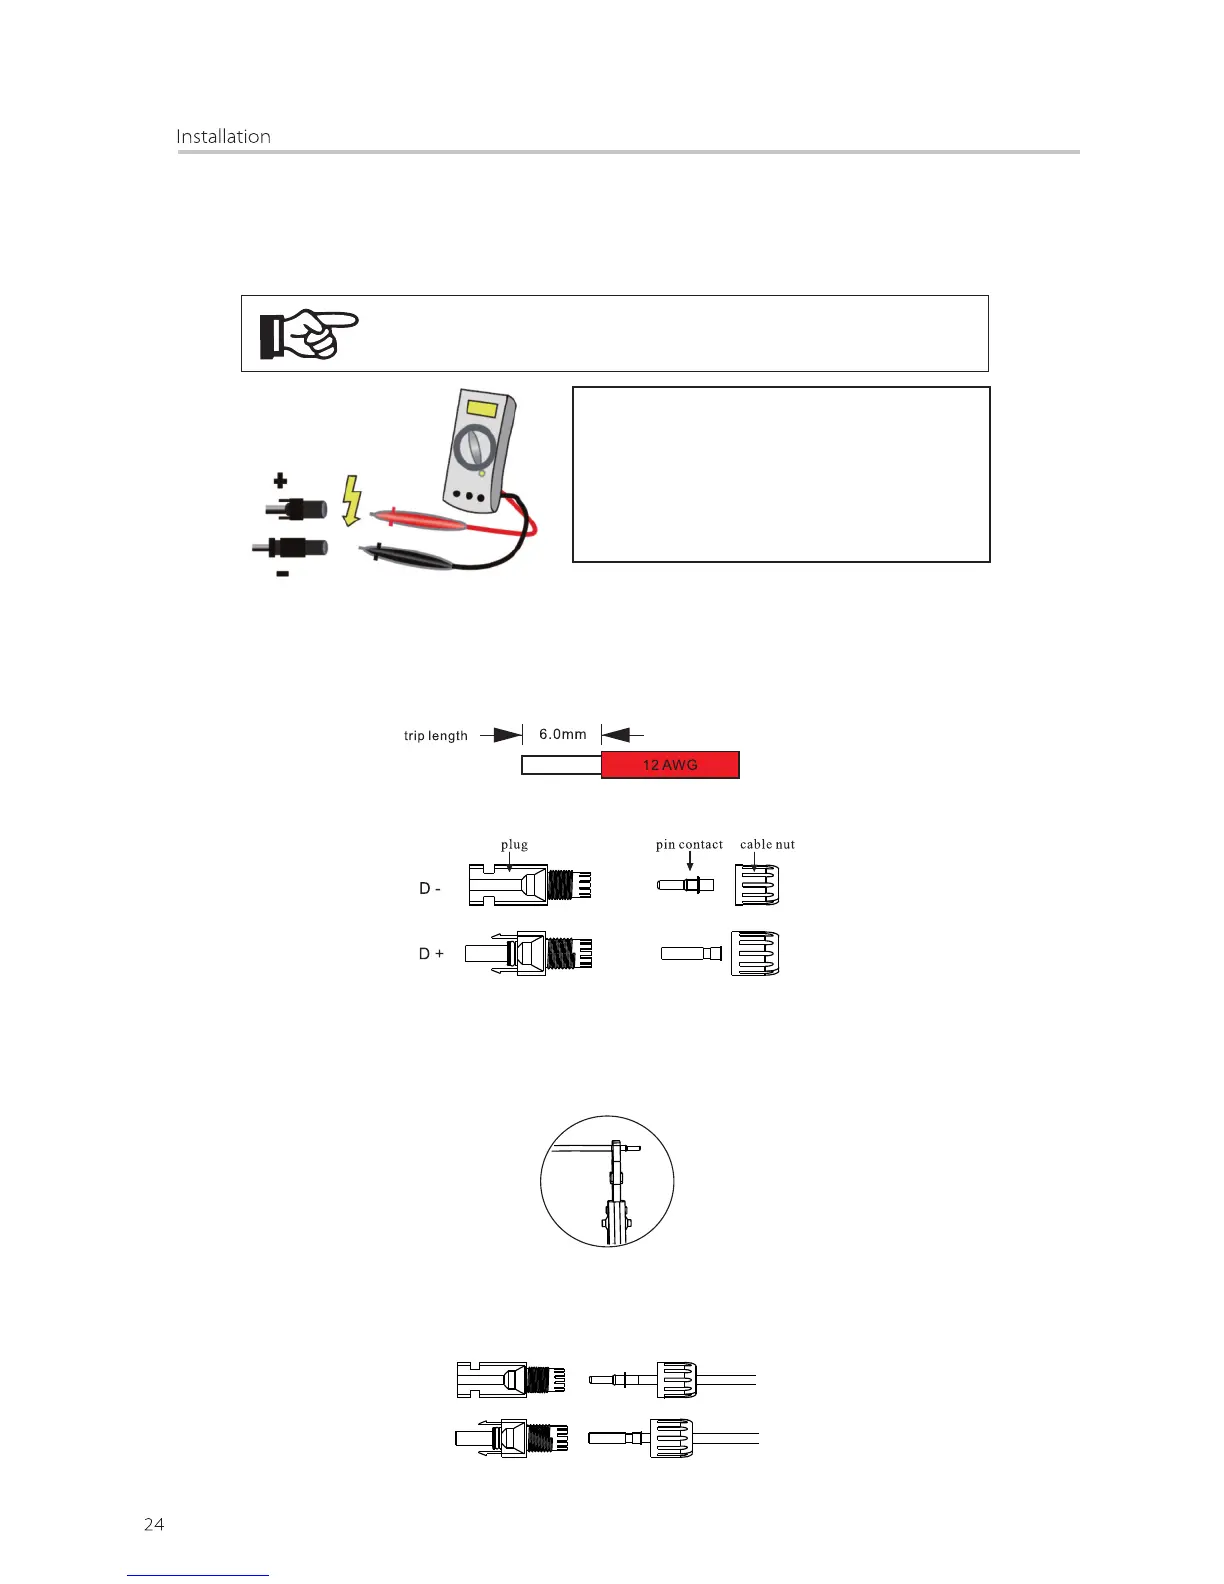
Ÿ Connection Step:
1. Disconnect the DC switch.
2. Choose 12 AWG wire to connect the PV module.
3. Trip 6mm of insulation from the Wire end.
4. Separate the DC connector as below.
5. Insert striped cable into pin contact and ensure all conductor strands
are captured in the pin contact.
6. Crimp pin contact by using a crimping pliers. Put the pin contact with striped
cable into the corresponding crimping pliers and crimp the contact.
7 Insert pin contact through the cable nut to assemble into back of the .
male or female plug. When you feel or heard a “click” the pin contact
assembly is seated correctly.
 Loading...