STEP BY STEP INSTALLATION
Step 1: Mount the outside antenna
a. Choose right position.
• 30 cm away from any other metallic objects.
• 50 cm away from any windows.
b. Mount the antenna: it must be mounted
vertically on top of the vehicle.
c. Set the outside antenna cable into the
vehicle
• Carefully pull down the door seal, run the
cable into the vehicle under the seal of the
doorframe.
• Run the cable to reach the location where
you plan to place the booster.
• Push the seal carefully back into place.
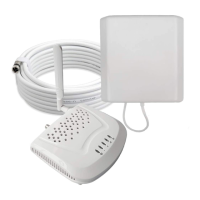
Step 2: Mount the inside antenna
a. Choose right position
• 20 cm away from any other metallic objects.
• 50 cm away from any windows.
• The inside antenna should be facing to driver
or all passenger’s seats as possible。
Caution: The inside and outside antenna can
NOT directly face each other. This will result in
possible self oscillation. (see self oscillation
section)
b. Mount the inside antenna
• Peel off the plastic on the backside of the
antenna.
• It is the 3M sticker. Place the inside antenna
onto the position selected.
Installation - Step By Step
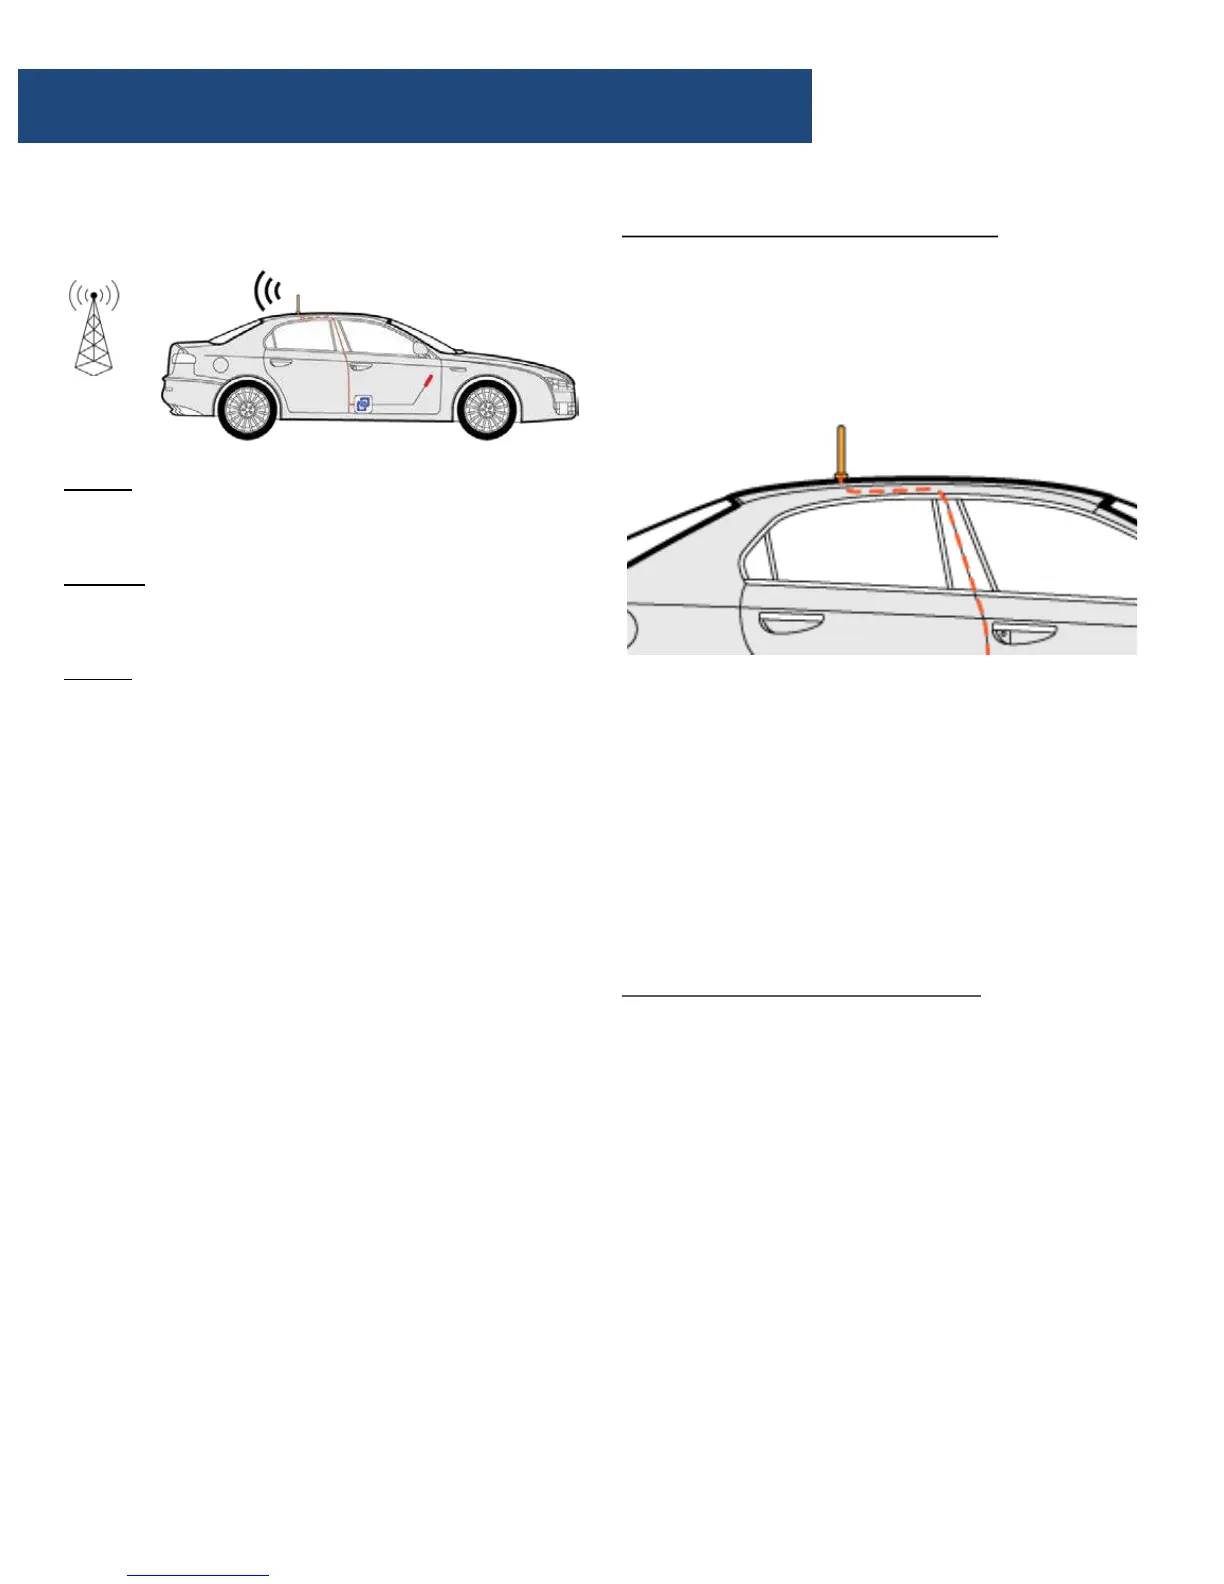
How does it works
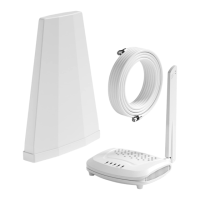
Step 1: The powerful outside antenna captures
a voice and data signal and transfers it to the
booster.
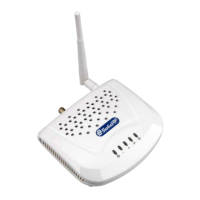
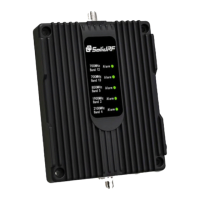
Step 2: The booster receives the signal,
amplifies it and then rebroadcasts the signal by
the inside antenna.
Step 3: Your mobile devices will get a better
signal, never experiencing dropped calls or slow
data speed.
Supported Carriers
• AT&T 2G/3G/4G (HSPA+ & LTE)
• Verizon 3G/4G
• T-Mobile 2G/3G/4G
• Sprint 3G/4G
• US Cellular 3G/4G
• Metro PCS 3G/4G
• Major Canadian Carriers 2G/3G/4G
• All other carriers using 700MHz, 850MHz ,
1900 MHz and 2100 MHz
Conduct a Test Installation
Conduct a test instillation to ensure correct
product functioning before permanently
installing the booster.
The test instillation will help to determine the
best location for the inner and outer antenna
and additionally the routing cable