STEP BY STEP INSTALLATION
Step 1: Mount the booster outside unit
a. Choose right position
• Find the strongest signal position in the
possible install locations by reading your cell
phone signal bar (see Find Strongest Signal)
• 30 cm away from any other metallic objects
• 100 cm away from any windows
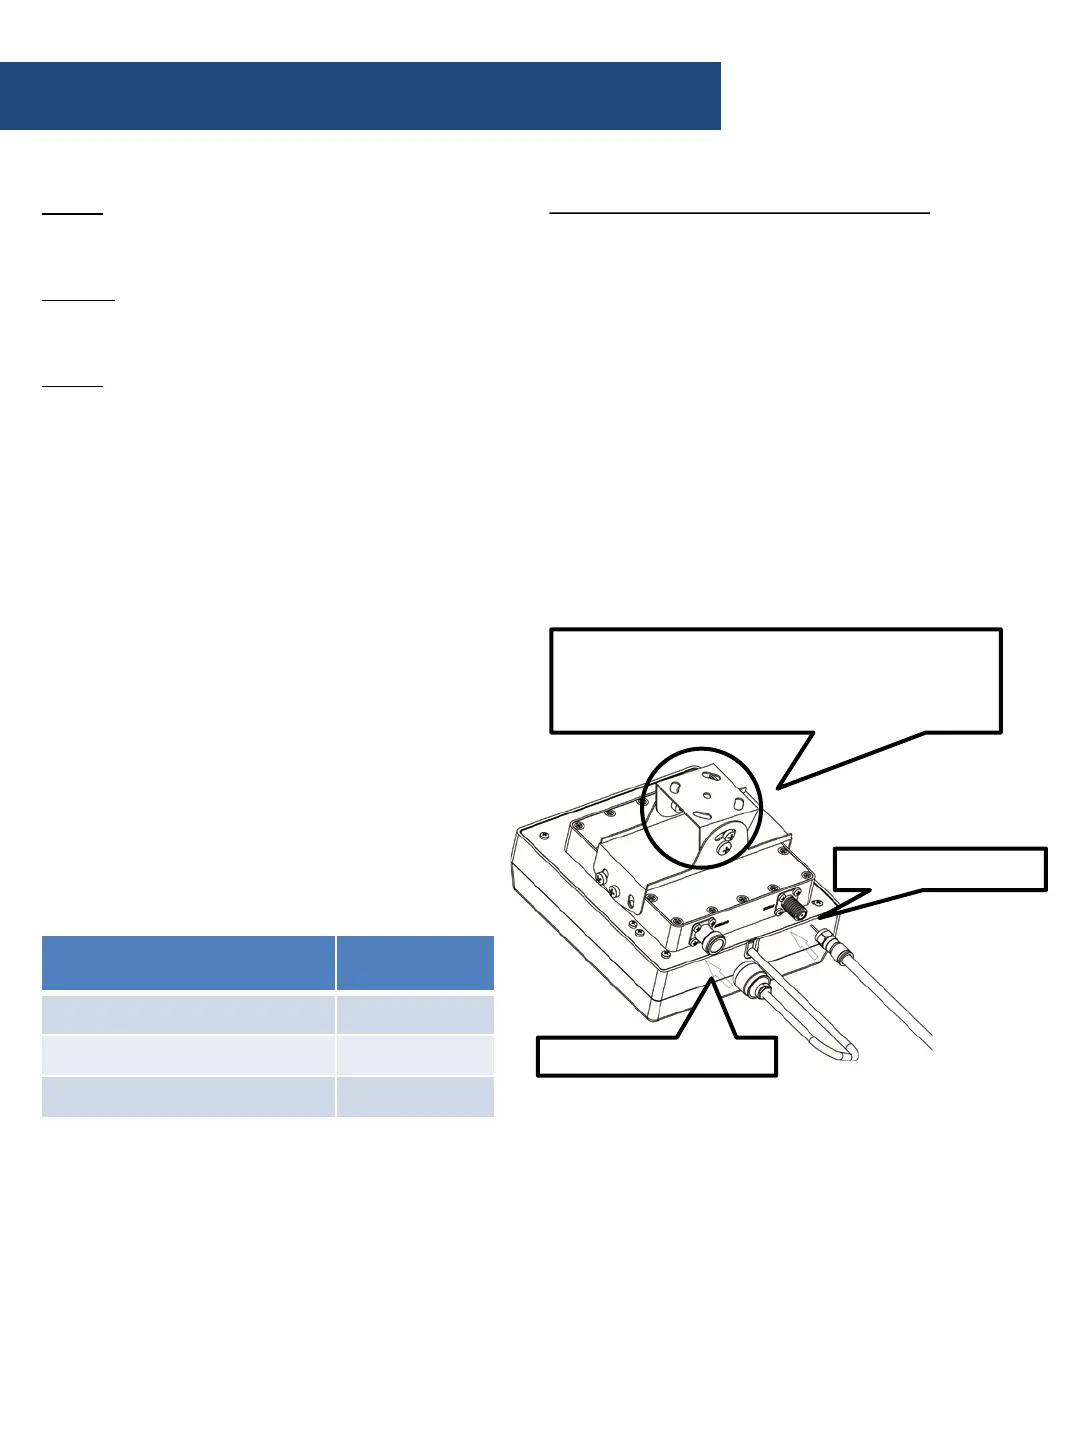
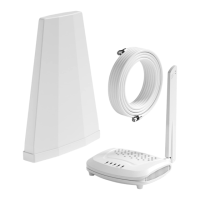
b. Connect the cables as required (see the
picture below)
• The booster outside unit is integrated with
the outside antenna and the signal amplifier,
ideal to improve system performance.
• Make sure connectors are well screwed in
Caution: The outside antenna can NOT directly
face to the inside antenna. This will result in
possible self oscillation. (see self oscillation
section)
Installation - Step By Step
How does it works
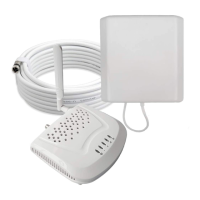
Step 1: The powerful outside antenna captures
a voice and data signal and transfers it to the
booster.
Step 2: The booster receives the signal,
amplifies it and then rebroadcasts the signal by
the inside antenna.
Step 3: Your mobile devices will get a better
signal, never experiencing dropped calls or slow
data speed.
Supported Carriers
• AT&T 2G/3G (HSPA+)
• Verizon 3G
• T-Mobile 2G/3G
• Sprint 3G/4G
• US Cellular 3G
• Metro PCS 3G/4G
• Major Canadian Carriers 2G/3G
• All other carriers using 850MHz and 1900
MHz
Coverage Area
Note: Any cell phone booster has a limit of
amplification power. This depends on the
original output power of the closest cell tower.
Power level
at the outdoor antenna location
Coverage Area
(sq. ft.)
Strong (5 bars on the cellphone) 3000
Medium (3~4 bars on the cellphone) 1200
Weak (1~2 bars on the cellphone) 300
Conduct a Test Installation
Conduct a test instillation to ensure correct
product functioning before permanently
installing the booster.
The test instillation will help to determine the
best location for the inner and outer antenna
and additionally the routing cable
Antenna to Amplifier
Cable to Amplifier
Take note of the direction of the strongest
signal and adjust the angle of the antenna
accordingly