Copyright © 2008 Somfy SAS. All rights reserved.
- Press the Sub-menu button to confi rm the setting:
The display reverts to “CLOC”.
►
Check the time. -
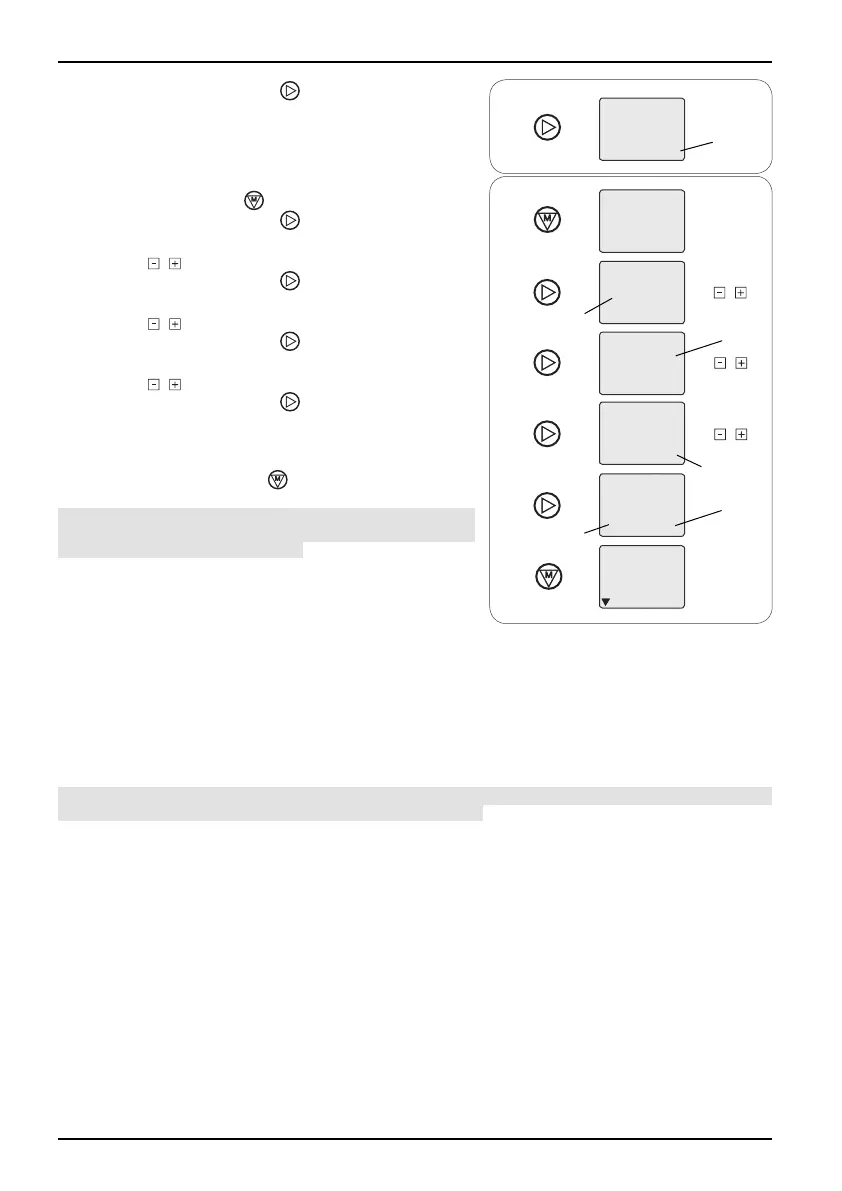
5.2.2 Setting the date
- Press the Menu button : “DAtE” is displayed.
Press the Sub-menu button
- :
The day display fl ashes.
►
Press the - button to set the day.
Press the Sub-menu button
- :
The month display fl ashes.
►
Press the - button to set the month.
Press the Sub-menu button
- :
The year display fl ashes.
►
Press the - button to set the year.
Press the Sub-menu button
- to confi rm the setting:
The display reverts to “DAtE”. ►
Check the date. -
When the date has been set: -
Press the Menu button - to return to the standard
display.
Caution: On the Chronis Smart RTS, the time automati-
cally changes to daylight saving time/winter time once
the time and date have been set.
Yea r
Day.Month
Day
Month
Yea r
6. Adding the Chronis Smart RTS
6.1 Identifying the original control point
6.1.1 Installation recommendations
To add a C hro ni s S mart RT S, u s e t he c ont ro l p oin t l i n ked to the p r o duc t w h i ch only c o n tro ls t h is -
product: pressing the Up or Down button only causes movement of the product to which the new
Chronis Smart RTS must be linked.
Caution! If there is no longer a control point linked to the product (all the control points are broken
or have been lost), contact the Somfy assistance service.
This guide describes how to link a Chronis Smart RTS to a compatible RTS product.
-
To link t h e C h ron is S m art RTS to se ver al p r odu ct s, ide nt ify t he i ndi vi dua l cont ro l p oin t for ea c h -
of the products to be linked and carry out the procedure described in the section entitled “Adding
the Chronis Smart RTS” which corresponds to the original control point.
On some products, inputs in programming mode and the addition or deletion of a control point
-
are signalled by a series of beeps emitted by the motor. On other products this is signalled by a
brief movement of the product.
Place the product in the midway position before installing the new Chronis Smart RTS so that
-
any movements can easily be seen.
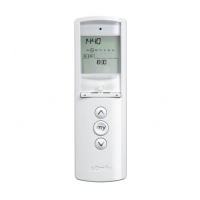
Chronis Smart RTS
6
 Loading...