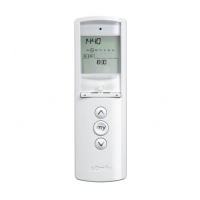
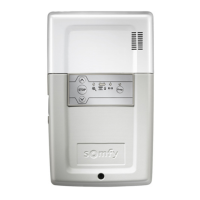
Chronis Smart RTS
9Copyright © 2008 Somfy SAS. All rights reserved.
Replace the original control point front cover: -
One-touch point with a white and grey front cover
Insert the mounting lugs into their notches on one -
side of the front cover.
Press on the other side until it clicks, to fi x the front
-
cover in its bracket.
One-touch point with a white front cover
Refi t the front cover on its bracket. -
6.3 Point with Up/STOP/Down buttons
Move close to the product to install the Chronis Smart
RTS.
6.3.1 Checking the compatibility
- Bring the product to the midway position.
Cut off the mains power supply or detach the battery
-
connected to the motor (e.g. for a battery operated
roller blind).
Remove the front cover:
-
Gently remove the front cover with a fl at, pointed -
tool (such as a fl athead screwdriver) where the
white section and the grey section join.
Lever it and lift the cover, without using force, to
-
detach the mounting lugs from the front cover.
Turn the front cover over: the PROG button is located
-
next to the battery (b).
Caution! If after removing the front cover, no PROG
button is found, this means that the control point is not
compatible: the Chronis Smart RTS cannot be linked to
the product.
6.3.2 Adding the Chronis Smart RTS
- Switch the mains power supply back on or reconnect
the battery to the motor.
Press the PROG button (b) on the original control point
-
until the product moves briefl y (or a series of 3 beeps
is emitted): the programming function is activated for
approximately 2 minutes.
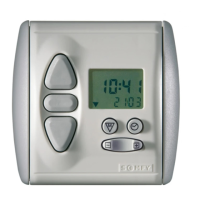
Take the ne w C hr oni s Sma rt RT S .
-
Briefl y press the PROG button (H) on the new Chronis -
Smart RTS:
“PROG” is displayed on the Chronis Smart RTS
►
screen.
The product will make another brief movement (or
►
emit a series of 8 beeps) to indicate that the new
Chronis Smart RTS has been stored.
Press the down button on the new Chronis Smart
-
RTS:
If the product is lowered, the Chronis Smart RTS
►
is operational.
If the product does not move, contact the Somfy
►
assistance service.
Replace the original control point front cover:
-
Insert the mounting lugs into their notches on one -
side of the front cover.
Press on the other side until it clicks, to fi x the front
-
cover in its bracket.
b
b
5
5
H
 Loading...
