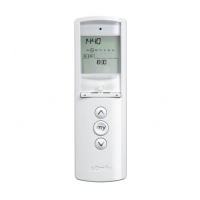
Chronis Smart RTS
7Copyright © 2008 Somfy SAS. All rights reserved.
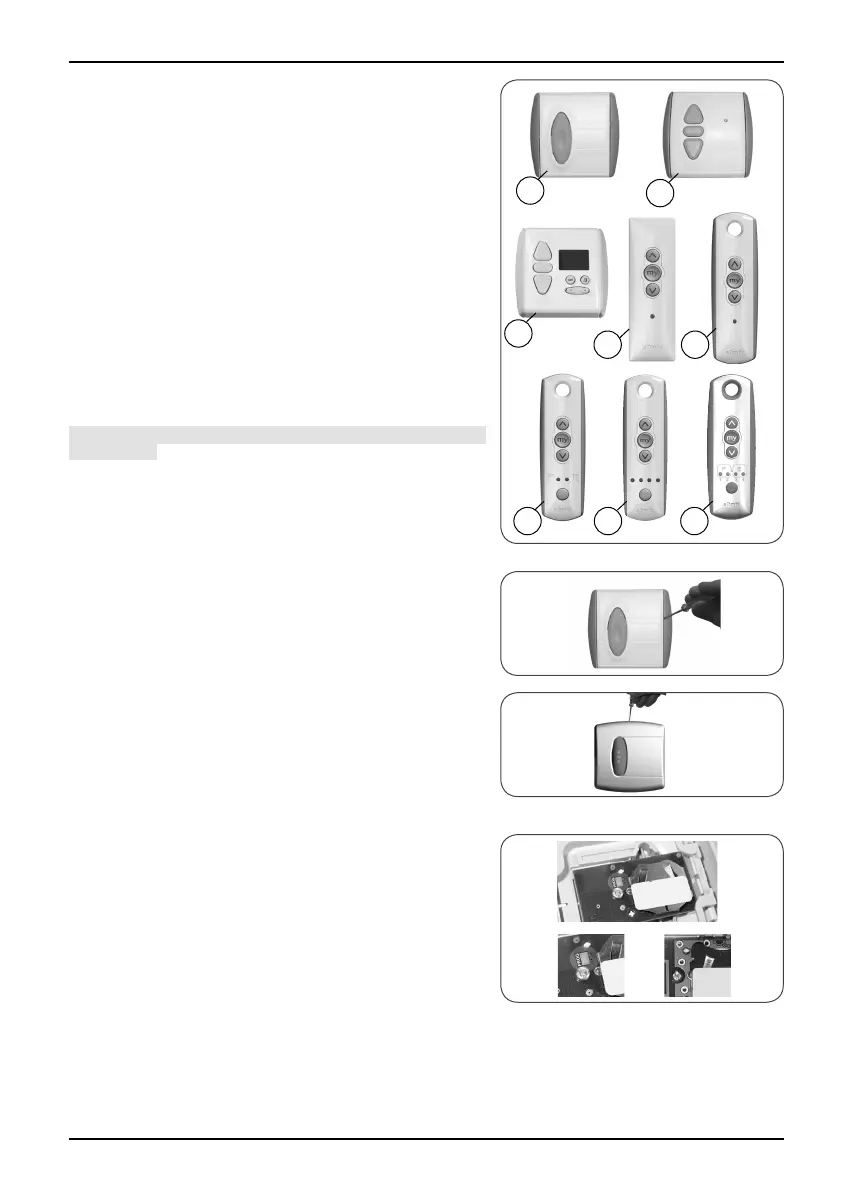
6.1.2 Original control points
- Identify the original control point in the list below and
refer to the paragraph given to add the new Chronis
Smart RTS:
1) Control point fi tted to the wall with a single button,
called a One-touch point, see paragraph 6.2;
2) Control point fi tted to the wall with Up/STOP/Down
buttons, called a Point with Up/STOP/Down buttons,
see paragraph 6.3;
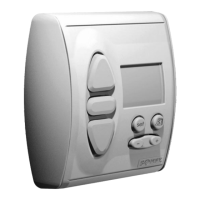
3) Programmable control point, called a Timer, see
paragraph 6.4;
4) Situo control point fi tted to the wall, see paragraph
6.5;
5a) Telis 1 RTS remote control, see paragraph 6.6;
5b) Telis Soliris RTS remote control, see paragraph 6.6;
6a) Telis 4 RTS remote control, see paragraph 6.7;
6b) Telis 4 Soliris RTS remote control, see paragraph 6.7.
6.2 One-touch point
Move close to the product to install the new Chronis
Smart RTS.
6.2.1 Identifying the model
Check that the original control point has an elongated -
button.
Bring the product to the midway position.
-
Remove the front cover from the one-touch point: -
One-touch point with a white and grey front cover
Gently remove the front cover with a fl at, pointed -
tool (such as a fl athead screwdriver) where the
white section and the grey section join.
Lever it and lift the cover, without using force, to
-
detach the mounting lugs from the front cover.
One-touch point with white front cover
Lever it with a fl at, pointed tool (such as a fl at- -
head screwdriver), without using force, around the
upper section of the front cover to detach it from its
mounting.
- Turn the front cover over to fi nd out the model:
If there is a metal plate inscribed PROG next to the
-
battery: model A.
If there is no metal plate inscribed PROG next to the
-
battery: model B.
3
2
1
6a5b 6b
5a
4
AB
 Loading...