26
Your camcorder automatically focuses for you.
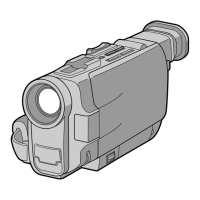
(1) Remove the lens cap by pressing both knobs on its sides and pull the lens cap
string to fix it.
(2) Prepare the power supply and insert a cassette. See “Step 1” to “Step 3” for
more information (p. 15 to 23).
(3) Set the POWER switch to CAMERA while pressing the small green button.
This sets your camcorder to the standby.
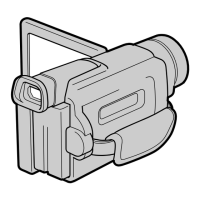
(4) Press OPEN to open the LCD panel. The viewfinder automatically turns off.
(5) Press START/STOP. Your camcorder starts recording. The REC indicator
appears. The camera recording lamp located on the front of your camcorder
lights up. To stop recording, press START/STOP again.
— Recording – Basics —
Recording a picture
5
2
4
40min
REC
0:00:01
3
VCR
MEMORY/
NETWORK
CAMERA
OFF(CHG)
POW
ER
1
LOCK switch
Microphone
Camera recording
lamp

 Loading...


