6-29
DCR-SR32E/SR33E/SR42/SR42A/SR42E/SR52E/SR62/SR62E/SR72E/SR82/SR82C/SR82E_ADJ
Ver. 1.7 2008.04
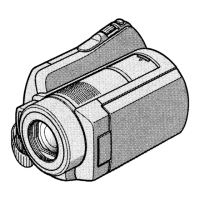
6) After the setting, if the [OK] button is clicked, the adjustment
items from “3. AWB Standard Data Input” to “6. AWB Check”
are executed. During the execution, the following messages
are displayed in the order given below. Place or remove the
filters on the lens in accordance with the messages.
7) Upon completion of “6. AWB Check”, “7. Release of Data
Setting during Camera Adj.” is executed
8) Upon successful completion of all items of the CAMERA
Adjustment 7, the following message is displayed. Click the
[OK] button.
10. CAMERA Adjustment 7
[Automatic Adjustment Program execution items and
sequence]
1. Data Setting during Camera Adj.
2. Picture Frame Setting (AWB Adjustment Frame)
3. AWB Standard Data Input
4. LV Standard Data Input
5. AWB Adj.
6. AWB Check
7. Release of Data Setting during Camera Adj.
[Adjusting method]
1) Select the model (NTSC Model or PAL Model) with the Model
Select radio button.
Note: NTSC model: DCR-SR42/SR42A
PAL model: DCR-SR32E/SR33E/SR42E
2) Click the [Start] button of the CAMERA Adjustment 7.
3) The Automatic Adjustment Program executes “1. Data Setting
during Camera Adj.”.
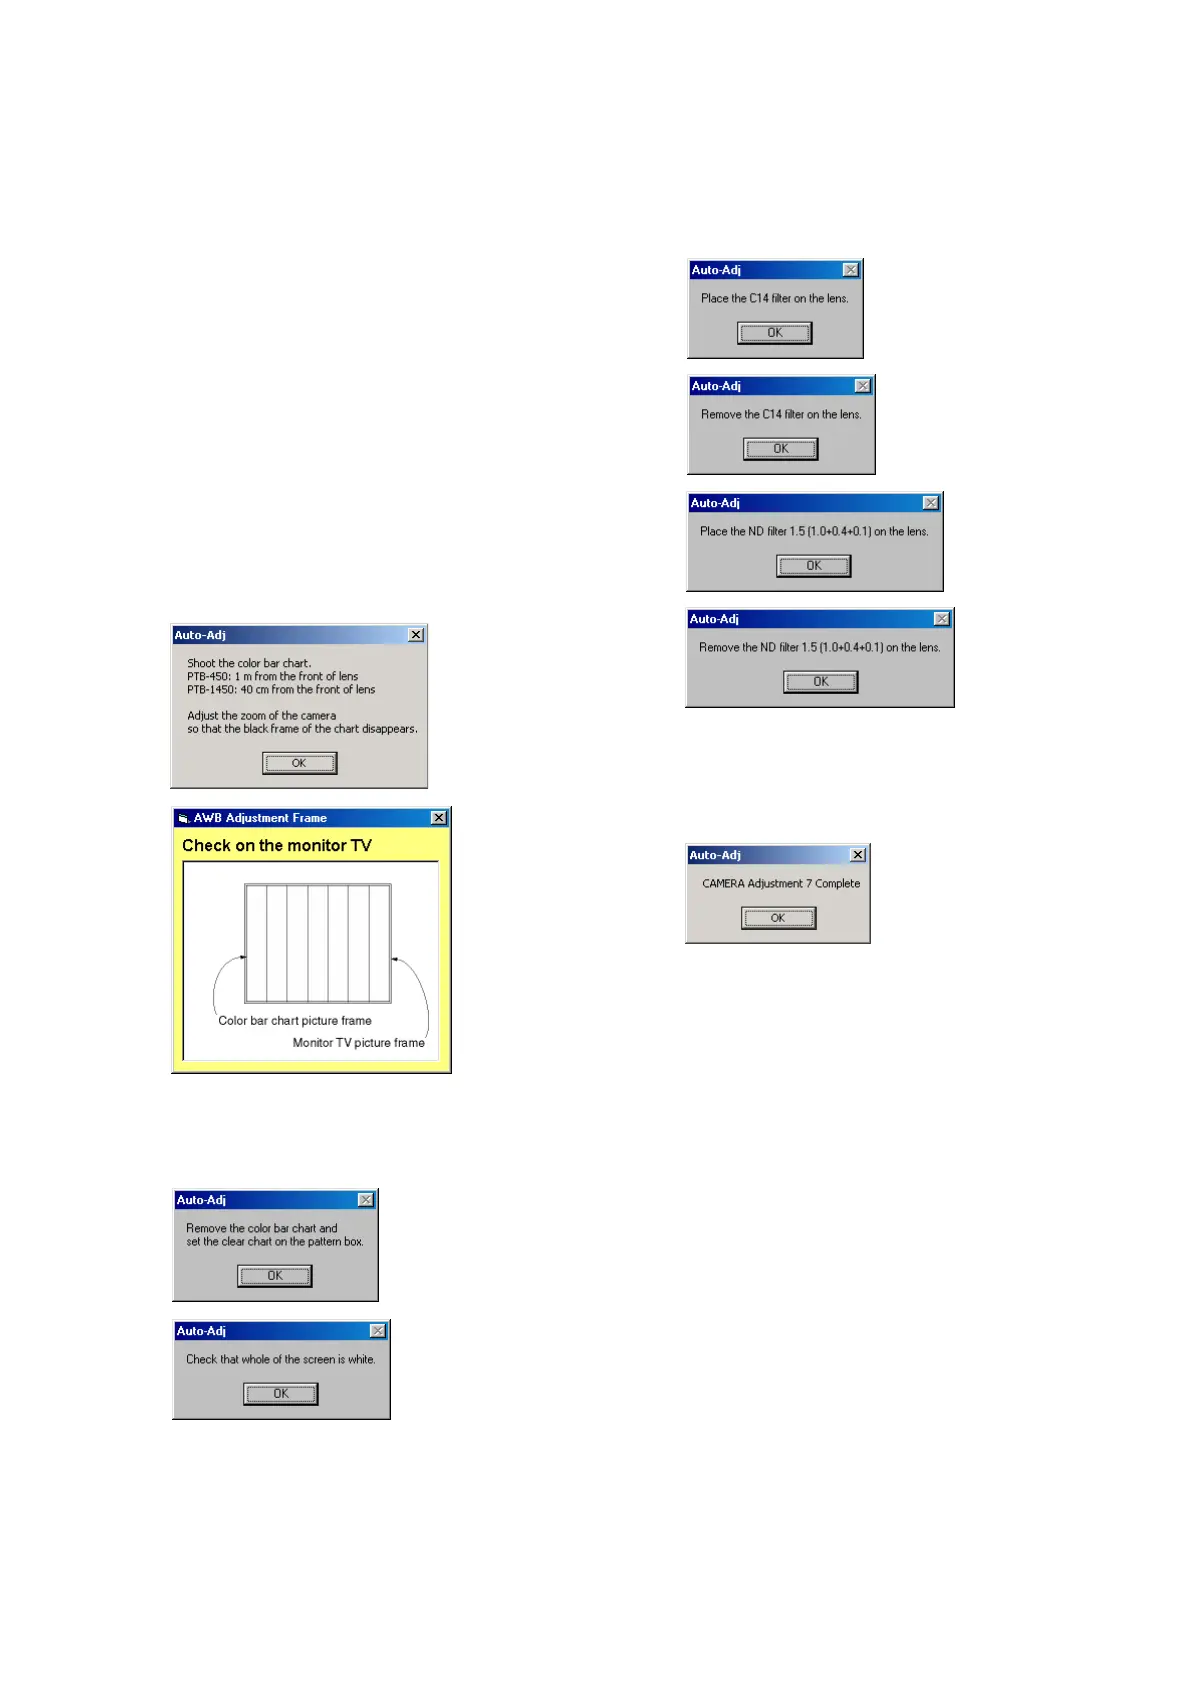
4) Upon successful completion of the “1. Data Setting during
Camera Adj.”, the following message is displayed. Then, set
the picture frame in accordance with the message.
5) If the [OK] button is clicked, “2. Picture Frame Setting (AWB
Adjustment Frame)” is executed. The following messages are
displayed in the order given below during the execution. Then,
change the chart in accordance with the messages.