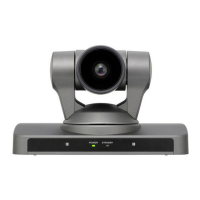
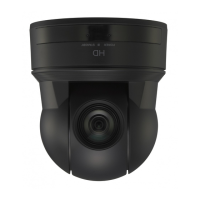
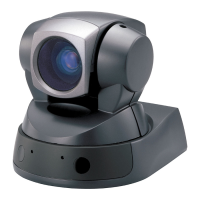
74 Installing the Camera
B Installation and Connection
Installing the
Camera
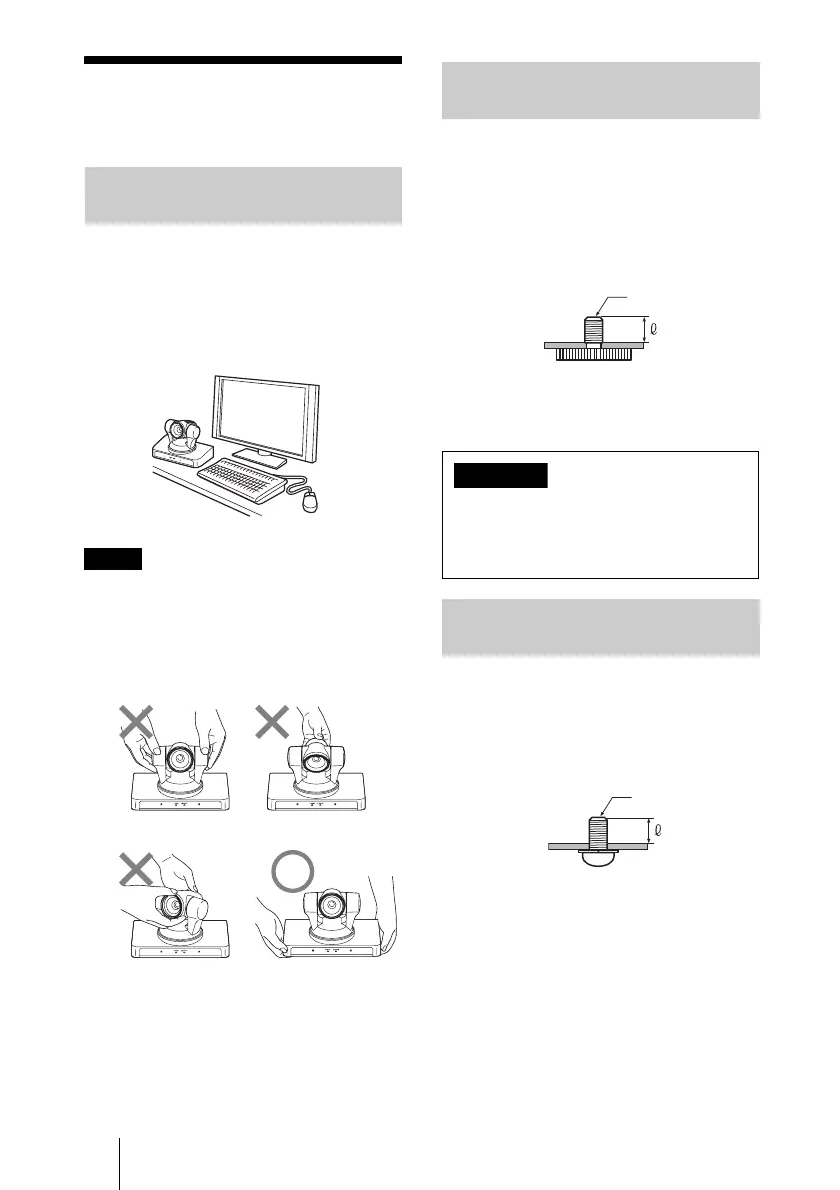
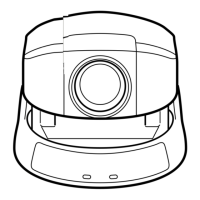
Place the camera on a flat surface.
If you have to place the camera on an
inclined surface, make sure that the
inclination is less than ±15 degrees to
guarantee pan/tilt performance, and take
measures to prevent it from falling.
• Do not grasp the camera head when
carrying the camera.
• Do not turn the camera head by hand.
Doing so may result in a camera
malfunction.
Attach a tripod to the screw hole used for
attaching a tripod on the bottom of the
camera.
The tripod must be set up on a flat surface
and its screws tightened firmly by hand.
Use a tripod with screws of the following
specifications.
Attach the camera using 3 M3 fixing screw
holes located on the bottom of the camera.
Attach the camera to a fitting with a flat
surface using M3 screws with the following
specifications.
Installing the Camera on a
Desk
Notes
Attaching the Camera to a
Tripod
Installation of the camera using the
tripod screws and screw holes should not
be done for installation on a ceiling or a
shelf, etc., in a high position.
Installing the Camera Using
the M3 Fixing Screw Holes
4 = 5.5 mm
4 = 7/32 inches
1/4 - 20UNC
Caution
M3 screw
4 = 3 – 5 mm
4 = 1/8 – 7/32 inches