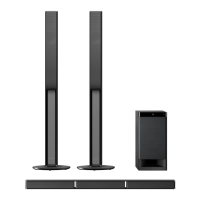
HT-RT4/RT40
10
2-3. FRONT PANEL SECTION-2
Note 2:
When you install the connector, please install them correctly.
There is a possibility that this machine damages when not
correctly installing it.
Insert is shallow
Insert is straight
to the interior.
connector
Insert is incline
connector
connector
connector
connector connector
OK NG NG
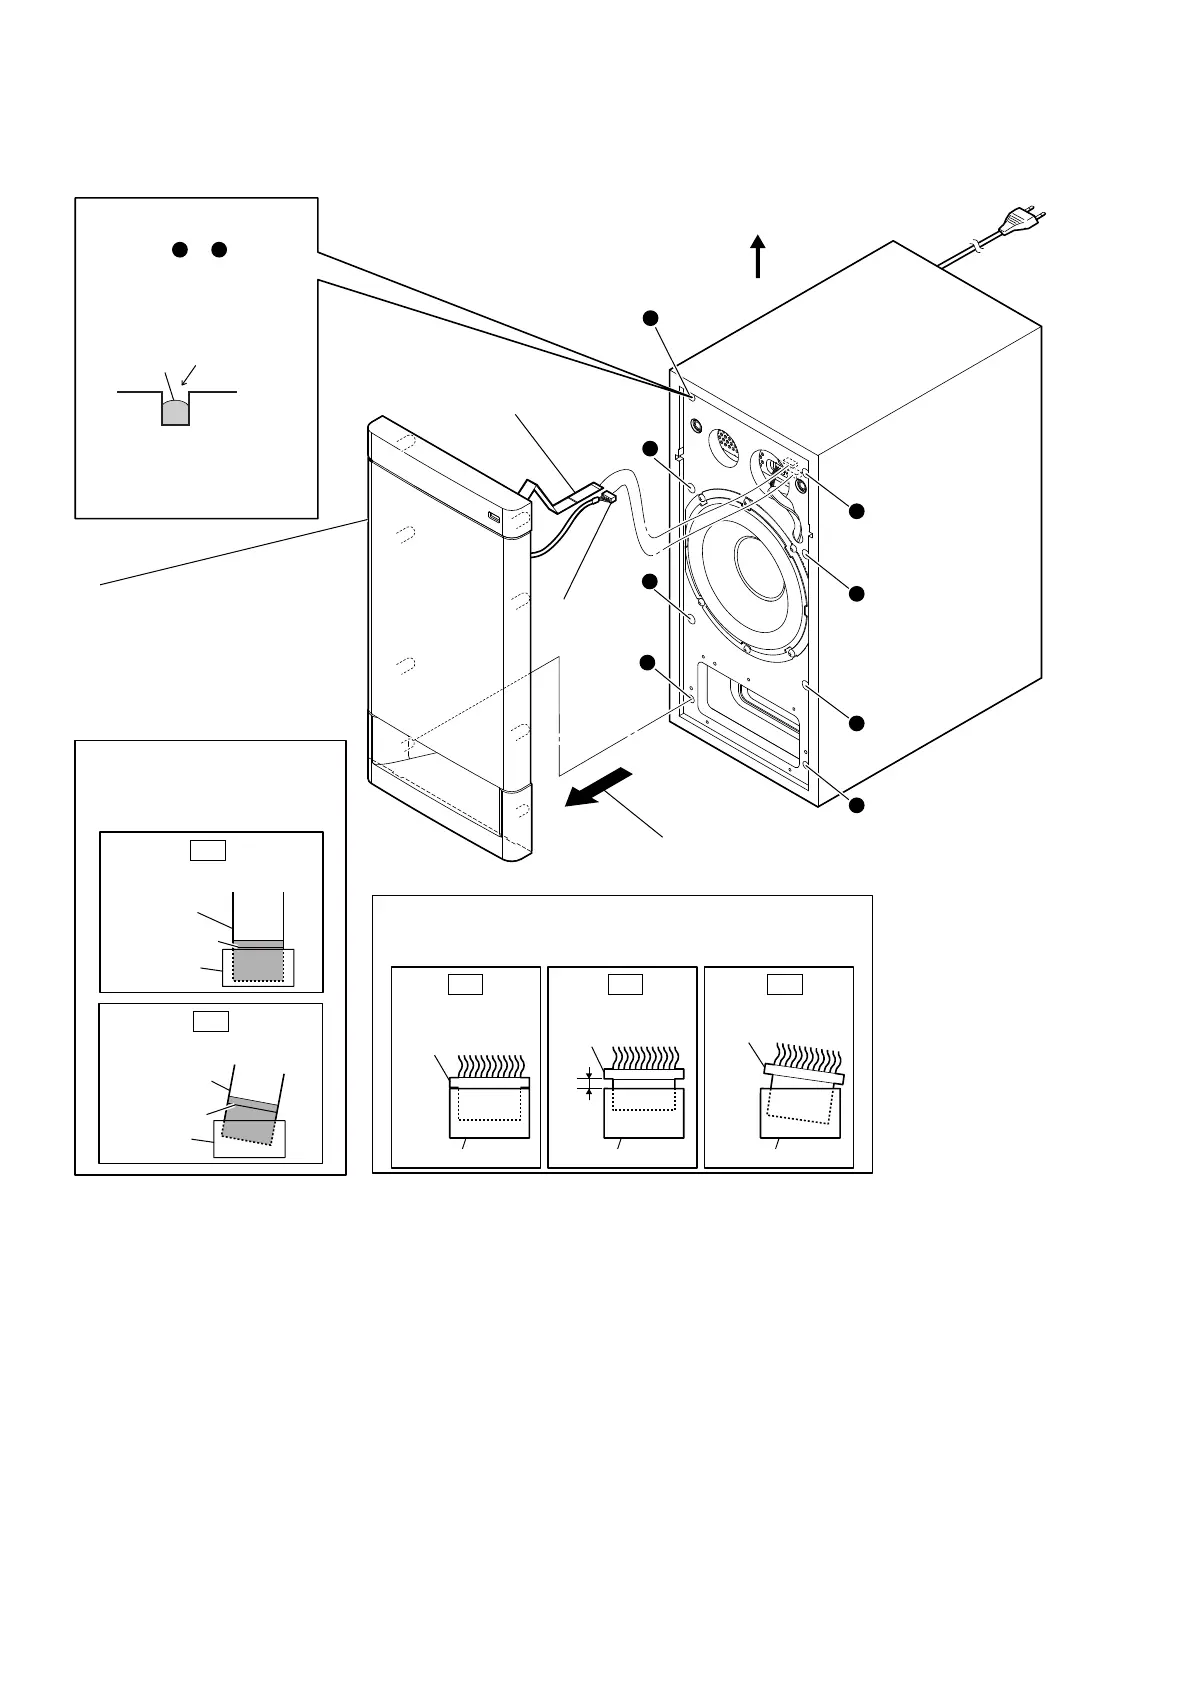
1 Remove the front panel section
in the direction of the arrow.
When installing the
front panel section,
remove the used glue
and use a new glue to
fix the front panel section.
2 CN3000
(5P)
3 wire (flat type)
(20 core) (CN5009)
4 front panel section
Note 3:
– Front view –
a
b
c
d
e
f
g
h
Note 1:
colored line
Insert is straight to the interior.
wire (flat type)
connector
OK
colored line
Insert is incline
connector
NG
When installing the wire
(flat type), ensure that the
colored line is not slanted
after insertion.
wire (flat type)
Ɣ*OXHVHWWLQJ
Fill in 2/3 of the bosses
hole (step A to H) on
the cabinet with new
glue. Ensure the
front panel section
is fully inserted to cabinet.
h
a
glue
bosses hole
Glue type: Ethylene
Vinyl Acetate Emulsion
Adhesives
top side
 Loading...