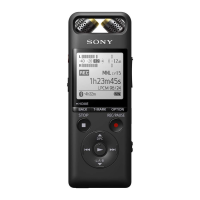
Change the angle of your linear PCM recorder's built-in microphones ( ) to adjust the directivity of the
microphones.
You can change the angle with your fingertip.
3
Turn your linear PCM recorder so that its built-in microphones point in the direction of the target sound
source.
4
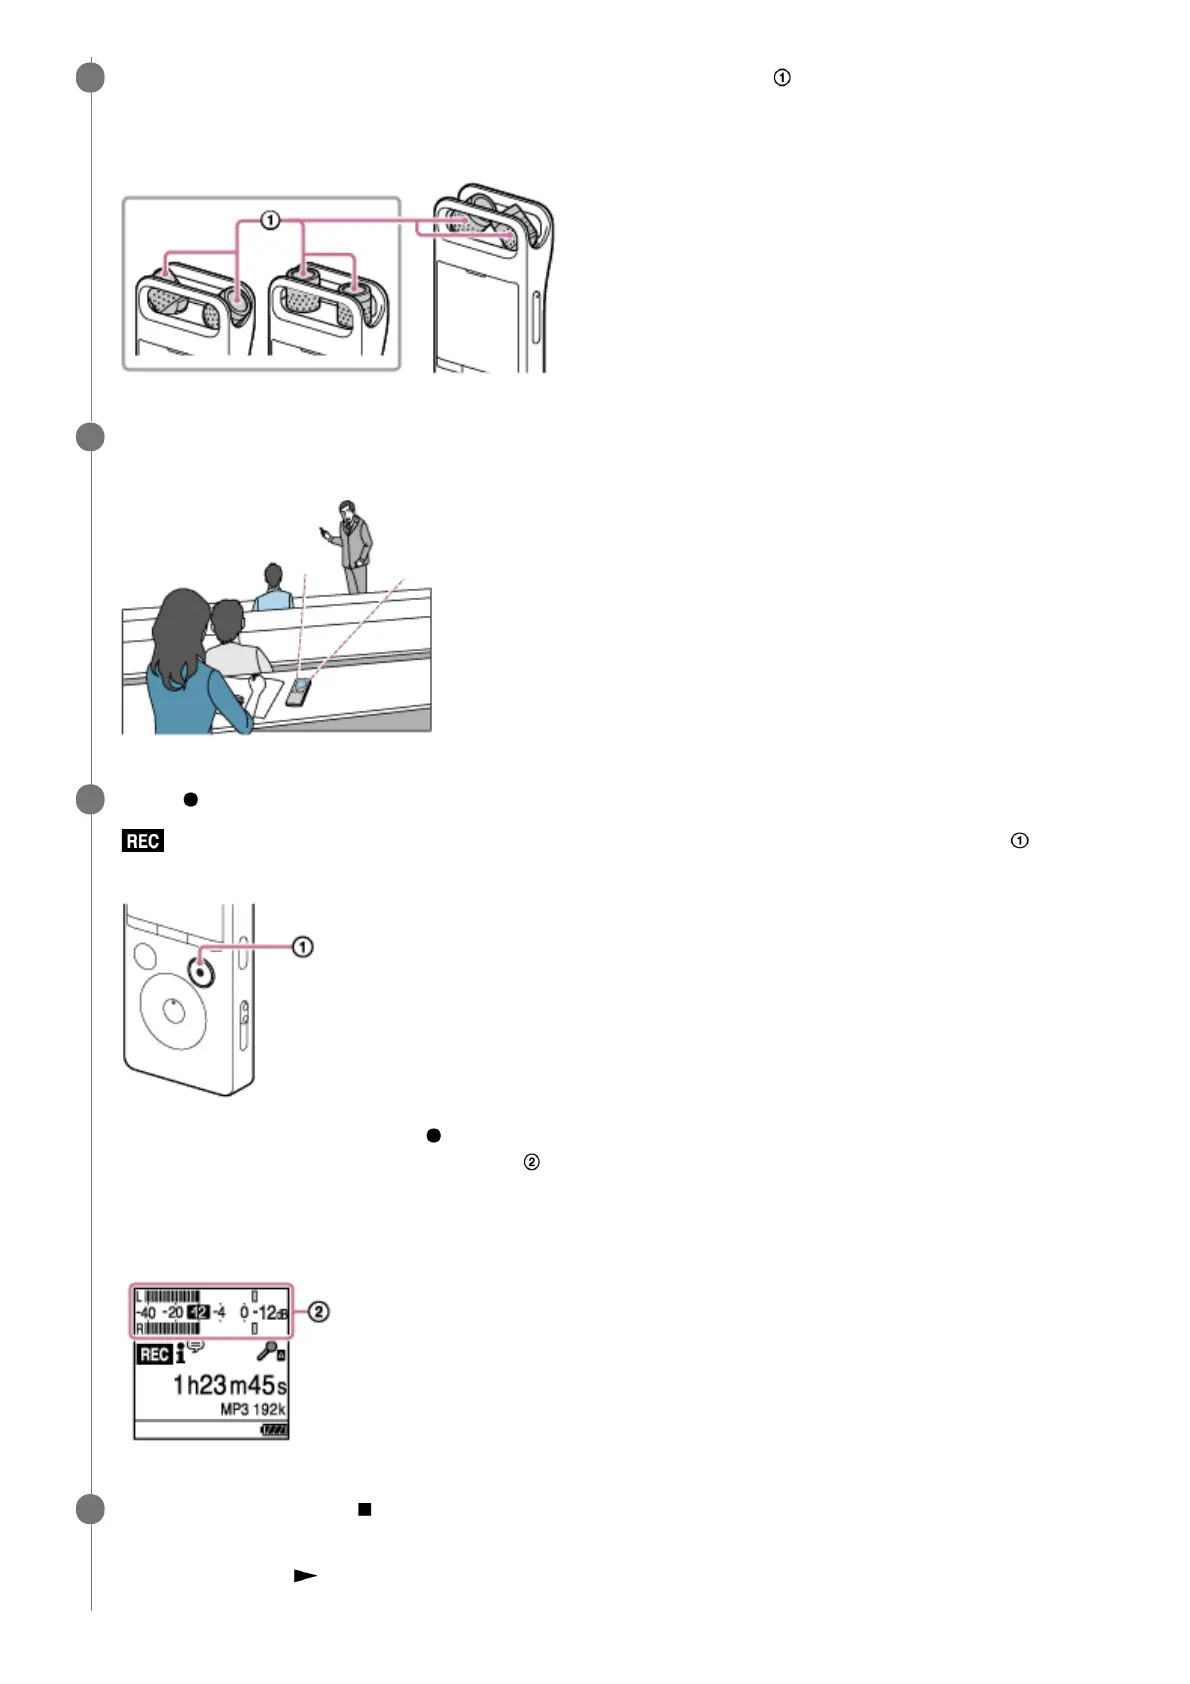
Press
REC/PAUSE.
appears on the display window to indicate that recording has started, and the recording indicator ( ) lights in
red.
You do not need to press and hold REC/PAUSE while recording.
While recording is in progress, the peak level (
) appears on the display window to indicate recording volume
levels for the input sound. Adjust the orientation of the built-in microphones, the distance from the sound source, or
the sensitivity setting of the microphones so that the recording volume level stays around -12 dB, which fits within
the optimum range, as illustrated below.
5
To stop recording, press
STOP.
[Saving...] and then the recording standby screen appear.
Now you can press
to play the file you have just recorded.
6
 Loading...