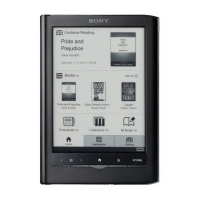
PRS-950
5
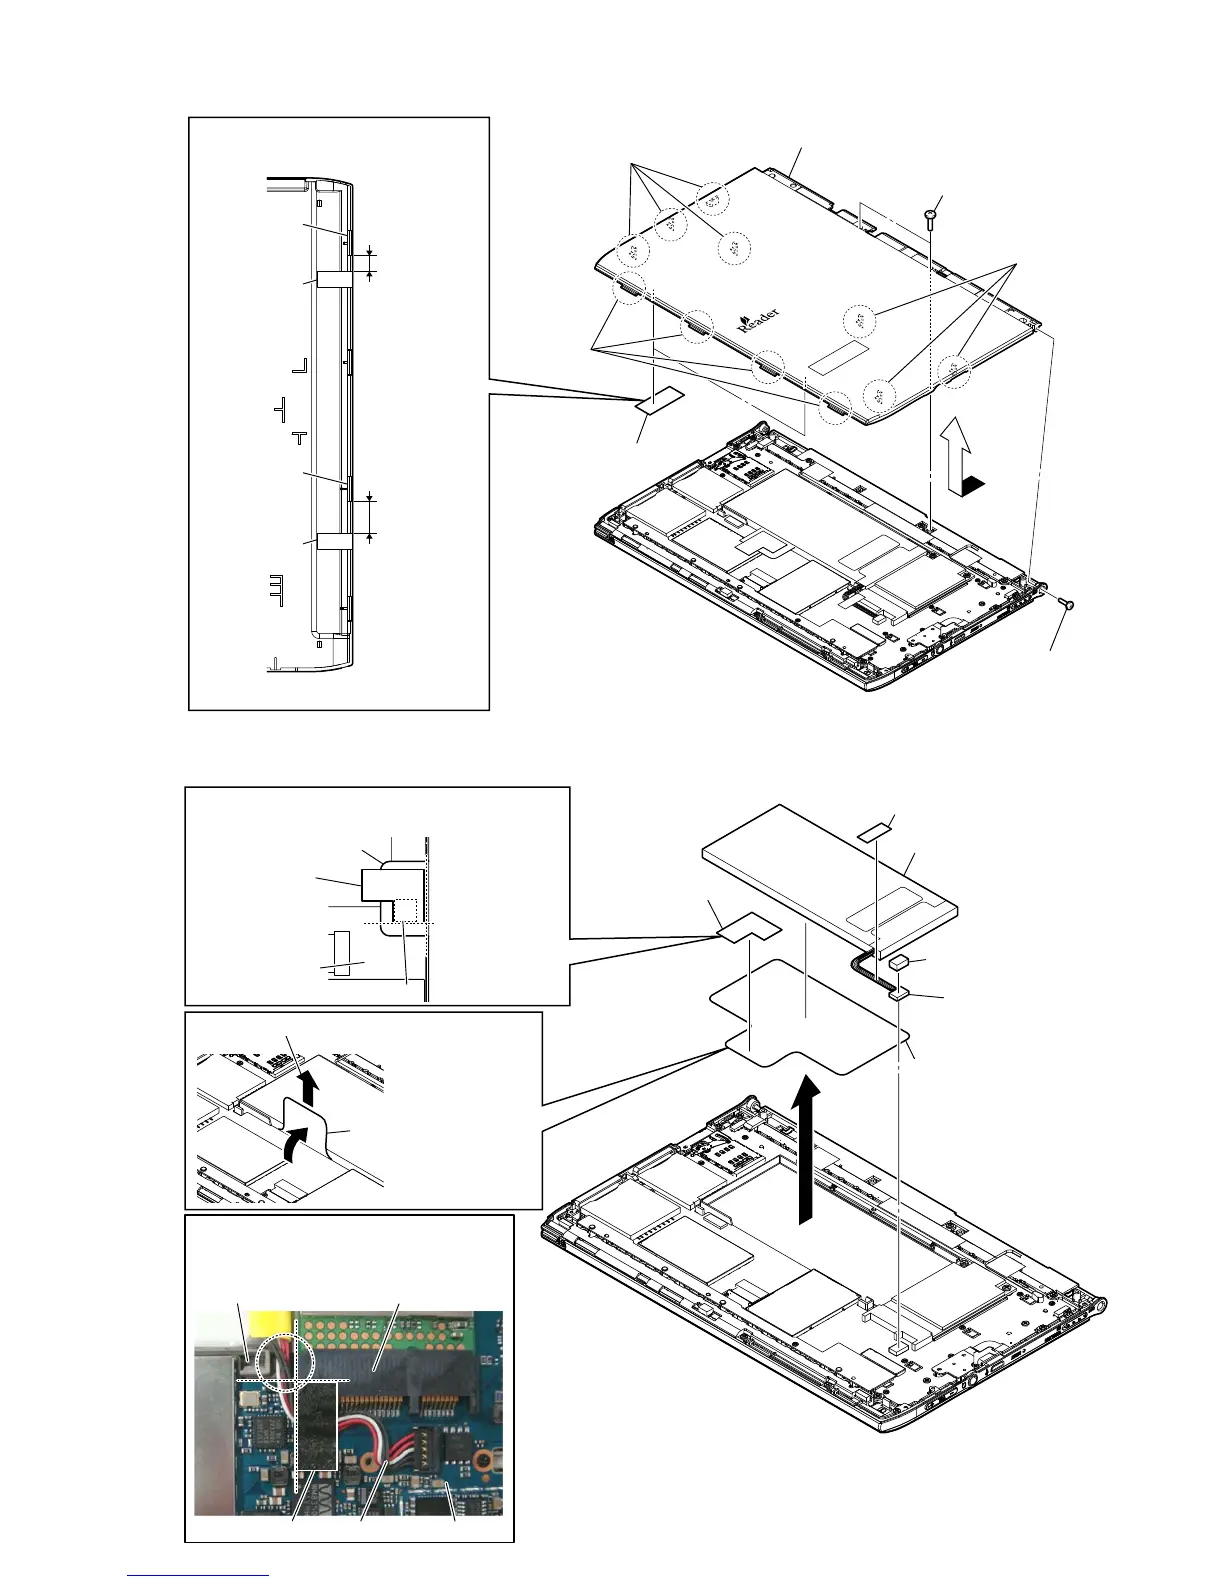
2-3. PANEL REAR BLOCK
2-4. BATTERY BLOCK ASSY (BAT1)
2 two tapping screws
5 two sheets (cable)
3 four claws
3 four claws
3 three claws
4
6 panel rear block
1 tapping screw
(P2)
– Rear side view (bottom side) –
– Panel rear inner view –
7 to 10 mm
15 to 18 mm
claw
claw
sheet (cable)
sheet (cable)
Note:
I
When installing the sheet (cable),
please paste it referring to the following.
5 Peel the sheet (battery).
9 battery block assy (BAT1)
6 Pull the sheet (battery) and lift the battery block.
7
3 battery connector
battery wire MAIN board
module connectorchassis
:LUHSURFHVVLQJ
2 sheet (cable)
sheet (cable)
4 copper foil (IC)
copper foil (IC)
IC
1 cushion (stylus)
–5HDUVLGHYLHZERWWRPVLGH–
Note 2:
Please process it so that battery wire
should not run aground in chassis and
module connector.
8 sheet (battery)
Note 3:
Peel off so as not to
damage the battery
block assy (BAT1).
sheet (battery)
MAIN board
Note 1:
When installing the copper foil (IC), please paste it
so as not to protrude beyond the sheet (battery).



 To Next Page