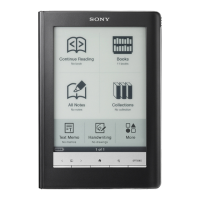
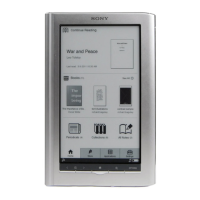
PRS-950
7
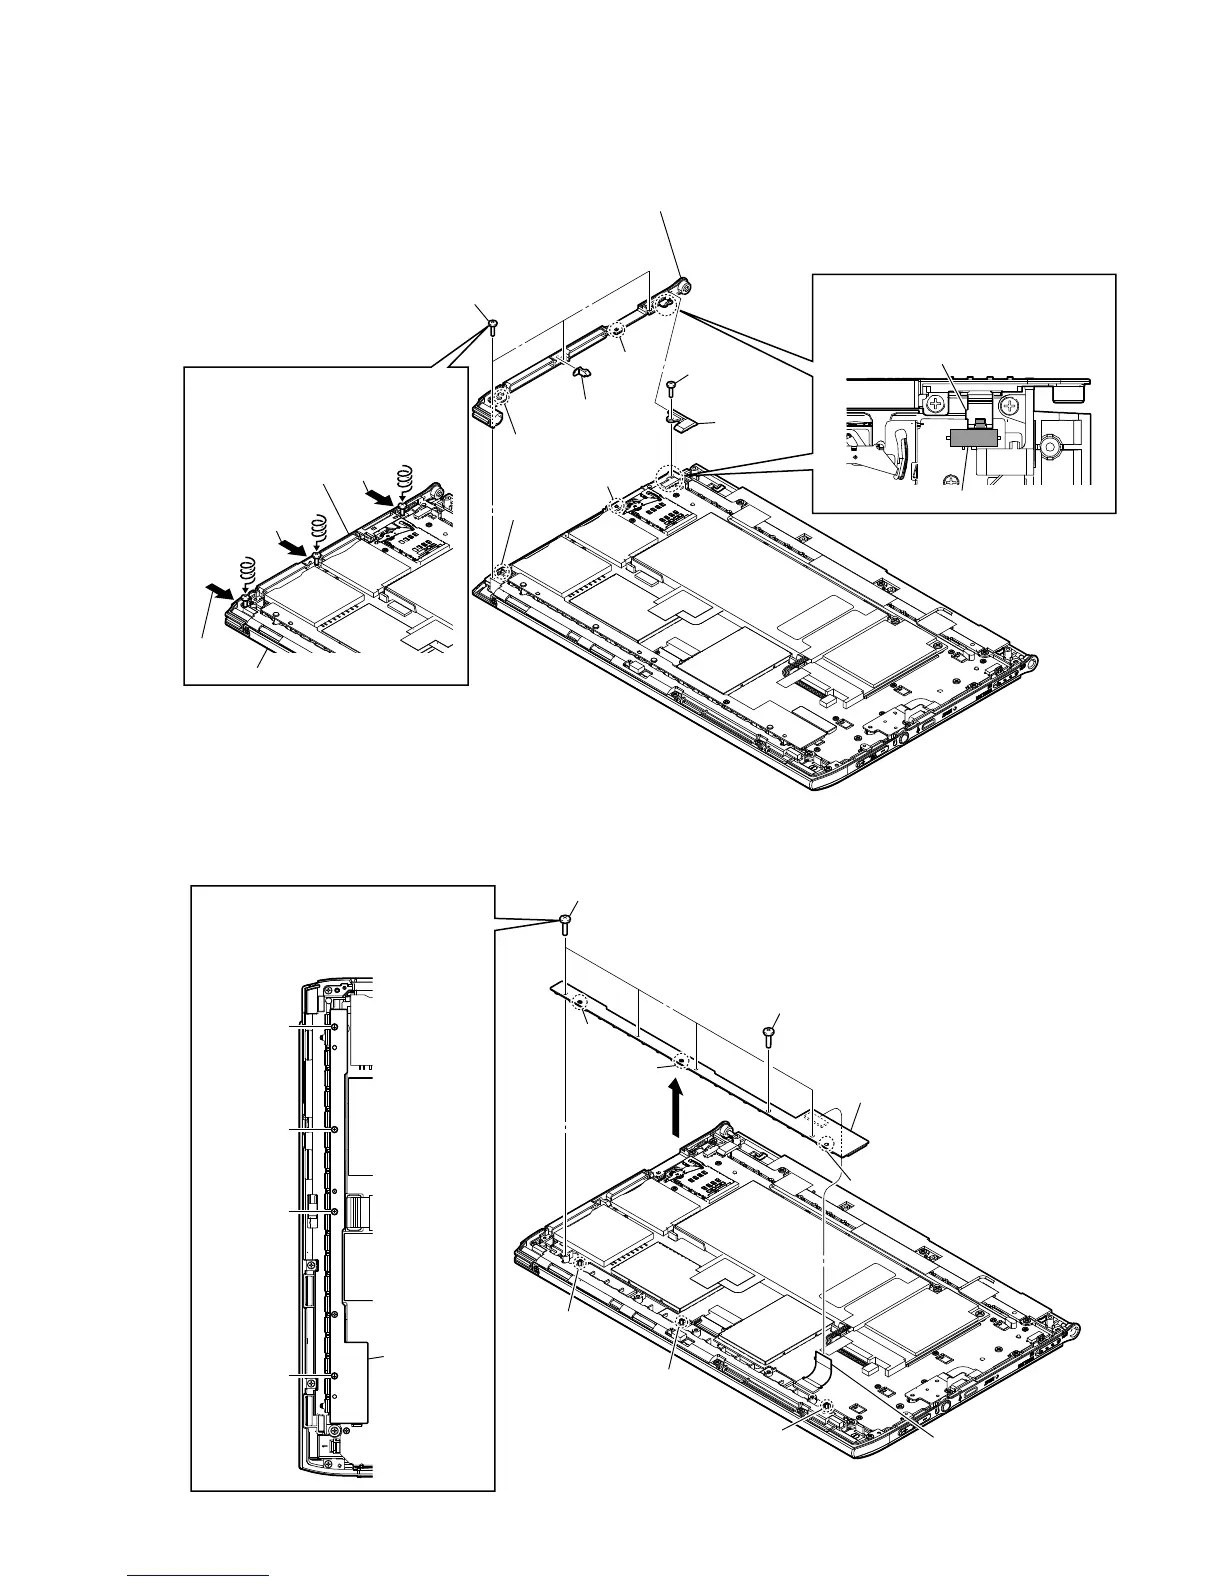
2-8. LED BOARD
2-7. ORNAMENT (T) ASSY
3
1 four shafts
(M1.4 u 2.5)
1
2 shaft
(M1.4 u 1.8)
4 FL5033 flexible board
(FPC1)
– Rear side view (bottom side) –
5 LED board
Note 1:
When
installing
LED board,
please match the position of
three bosses and three holes
respectively.
LED board
hole
hole
hole
boss
boss
boss
Note 2:
When installing four shafts, please
tighten in following numerical order.
Note 3:
Please tighten while suppressing the
LED board so that it should not bend.
2
3
4
4 three tapping screws
2 screw
1 light guide
MSSD
1 push
1 push
3 light guide
power
knob power
switch
– Rear side view (bottom side) –
two holes
hole
5 ornament (T) assy
Note 2:
When
installing
ornament (T) assy,
please match the position of three
bosses and three holes respectively.
ornament (T) assy
Note 1:
When installing the ornament (T) assy,
the position of switch and knob power
is set and installed.
boss
two bosses
main block
1 push
2
2
2
Note 3:
When installing three tapping
screws, please tighten after drawing
the ornamennt (T) assy to the main
block.
 Loading...