1-20
84
Searching using various functions
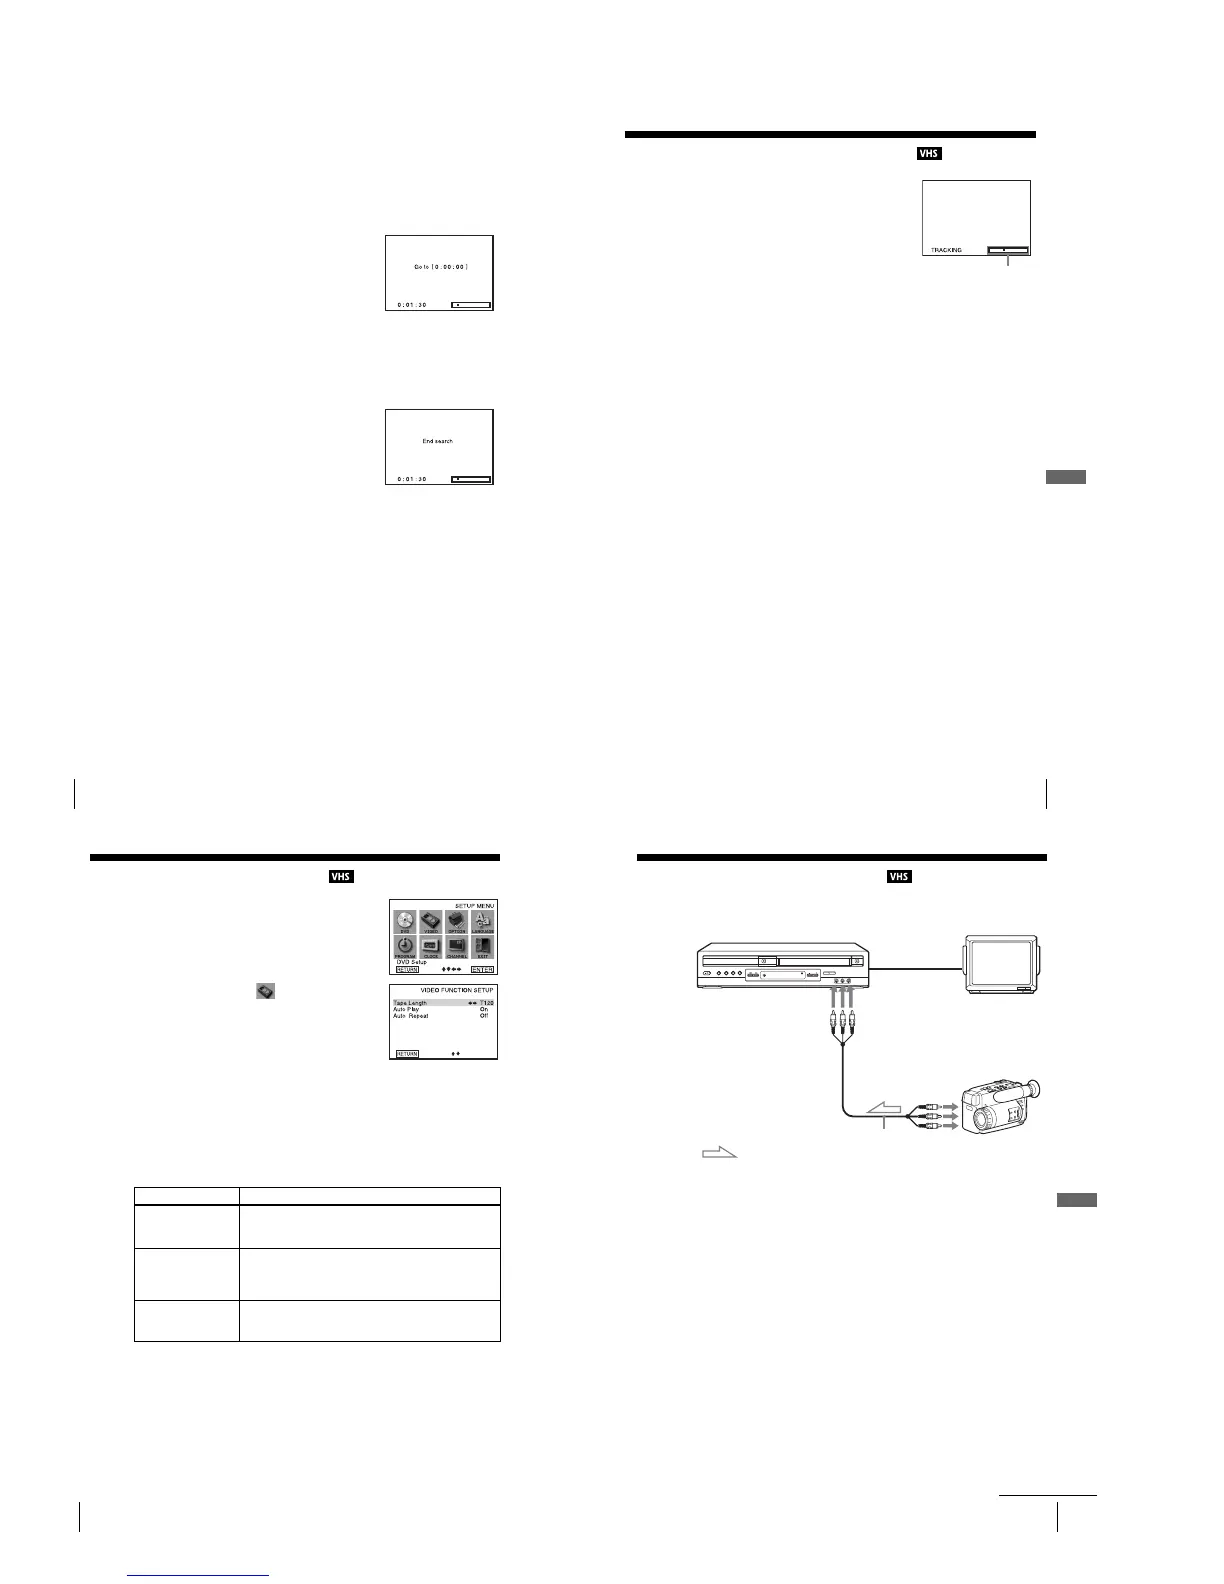
To search for the counter 0:00:00 point
To mark a poin t on the tape that you want to find later, reset the tape counter to
“0:00:00.”
The VCR automatically fast-forwards or rewinds to the 0:00:00 point on the tape
counter.
To search for a blank portion of the tape
The VCR automatically searches for the beginning of a blank portion. You can easily
find a point you can start recording from.
Note
•Once in recording mode, if the VCR is put in pause and then released to start the recording,
no index mark will be inserted. An index mark will be inserted if the channel is changed
while VCR is put in pause.
1
Press SEARCH MENU.
2
Press V.
The VCR starts searching and automatically stops at
the 0:00:00 point.
1
Press SEARCH MENU.
2
Press v.
The VCR starts searching and automatically stops at
the beginning of a blank space. If no blank space is
found, the VCR reaches the end.
85
Adjusting the picture (tracking)
VCR Additional Operations
Adjusting the picture (tracking)
Although the VCR automatically adjusts the tracking
when playing a tape, distortion may occur if the
recording is in poor condition. In this case, manually
adjust the tracking.
Press TRACKING +/– to display the tracking meter.
The distortion should disappear as you press one of
the two tracking buttons.
To resume automatic tracking adjustment, eject the
tape and reinsert it.
Note
•The auto tracking adjustment cannot be guaranteed to work with tapes recorded in the LP
mode on other VCRs.
Tracking meter
86
Changing menu options
Changing menu options
Menu choices
The default settings are indicated in bold print.
1
Press SET UP when the DVD player is in stop
mode.
2
Press V/v/B/b to select (Video Function
Setup), then press ENTER.
The “VIDEO FUNCTION SETUP” menu appears.
3
Press V/v to select the option to change.
4
Press B/b to change the setting.
5
Press O RETURN repeatedly to exit the menu.
Menu option Set this option to
Tap e Le ngth • T- 120 when using a T-120 or shorter length tape.
•T-160 when using a T-160 length tape.
•T-180 when using a T-180 or longer length tape.
Auto Play • On to start playback automatically, when you insert a tape with
its safety tab removed.
•Off to turn off Auto play. You need to press H PLAY to start
playback, even if you insert a tape with its safety tab removed.
Auto Repeat • On to play back a tape repeatedly. The VCR rewinds a tape to
the beginning and restarts playback automatically.
• Off to turn off Auto repeat.
87
Editing with another VCR
VCR Additional Operations
Editing with another VCR
How to connect to record on this VCR
Notes
•Make sure you connect the plugs to jacks of the same color.
•If the other VCR is a monaural type and connected to this VCR’s LINE-2 IN jacks, connect
the audio plug to the AUDIO L (white) jack. The sound is recorded on both right and left
channels. If you connect to the AUDIO R (red) jack, the sound is recorded only on the right
channel.
•If you connected this VCR to both the LINE IN and LINE OUT jacks of the other VCR,
select the input correctly to prevent a humming noise.
•You can use the LINE IN 1 jacks for editing. If the other VCR is a monaural type the sound
is recorded only on the channel whose jack is connected to the audio plug. To record on both
right and left channels, connect the audio plugs to the AUDIO L/R jacks using an audio/video
cord (not supplied).
This VCR (Recorder)
Other VCR (Player)
LINE OUT
: Signal flow
LINE-2 IN
TV
Audio/video cord (not supplied)
continued





 To Next Page