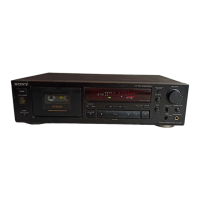
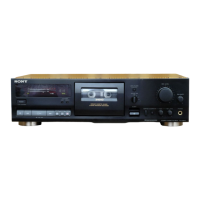
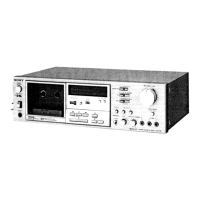
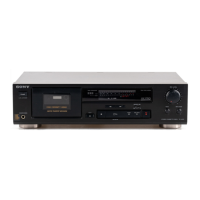
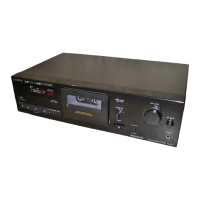
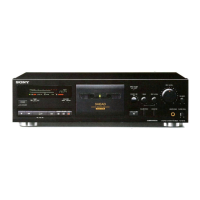
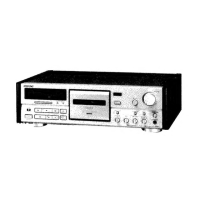
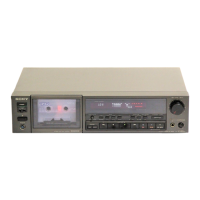
TC-K555ES
OREC
LEVEL (recording level) controls
These
controls
adjust
the
recording level. The
knob
nearest
the
panel is for the
left
channel and the
other
knob
for
the
right
chan-
nel. To
adjust
the level
of
the
left
or right channel only,
turn
the ap-
propriate
knob
while
holding
the
other
knob.
OTiMER
switch
You can set
the
unit
to
record or play back at a predetermined
time
by
connecting
any
commercially
available timer. To record, set
this
timer
switch
to
REC.
To play back, set it
to
PLAY.
(!) REMOTE control connector
Connect
the
optional
RM-50 (wired) or RM-80 (wireless) remote con-
trol
unit
to
operate
the
tape
transport
functions
from a
distance.
Synchronized
operation
is
also
possible
with
selected Sony turn-
tables, using
the
optional
RM-65
synchro
remote
control
unit. Read
the
instruction
manual
of
your
remote
control
unit
before
operating
it.
CD
Tape counter
This
counter
indicates
the
tape
running
time
.
• COUNTER RESET button
Press
this
button
to
reset
the
tape
counter
to
"0.00."
GCOUNTER
MEMORY button
Press
to
rewind the tape
to
the
"0.00"
point
on
the
tape counter.
The word
"MEMORY"
is
displayed
below
the
tape
counter. Press-
ing the
~
button
together
with
the -
button
automatically
starts
playback
from
"0.00."
When you
do
not use the
memory
function,
press
this
button
again.
The word
"MEMORY"
will disappear.
4D
Function buttons
It is possible
to
switch
directly
from one mode
to
another. The in-
dicator
lamps
light
when
the
tape
deck
is
in
the
forward, record or
pause mode.
- (rewind)
button:
Press
this
button
to
rewind
the
tape. This
button
is
also
used,
with
the
~
button,
to
initiate
auto
play.
• (stop)
button:
To
stop
the tape, press
this
button.
The tape will
stop
automatically
when it is
completely
wound in
either
direc-
tion.
~
(forward)
button:
Press
this
button
to
play
the
tape back. To
record, press
this
button
while
holding
the.
button
down.
- (fast-forward)
button:
Press
this
button
to
advance
the
tape
rapidly.
• (record)
button:
Press
this
button
together
with
the
~
button
to
start
recording.
" (pause)
button:
To pause
for
a
moment
during
recording or
playback, press
this
button.
This
button
is also used
to
control
more precisely the
start
of
recording and
to
release
the
record
muting
mode.
o (record
muting)
button:
Press
this
button
to
eliminate
un-
wanted
material
and
to
insert a
blank
space
during
recording.
G)HEADPHONES jack
Headphones
may
be
inserted
either
to
monitor
the
input
signals
to
be recorded or
to
listen
to
a recording in the
playback
mode.
Headphone volume is
adjustable
with
the
HEADPHONES
control.
oHEADPHONES level control
This
control
adjusts
the
headphone level.
This
selling
does
not
af-
fect
the
peak program meters or the
output
level
of
the
LINE OUT
jacks
at
the
rear.
"
-10-
 Loading...