44
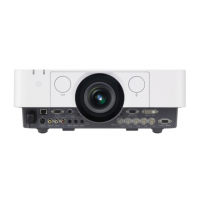
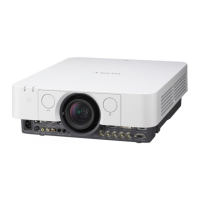
Removing/Attaching the Projection Lens
Removing/Attaching the Projection Lens
• Turn off the projector and disconnect the AC power cord from a wall outlet before you remove/
attach the projection lens.
• Be careful not to drop the projection lens.
• Avoid removing/attaching the lens with the projector installed suspended from a ceiling.
• Avoid touching the lens surface.
• For usable projection lenses and a lens adapter, see “Optional accessories” (page 54).
Removing
1 Loosen the two screws that secure the
front panel to remove the front panel
in the direction of the front.
2 Loosen the four screws that secure the
projection lens then pull it out straight.
If the lens was shifted with lens shift
adjustment, it may take some effort to
loosen the screws. In such a case, adjust to
shift the lens to the lower position and to
the horizontal center position.
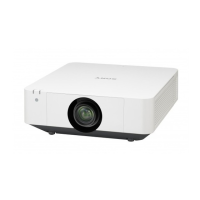
Attaching
To replace the standard lens, insert the
projection lens straight with the zoom lever
on the left side, then tighten the four screws.
Attaching
1 Attach the adapter (supplied with the
lens) to the main unit with the four
screws.
Attach the adapter with the lever on the
right side as shown below.
2 Replace the front panel and fasten it
with the two screws.
The front panel cannot be attached after
attaching the projection lens. Attach the
front panel before attaching the projection
lens.
Notes
Removing/Attaching the
Standard Lens
Note
Front panel
Screws
Screws
Zoom lever
Attach/Remove VPLL-2007/
Z2009
Note
Adapter
Screws (4)
Lever